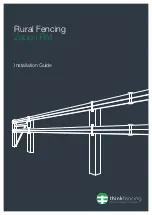
STOP – Wear the appropriate safety equipment for performing the task. Eye wear, hearing protection and a
dust mask.
The panels can be cut using a circular saw with a timber blade. Remember to always support or catch the piece
you’re cutting off as it may break towards the end of your cut if you don’t.
Note - If your circular saw doesn’t have a deep enough blade to cut through the panel in one sweep, then you must
cut through one face and carefully turn the panel over and cut through the other.
The panel should go 25mm into the rebate of each post.
Example: If the distance between the internal face of posts is 2000mm then the panel should be cut at
2050mm.
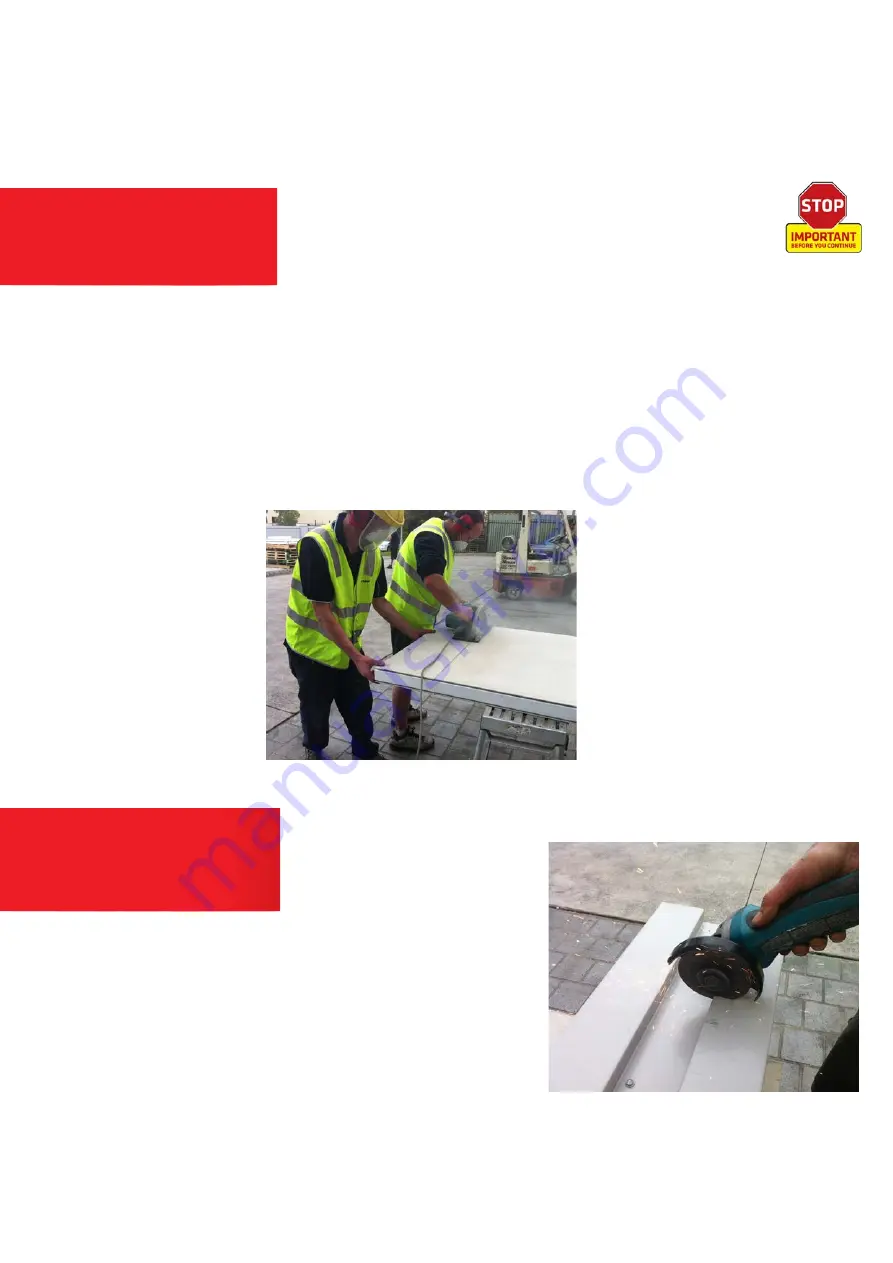
STOP – Wear the appropriate safety equipment for performing the task
such as, eye wear, hearing protection & a dust mask.
Mark the post and use a 5 inch/125mm angle grinder with a 1mm
cutting blade to cut through the post. A smaller grinder (4 inch/100mm)
can be used but you will find it difficult to get the blade depth required
when cutting through the rebate in the post that accepts the panel.
Note: All cut edges that will remain exposed to the elements will require
treating with a zinc rich paint such as ‘cold gal’ or similar.
ADDITIONAL INFORMATION
19
/ SOLID PANEL INSTALLATION GUIDE
Summary of Contents for Classic
Page 23: ......