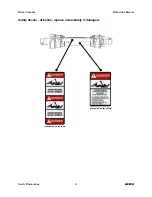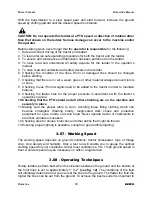
Before transporting:
1. Always select a safe ground speed that is appropriate for the terrain.
2. Beware of traffic on public roads. Install a SMV (Slow Moving Vehicle) sign when
traveling on roads or streets. Comply with all federal, state and local laws.
3. Reduce ground speed when turning and take care that the implement does not strike
obstacles such as trees, fences or buildings.
4. Always disengage PTO before raising the implement to transport position.
5. When raising the implement be sure the PTO driveline does not hit either the tedder
or the tractor.
6. During transport the tedder should not be lifted over 14”-16” from the ground.
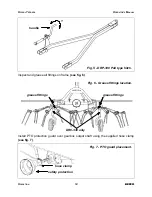
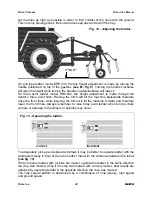
7. On pull type tedder DRP-330, raise the tines before transporting unit. This is done by
turning the handle positioned on top of the gearbox
(see #1, fig. 5)
clockwise until
there is plenty of clearance between the tines and the ground. Install a safety chain
(not supplied with unit) between tractor and implement before pulling the tedder
down the road. A safety chain will help control drawn equipment should it
accidentally separate from the tractor drawbar. Leave only enough slack in chain to
permit turning.
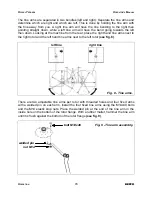
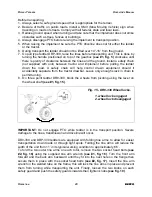
8. On three point tedder DR0-330, block the wheels from pivoting using the lever on
the wheel shaft
(see #1, fig. 15)
.
IMPORTANT:
Do not engage PTO while tedder is in the transport position. Severe
damage to the tines, transmission and driveline will occur.
DR0-330 and DRP-330 tedders are equipped with folding tine arms to allow for easier
transportation down roads or through tight spots. Folding the tine arms will reduce the
width of the unit from 11’ in its typical working condition to approximately 6.5’.
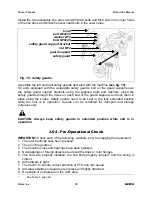
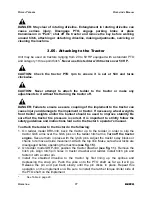
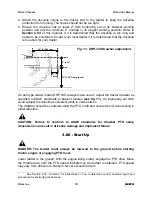
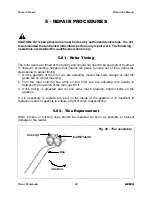
To fold the two outer tine arms on each rotor, remove the two socket head bolts
(see
#2, fig. 16)
using the supplied tine arm wrench
(see #1, fig. 16)
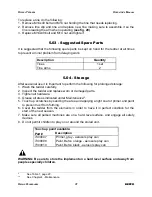
. Turn the front arm
forward and the back arm backward until they fit into the next hole on the flange then
secure them in place with the socket head bolts
(see #2, fig. 17)
. Insert the tine arm
wrench in the welded tube on the frame, this will lock the tine arms in place and prevent
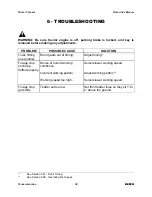
them from turning while transporting the unit. Finally, loosen the two knobs on each
safety guard and push the safety guards inwards then tighten knobs
(see fig. 10)
.
O
PERATION
23
BEFCO
R
OTARY
T
EDDERS
O
PERATOR
’
S
M
ANUAL
Fig. 15 - DR0-330 Wheel locks.
1. wheel lock engaged
2. wheel lock disengaged
1
2
Summary of Contents for DR0-330
Page 36: ......
Page 40: ...ROTARY TEDDERS RIGHT FRAME OPERATOR S MANUAL DR0 330 DRP 330 PARTS MANUAL 40 BEFCO 01 2012...
Page 54: ......

