34 Barco - RHDM-1701 - User manual
First operation
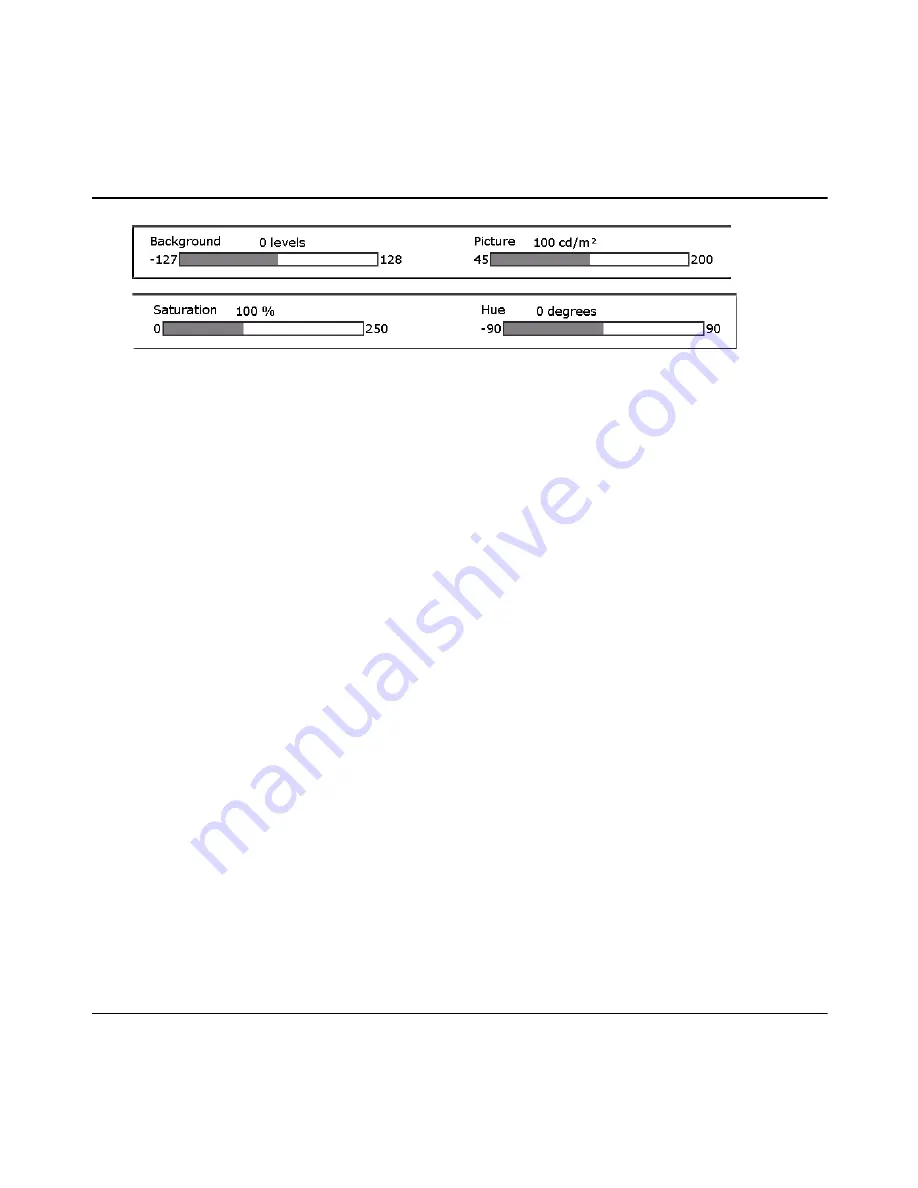
Figure 7: Picture adjustment bar
When one of the rotary knobs is pressed or turned, the picture adjustment bar is shown at the
bottom of the screen. This information bar shows the actual value of all the rotary knobs.
Trackball
The trackball enables the user to navigate through the menus, change the value of a selected item
and to move the pointer (only in pan&zoom mode).
The
button enables the user to edit and confirm a value or setting in the toolbox or OSD menu.
The
button also acts as a “left” mouse button for drag and zoom operations in the pan&zoom
mode.
Status bar
The status bar is shown at the top of the screen and contains relevant information related to the
settings of the input signal settings and the setting of the display unit. The line highlighted in white
indicates the active window.
Calibrated settings
The display unit is a calibrated instrument that continuously monitors several parameters to ensure
correct representation of colors and luminance levels.
The user can decide to run the display unit in a non-calibrated mode by adjusting the settings
defined by the image adjustment knobs (picture, background, saturation and hue). When the
values of the image adjustment knobs deviate from the calibrated values, the orange light above
the knob will light up. Press (
) the knob to return to the calibrated (default) setting (when the
picture adjustment bar is visible).
The user can also decide to show only one of the 3 color channels or to convert the video signal to
monochrome.
In all these cases also the
button will light up orange. Press (
) the
button to go back to
the calibrated status of the display unit.
Summary of Contents for RHDM-1701
Page 1: ...RHDM 1701 16 5 LCD Broadcast Monitor User manual K5960051 01 ...
Page 2: ...2 Barco RHDM 1701 User manual Intentionally left blank ...
Page 56: ...56 Barco RHDM 1701 User manual How to ...
Page 60: ...60 Barco RHDM 1701 User manual How to ...
Page 103: ...Barco RHDM 1701 User manual 103 Full functionality description 4 2 5 12 Function keys tree ...
Page 104: ...104 Barco RHDM 1701 User manual Full functionality description ...
Page 105: ...Barco RHDM 1701 User manual 105 Full functionality description ...
Page 106: ...106 Barco RHDM 1701 User manual Full functionality description ...
Page 132: ...132 Barco RHDM 1701 User manual Full functionality description 4 3 12 OSD menu tree ...
Page 133: ...Barco RHDM 1701 User manual 133 Full functionality description ...
Page 134: ...134 Barco RHDM 1701 User manual Full functionality description ...
Page 135: ...Barco RHDM 1701 User manual 135 Full functionality description ...
Page 138: ...138 Barco RHDM 1701 User manual Full functionality description 4 4 3 Color processing page ...
Page 187: ...Barco RHDM 1701 User manual 187 Addendum Figure 65 RHDM 1701 Rear view ...
Page 188: ...188 Barco RHDM 1701 User manual Addendum Figure 66 RHDM 1701 Side view ...
Page 189: ...Barco RHDM 1701 User manual 189 Addendum Figure 67 RHDM 1701 3D front view ...
Page 209: ...Barco RHDM 1701 User manual 209 Addendum Seal the box with tape ...
Page 240: ...240 Barco RHDM 1701 User manual Addendum Cinespace sample Autodesk sample ...
Page 256: ...256 Barco User manual Table of contents End of document ...


