


Downloaded from Projector.com
Service Mode
8-13
5976197 BARCOCINE 7 10012001
Projector warm up
What can be done ?
When in the ON position (and the CRT run in cycle is OFF), the projector can start up with a warm up periode of 20 minutes. During
the start up a warm up menu will be displayed. This menu offers the possibility to skip the warm up periode anyway by pressing
the
EXIT
key and offers the possibility to adjust the horizontal and vertical amplitude of this white image with the control disc. During
this warm up period, a full white image is shifted on the CRT faceplate to avoid a burn in.
Every 30 seconds a text box will be displayed on another place on the screen with the remaining time to go.
When
EXIT
is pressed during this warm up periode, the warm up menu will be redisplayed with the remaining time indication. Press
another time
EXIT
to interrupt the warm up cycle.
When the warm up option is OFF, when switching on the projector, it starts immediately with the projection of the selected source.
How to select ?
1. Push the cursor key
é
or
ê
to highlight 'Projector Warm up' (menu 1).
2. Press
ENTER
to select.
The projector warm up menu will be displayed (menu 1).
3. Press
ENTER
to toggle the ON/OFF option.
Select with
é
or
ê
then <ENTER>
<EXIT> to return.
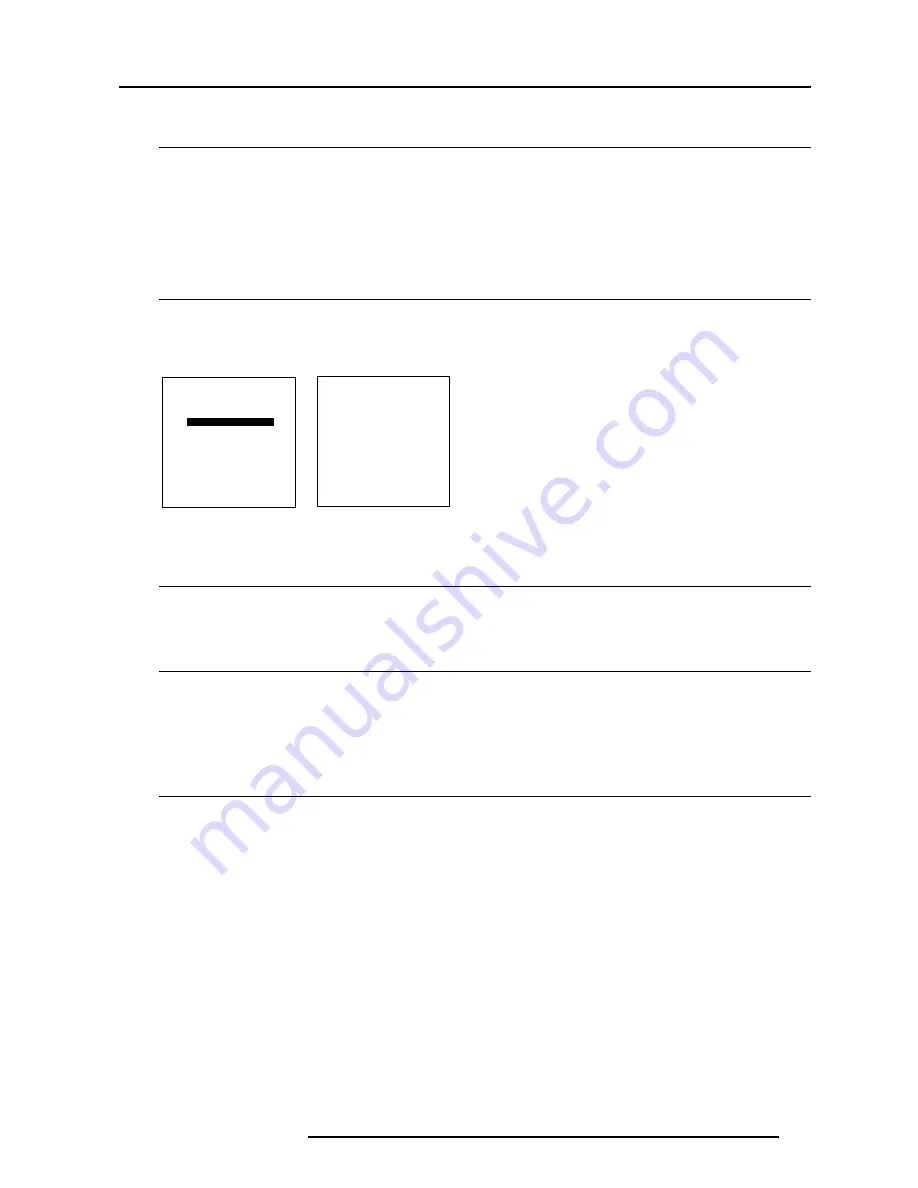
COMMON SETTINGS
G2 ADJUSTMENT
CRT RUN IN CYCLE
PROJECTOR WARM UP
MEMORY BANKS
PROJECTOR WARM UP
OPTION : ON
A FULL WHITE PATTERN
WILL BE GENERATED FOR
20 MINUTES AT POWER UP
AFTER THIS PROCEDURE
THE PROJECTOR IS READY
TO PERFORM IN OPTIMUM
CONDITION
TOGGLE OPTION ON OR OFF
with <ENTER>
<EXIT> to return
menu 1
menu 2
Memory banks
What can be done ?
The user has the possibility to create 8 different memory banks (formats) for each source. But, the maximum allowed quantity of
memory banks for all sources together is 32.
The option to create different memory banks for the same source can be switched ON or OFF.
How to select Memory Banks ?
1. Push the cursor key
é
or
ê
to highlight 'Memory Banks' (menu 1).
2. Press
ENTER
to toggle between ON and OFF.
ON : different memory banks available.
OFF : only one memory bank available.
If different memory banks are available for a source and the memory bank option is toggled to OFF, only the first memory bank
will be used to display the source.
How to create a new memory bank ?
1. Select your source. The projector selects the last used memory bank.
2. Press
ENTER
3. Push the corresponding digit (between 1 and 8) of a non existing memory bank. (The memory banks can be created in random
order, e.g. first creating bank 5 and later bank 2.)
4. Make the necessary adjustments. When leaving the source, the new created memory bank will be saved for later use.
Example : When source 1, video 15.6 kHz /60Hz is create on bank 4 and the vertical frequency changes to 50Hz, the projector will
create a new block (due to the vertical frequency change) with the same bank number 4.


