


Downloaded from Projector.com
7-14
5976197 BARCOCINE 7 10012001
Random Access Adjustment Mode
Select with
é
or
ê
then <ENTER>
<EXIT> to return.
GEOMETRY
H PHASE
RASTER SHIFT
LEFT-RIGHT (E-W)
TOP-BOTTOM (N-S)
SIZE
V LINEARITY
BLANKING
H PHASE
><
70
H PHASE
><
70
Select with
é
or
ê
then <ENTER>
<EXIT> to return.
RANDOM ACCESS
ADJUSTMENT MODE
PICTURE TUNING
GEOMETRY
CONVERGENCE
COLOR SELECT
Select with
é
or
ê
then <ENTER>
<EXIT> to return.
GEOMETRY
H PHASE
RASTER SHIFT
LEFT-RIGHT (E-W)
TOP-BOTTOM (N-S)
SIZE
V LINEARITY
BLANKING
Horizontal Phase Adjustment
Start Up
1. Push the cursor key
é
or
ê
to highlight 'H Phase' (menu 1).
2. Press
ENTER
to activate.
The external image with a text box in the middle will be projected.
Note
No horizontal phase adjustment is available on the internal # pattern.
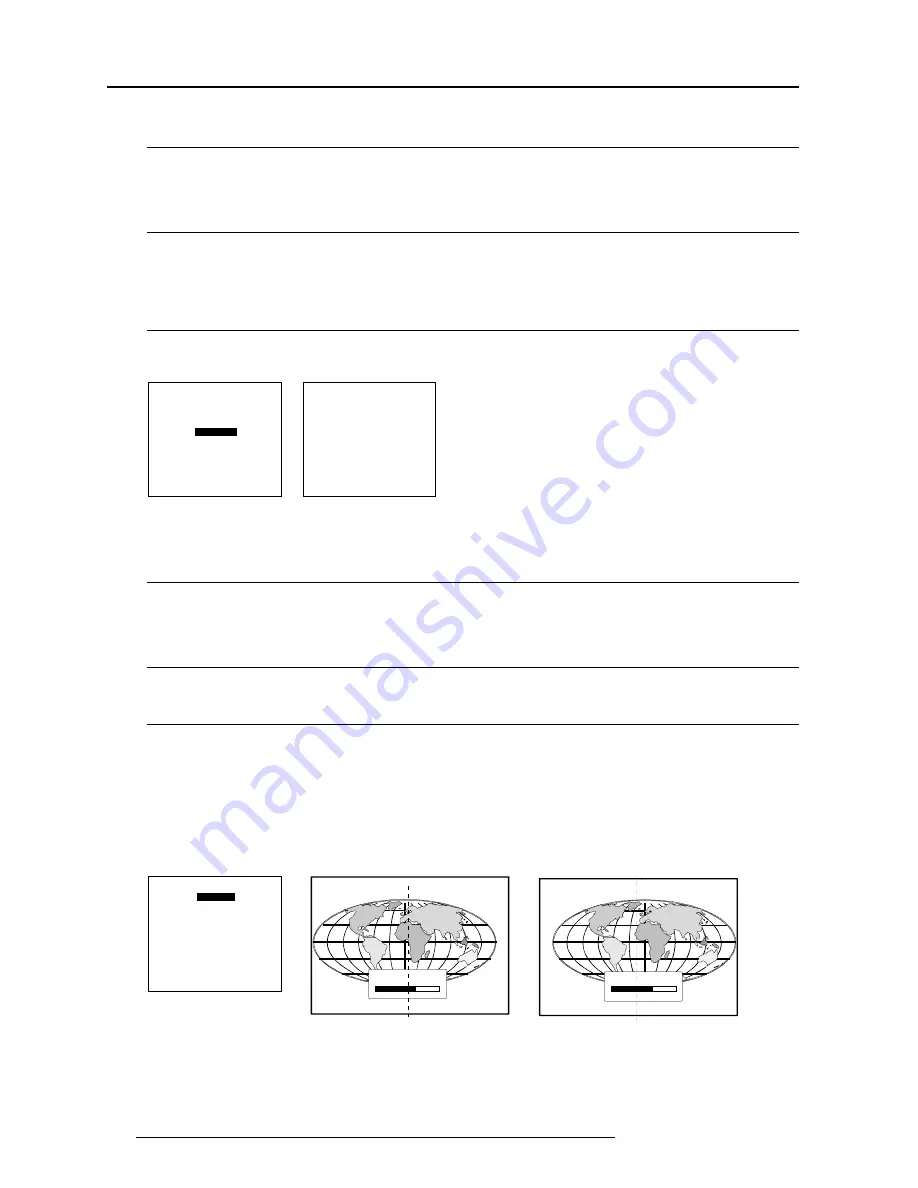
How to adjust ?
If the raster shift is correctly adjusted, the H Phase text box is projected in the middle of the raster. At that moment, the "><" icon
indicates the middle of the raster.
Adjust the H Phase control until the middle of the projected image is equal with the middle of >< icon.
Image 1 : Push the cursor key to the right to correct.
Image 2 : Push the cursor key to the left to correct.
Note : If the genlocked pattern was selected during the start up of the random access mode, the external source will be displayed.
A bar scale and a number indicator (between 0 and 100) on the screen give a visual indication of the horizontal phase adjustment.
menu 1
image 1
image 2
Geometry Adjustments
What can be done ?
The geometry adjustments have to be done only on the green image. These adjustments are automatically implemented for the other
color images. The following adjustments can be adjusted Left-right (EW) and Top-Bottom Corrections, Blanking, Horizontal Amplitude,
Vertical Amplitude, Vertical Linearity and Horizontal Phase.
Start Up
To start up the geometry corrections, handle as follow :
1. Push the cursor key
é
or
ê
to highlight 'Geometry' (menu 1).
2. Press
ENTER
to select.
The Geometry menu will be displayed on the screen (menu 2).
Important
The convergence corrections are disabled during geometry corrections. The blanking corrections are only enabled during the blanking
adjustments.
menu 1
menu 2


