MatrixPRO- II
21
SETUP MODE
MAIN SETUP MENU PAGE
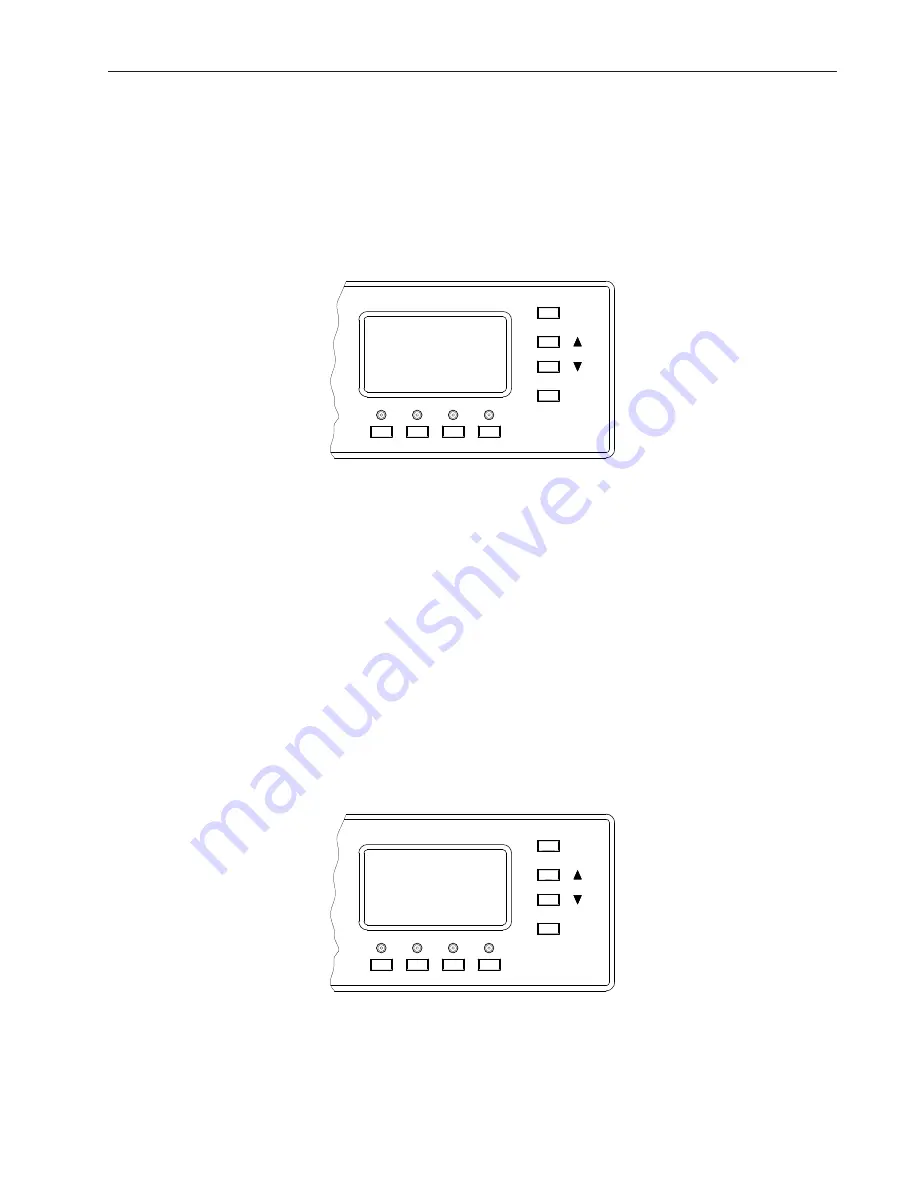
The MatrixPRO-II is initially setup from the front panel LCD screen on the rack. To enter the setup
pages, press the UP and DOWN buttons simultaneously. The front panel will display the main setup
menu page:
ESCAPE
SELECT
MAIN SETUPS
INPUT SETUP
>
OUTPUT SETUP
SYSTEM SETUP
PRESET SETUP
RESET MATRIX
A "
>
" cursor is used to point to a menu option. The "
>
" cursor is moved up and down using the UP
and DOWN arrow buttons to the right of the LCD screen. Pressing the SELECT button causes the
front panel to enter the menu or sub-menu page that is next to the cursor. The "
>
" will change to a
"*" to indicate that the selected menu option is selected and ready to be adjusted. The up and down
arrow buttons are then used to make the actual setting adjustment. When satisfi ed with the setting,
pressing the select button will save the selection. Pressing ESCAPE a second time will return to the
main operating page.
NOTE: The LCD display will automatically return to the main operating page after 45 seconds of
inactivity.
INPUT SETUP MENU PAGE
Pressing the up and down buttons to position the "
>
" cursor next to INPUT SETUP then pressing the
SELECT button will display the input setup menu pages. The INPUT SETUP page will default to
Input 01.
ESCAPE
SELECT
INPUT SETUP
INPUT NUMBER
>
AUDIO TYPE
INPUT TRIM
VIDEO TYPE
CABLE LENGTH
01
CON
-5 dB
NATIVE
0
SAVE
INPUT NUMBER
This function is used to select which input to setup. At the “
>
“ prompt either press an input button to
select that input or change the input number by positioning the cursor to INPUT NUMBER Press the
Summary of Contents for MatrixPRO- II
Page 2: ...2 MatrixPRO II...
Page 13: ...MatrixPRO II 13 APPLICATION EXAMPLES i SPLIT MODE APPLICATION NATIVE MODE APPLICATION...
Page 40: ...40 MatrixPRO II...
Page 42: ...42 MatrixPRO II...
Page 53: ...MatrixPRO II 53...
Page 54: ......


