43
R5900103 /00
C-10, C-5
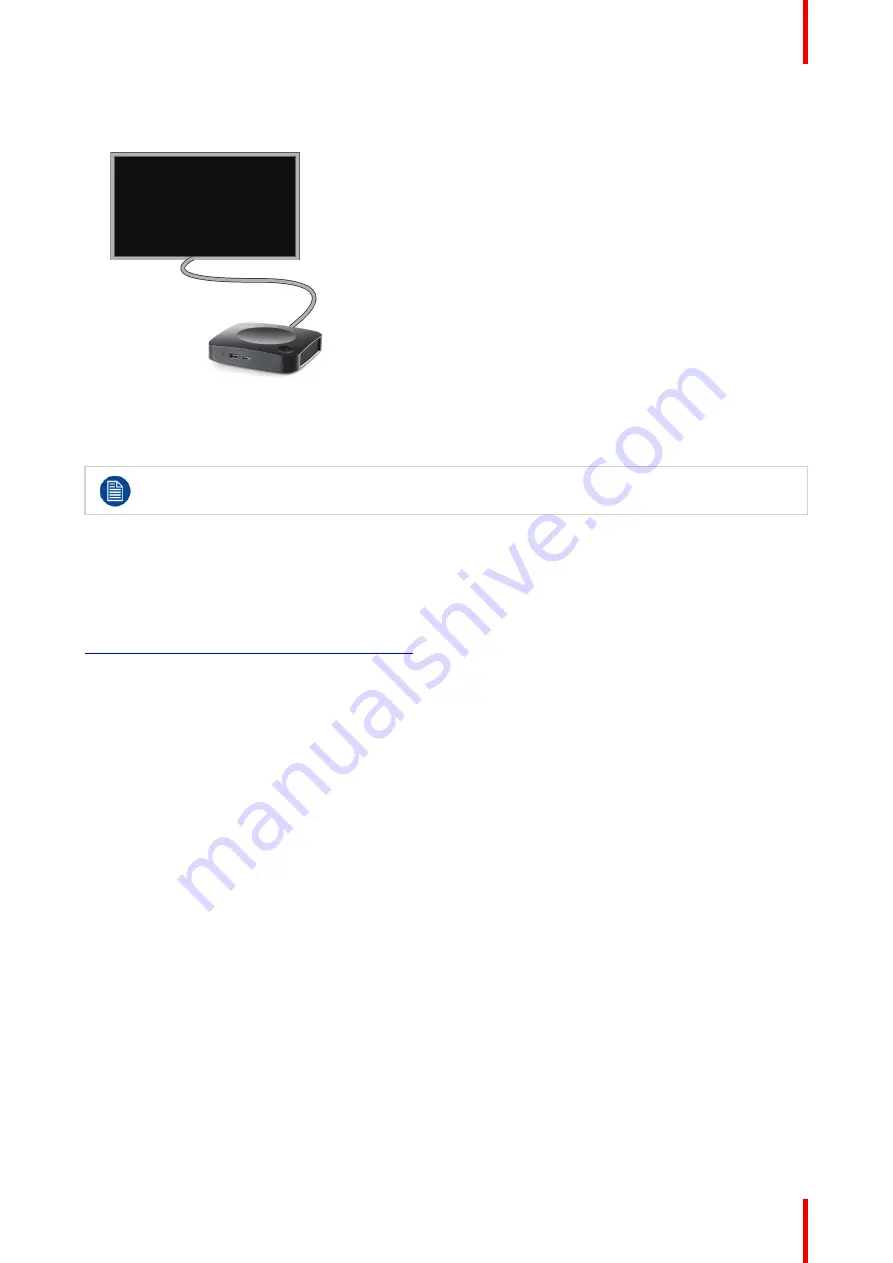
When setting up a display configuration, connect the HDMI cable to the display. When necessary, use an
adapter piece to connect to a display port or a DVI port on the display side.
HDMI OUT
Image 4
–
10 Display connection
4.8 Touch screen connections to the Base Unit
Only available on C-10.
About the connection
A single screen can be connected to the Base Unit.
To connect video, an HDMI connection should be made between the Base Unit and the display. To connect the
touch functionality, an USB cable should be connected between the touch screen and the Base Unit. A list of
supported
touch
screen
can
be
found
on
Barco
’
s
website.
See
https://www.barco.com/en/support/docs/TDE9538
.
To connect
1.
Connect a HDMI cable between the Base Unit and touch screen display. When necessary, use an adapter
piece to connect to a display port or a DVI port on the display side.
2.
Connect the USB output of the touch screen with an USB connector on the Base Unit.
4.9 LAN connection
About LAN connection
The Base Unit can be connected to a local network or directly to a laptop.
Maximum allowed LAN speed: 1000 Mbit
We do strongly advise the LAN connection and the use of XMS cloud for configuration, monitoring and
additional functionality. The LAN connection also greatly improves the user experience when using the
ClickShare Apps and native sharing protocols such as Airplay and others.
How to connect
1.
Insert a network cable with RJ-45 connector into the LAN port.
2.
Connect the other side to a LAN.
Summary of Contents for ClickShare Present C Series
Page 1: ...ENABLING BRIGHT OUTCOMES Installation manual C 10 C 5...
Page 27: ...27 R5900103 00 C 10 C 5 C 10 C 5 Specifications 2...
Page 54: ...R5900103 00 C 10 C 5 54 C 10 C 5 Installation...
Page 60: ...R5900103 00 C 10 C 5 60 Preparing the Buttons...
Page 108: ...R5900103 00 C 10 C 5 108 C 10 C 5 Configurator...
Page 109: ...109 R5900103 00 C 10 C 5 Firmware updates 7...
Page 111: ...111 R5900103 00 C 10 C 5 Troubleshooting 8...
Page 117: ...117 R5900103 00 C 10 C 5 Windows Certified driver 58 X XMS Cloud 102 Index...
Page 118: ...R5900103 00 C 10 C 5 118 Index...
Page 119: ......