www.bnd.com.au
Controll-A-Door
®
P
N1854
Instruction Manual
B&D Doors is a division of B&D Australia Pty Ltd ABN 25 010 473 971
Sectional Door Opener
Manufacturer’s Part # 79070 (Manual)
Page 1: ...www bnd com au Controll A Door P N1854 Instruction Manual B D Doors is a division of B D Australia Pty Ltd ABN 25 010 473 971 Sectional Door Opener Manufacturer s Part 79070 Manual ...
Page 2: ...smitters 19 Door 19 Courtesy Light 19 Vacation Mode 20 Auxiliary Output 20 Pet Mode 21 Erasing Transmitter Codes 21 Mounting Wall Transmitter 21 Accessories 22 Terminal Block 22 Remote Aerial 22 Safety Infra red Beam 23 Electric Key Switch 23 How To Use Your Opener 24 Transmitter 24 Locking 24 Manual Door Operation 25 Power Failure 25 Transmitter battery 25 Safety Infra red Beam 25 Auto Close 25 C...
Page 3: ...e Safety Infra red Beams fitted Do not wear rings watches or loose clothing while installing or servicing a garage door opener This opener is not suitable for commercial industrial or common entry applications To avoid serious personal injury from entanglement removeallunnecessaryropesorchainsanddisable any equipment such as locks which are not needed for powered operation Installation and wiring ...
Page 4: ...600N 60kg Nominal force 150N 15kg Receiver type UHF Multi frequency FM Receiver Receiver code storage capacity 14 X 4 button Transmitter Modes Transmitter frequency UHF Multi frequency FM Transmitter Coding type Code hopping Number of code combinations Over 4 29 billion random codes Code generation Non linear encryption algorithm Transmitter battery CR2032 3 Volts Courtesy light LED Light Emitting...
Page 5: ...ght automatically switches on for approximately four 4 minutes time programmable when operating the door This can also be programmed to turn on and off from a transmitter Memory Retention In case of a power failure the opener does not lose the transmitter codes or limit settings Manual Release The manual release handle allows the door to be operated by hand in the event of a power failure Handle n...
Page 6: ...will move the door in the close direction Movement stops when the button is released This button is also used for storing or erasing the transmitter button you wish to use to command the door to open stop or close NOTE The safety obstruction system is inoperable whenever the MINUS button is used to move the door Code set LED Red flashes when a transmitter button is stored LIMIT SET button White is...
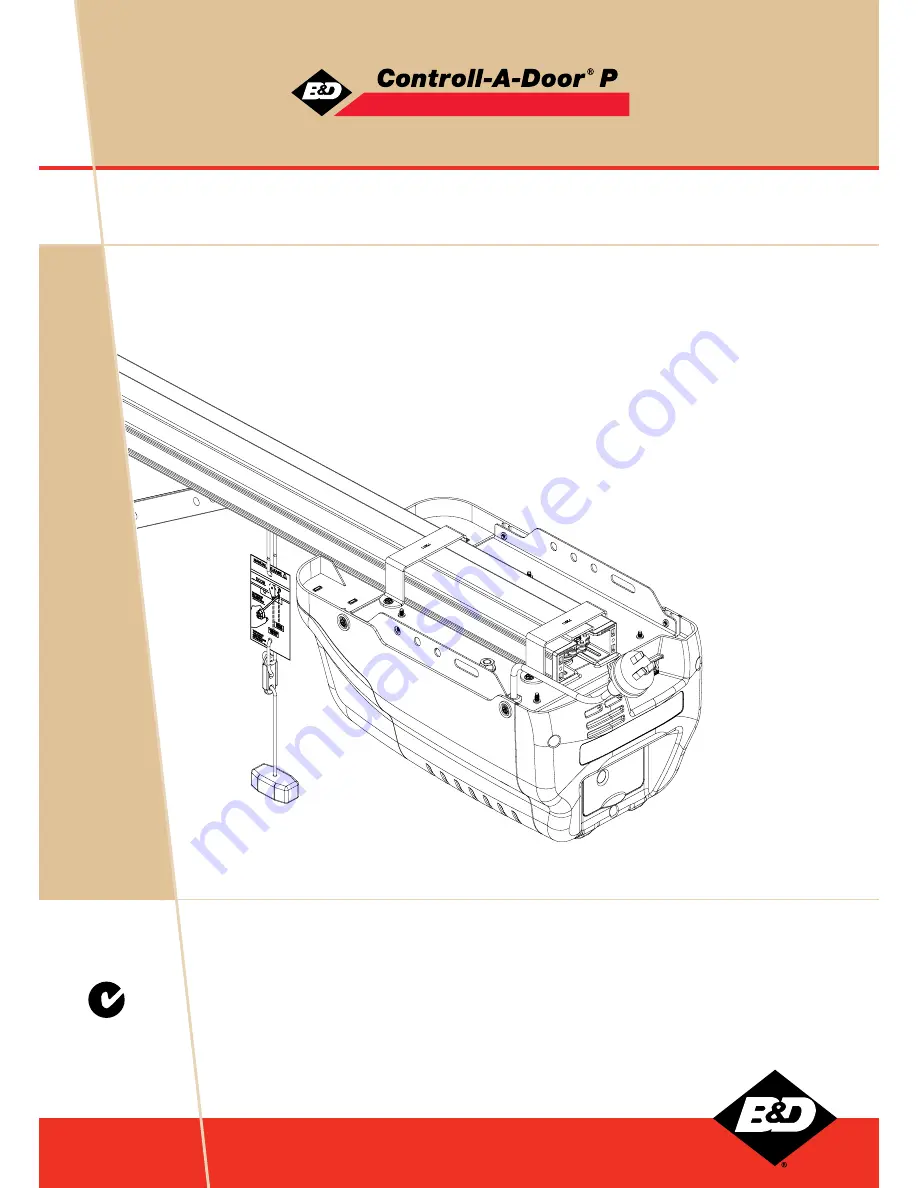
Page 7: ...Fig 01 06 09 07 08 10 11 12 13 04 05 01 02 03 Diamond PD Power Drive Instruction Manual Copyright January 2008 B D Doors Controll A Door P Instruction Manual ...
Page 8: ...e Knockdown Track With Pre Assembled Chain IMPORTANT NOTE If a modification to the length of the track is required the adjustment must be made from the powerhead end only Single Piece Track With Pre Assembled Chain Note Chain in one piece rail has been tensioned by the factory Adjust the tension of the chain to suit IMPORTANT NOTE If a modification to the length of the track is required the adjust...
Page 9: ...y To Assemble Unpack and assemble the C Rail using the steps outlined below in Fig 05 Fig 05 TENSION 13mm HEX BOLT Diamond PD Power Drive Instruction Manual Copyright January 2008 B D Doors Controll A Door P Instruction Manual ...
Page 10: ...he Shuttle Make sure the shuttle is near the MARKER which is located in the centre of C Rail Fig 06 Step 2 Connect the Powerhead to the C Rail Locate and insert the powerhead s shaft into the C Rail s sprocket as shown in Fig 07 Step 3 Secure the C Rail Fix the two track brackets as shown in Fig 08 Fix with the four screws supplied in accessory pack Fig 08 Controll A Door P Instruction Manual 10 ...
Page 11: ...e installation from Step 5 For a one piece door on tracks Fig 10 proceed with the installation from Step 5 For a one piece door without tracks on springs Fig 11 proceed with the installation from Step 9 Proceed from Step 5 Door Track Sectional door with track One piece door with track Door Track Door Fig 11 Fig 10 Fig 09 Proceed from Step 5 Proceed from Step 9 One piece door without track Diamond ...
Page 12: ... to the Wall Bracket Attach the C Rail assembly to the wall bracket with the 90mm long clevis pin and secure with the supplied snap pin Fig 14 Leave the powerhead in its packing box for protection during installation Step 8 Securing the Powerhead to the Ceiling Raise the powerhead from the packing box and support it in the horizontal position with a step ladder or support system above the door Ope...
Page 13: ...Rail in this position and close the door The height determined in Step 11 b will be the height at which to mount the wall bracket Centre the bracket along the line determined in Step 9 Using the bracket as a template mark a minimum of two holes and drill with appropriate size bit For a more secure fitting the wall bracket can be anchored using more than two holes Secure the bracket to the wall usi...
Page 14: ...damage caused to the door and or door panels Step 14 Attaching the Arms For sectional and one piece doors with track Assemble the bent and straight arms with bolts and nuts supplied in the accessory pack Fig 22 Always use both bent and straight arms Connect the assembled arm to the bracket and the disengaged trolley with clevis and snap pins The angle A must be more than 10 Fig 22 Warning Connecti...
Page 15: ...on to move the door to the halfway open position Fig 25 WARNING The safety obstruction detection system is inoperable while MINUS and PLUS drive buttons are being used and travel limits are not set Using a small blade screwdriver turn the DATUM ADJUST screw until the yellow SERVICE light comes on Fig 26 If the SERVICE light is already illuminated when the door is halfway up turn the DATUM ADJUST s...
Page 16: ...ion into memory Fig 27 The door will now automatically close and open to the safety obstruction settings profile Please be aware of the above warning The opener can now be operated with the OPERATE button Step 15 4 Resetting the Door Limit Positions The door limit positions can be deleted for new positions using the steps below Press and hold the CLOSE button for six 6 seconds until you hear three...
Page 17: ...TE button to close the door Fig 28 Press again to open the door When the door reaches the half open point grab the bottom rail of the door firmly and the door should stop If the door does not reverse readily when closing or stop when opening the force may be excessive and need adjusting refer to STEP 16 4 on page 18 IMPORTANT WARNING If the door is closing and is unable to re open when obstructed ...
Page 18: ...crease in force If the Open Limit LED flashes continuously when the PLUS button is being pressed this indicates that the maximum force pressure setting has been reached Test the force again as per Steps 16 1 and 16 2 on page 17 Step 16 4 To Decrease Force Pressure Press and hold the FORCE MARGIN SET button Fig 31 While holding down the FORCE MARGIN SET button press the MINUS button Each press decr...
Page 19: ...tton to test Step 17 2 Setting the Transmitter to Operate the Courtesy Light Although the courtesy light comes on with each operation of the opener it may also be controlled by a transmitter without operating the door Press the CODE SET button twice The CODE SET LED will illuminate and the courtesy light will turn on to indicate that the light code learning is active Fig 34 Choose a transmitter bu...
Page 20: ...mentarily until the CODE SET LED turns off and beeps x 1 Step 17 4 Setting the Transmitter to Operate the Auxiliary Output It is possible to operate other devices e g alarm systems using one of the spare buttons of a multi channel transmitter coded into the Auxiliary Output feature Press CODE SET button four times The CODE SET LED will illuminate and the courtesy light will flash quickly twice per...
Page 21: ...e has been stored This indicates the code has been stored Fig 37 Step 17 6 To Erase Programmed Codes If the CODE SET button is pressed and held for 6 seconds the CODE SET LED will blink rapidly for one second to indicate that all programmed codes have been erased Fig 38 Step 17 7 Installation of the Wall Mounted Transmitter Mount the transmitter in a convenient location yet out of reach of childre...
Page 22: ...r an underground car park with large masses of steel reinforced concrete These issues and others can create radio reception issues Poor radio reception will be noticed by a reduction in the operating range of the transmitters You can evaluate whether fitting an external aerial will benefit as follows test the maximum operating range of the transmitter with the garage door closed then test the maxi...
Page 23: ...r opening inside the garage Make sure to align the beams correctly Follow the manual supplied with the Safety Infra red Beams Connect the wires to the terminal block as per Fig 41 WARNING When using Auto Close mode and Safety Infra red Beams the doorway must be clear of all obstructions and persons at all times WARNING Automatic door The door may operate unexpectedly therefore do not allow anythin...
Page 24: ...eck that the door is fully closed before you drive away If you press the transmitter whilst the door is moving the door will stop The next press of the transmitter will move the door in the opposite direction The transmitter may also be programmed to operate the following features see Pages 19 to 21 for more details turn the courtesy light on and off to activate the Auxiliary Output to put the doo...
Page 25: ...you must also have a Safety Infra red Beam Part No 062734 fitted and functioning To enable the Auto Close function place the AUTO CLS jumper near the terminal block When this option is selected the garage door opener will attempt to close the door automatically 30 seconds after opening If the Safety Infra red Beam is interrupted whilst the door is closing e g by a person walking through the doorwa...
Page 26: ...n set Check the door s operation see monthly maintenance Page 27 Plug a device e g a lamp into the power point and check that it is OK Possible cause blown fuse Replace the battery Page 25 Turn off Vacation Mode Page 20 See transmitter code setting procedure Page 19 The motor runs but the door does not move The opener is disengaged Re engage the opener Page 25 The transmitter range varies or is re...
Page 27: ...SET PLUS Increases the obstruction force margin setting FORCE MARGIN SET MINUS Decreases the obstruction force margin setting FORCE MARGIN SET then LIMIT SET Reloads the factory set default obstruction force margin setting LIMIT SET for 6 seconds Clears the door limits set positions Limits then need to be reset LIMIT SET the power on and hold until all LEDs are off Deletes control parameters exclu...
Page 28: ...ur nearest Approved Dealer Yearly B D suggests that you contact your nearest Approved Dealer to perform an annual door service CAUTION Frequently examine door particularly cables springs and mountings for signs of wear damage or imbalance Do not use if repair or adjustment is needed since a fault in the installation or an incorrectly balanced door may cause injury Adjustments should only be carrie...
Page 29: ...Spare Parts Diamond PD Power Drive Instruction Manual Copyright January 2008 B D Doors 29 Controll A Door P Instruction Manual ...
Page 30: ...he Opener the warranty shall be valid for a period of twelve 12 months ii in installation for a period of twelve 12 months from the date of installation where the Opener has been installed by B D or its Approved Distributor 4 The warranties provided in clause 3 i shall only apply to an Opener which is being used under normal use and service in accordance with the Manufacturer s Written Instruction...
Page 31: ... interference ix Water damage including effects from rust and corrosion x Use with doors locked 11 The warranty contained in Clause 3 does not cover batteries globes LED lights and B D shall not be liable for any defect malfunction or failure of such items 12 It is expressly provided that the warranties or any terms and conditions of them or other statement contained in this document or other lite...
Page 32: ...fice 17 Oasis Court Clontarf 4019 Ph 07 3883 0200 NSW Office 34 36 Marigold St Revesby 2212 Ph 02 9722 5555 VIC TAS Office 147 153 Canterbury Road Kilsyth 3137 Ph 03 9237 7766 SA Office 23 Frederick Road Royal Park 5014 Ph 08 8440 4747 WA Office 96 Mulgul Drive Malaga 6062 Ph 08 9247 8777 www bnd com au NZ Office 70 Allens Road East Tamaki Auckland Ph 09 273 8600 www bnd co nz B D Doors is a divis...