EN
L-L 234.00-BM
22 / 40
IMPORTANT
ALL OPERATIONS DESCRIBED IN THIS MANUAL MAY ONLY BE PERFORMED BY PROFESSIONALLY QUALIFIED PERSONNEL IN
ACCORDANCE WITH THE MANUFACTURER'S INSTRUCTIONS AND WITH ALL APPLICABLE RULES AND REQUIREMENTS OF THE
COMPETENT AUTHORITY
FAILURE TO RIGOROUSLY FOLLOW THESE INSTRUCTIONS MAY RESULT IN FIRE, EXPLOSION OR PRODUCTION OF CARBON MONOXIDE
THAT MAY CAUSE DAMAGE TO MATERIALS AND/OR PERSONAL INJURY, WHICH MAY ALSO BE SEVERE IN NATURE.
THE QUALIFIED INSTALLER ASSUMES RESPONSIBILITY FOR THE ASSEMBLY OF THIS UNIT.
1. INTRODUCTION
This manual describes the operations necessary for assembly and
commissioning of the FARM model space heater.
Depending on your choice, the heater can be mounted:
• in a linear or upright position
• with gas or diesel burner
• with single- or three-phase electrical panel
• therefore, with single- or three-phase fan
• with 1-way front air outlet
• with 1-way side air outlet
• with 2-way side air outlet
2. ASSEMBLY OF THE ELECTRICAL PANEL AND
THERMOSTAT BOX
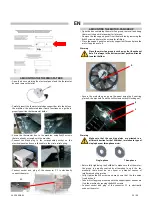
• Open the box containing the electrical panel and the thermostat
box, remove the electrical panel, and keep the two stickers with lot
number for later use.
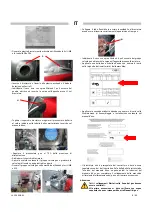
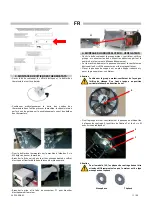
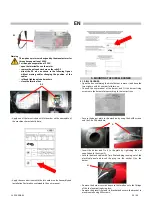
• Secure the electrical panel to the machine using the 4xM5 screws
that are already screwed onto the machine
• Choose the preferred position A or B depending on the type of
burner (pos. A: diesel burner; pos. B: gas burner).
Warning
For three-phase models, which are not provided with
thermal motor protection, the thermal relay must be
adjusted to the value in the "TABLE OF TECHNICAL
CHARACTERISTICS" of the Use and Maintenance Manual.
Then:
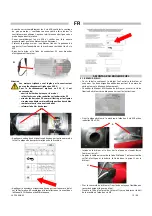
• Open the cover plate of the electrical panel;
• Identify the adjustment value for the model being assembled in
the use and maintenance manual;
•Turn the knob C to the indicated value
• Close the cover plate of the electrical panel;
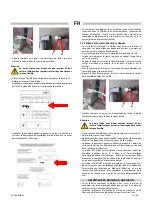
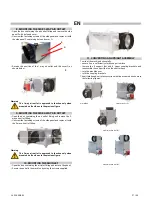
• Retrieve the two stickers with lot number and, using an indelible
ink felt tip pen, tick the box corresponding to the type of feed
chosen:
• Apply one of the two stickers on the ratings nameplate of the
machine:
• Apply the second sticker to the Declaration of Assembly and
Installation contained in the user manual:
C
A
B

