Baby Lock Model BLCS, Instruction Manual
The Baby Lock Model BLCS is a state-of-the-art sewing machine featuring unmatched precision and versatility. With our provided service manual, users can effortlessly master the machine's features and functionality. Download the manual for free at manualshive.com and unleash your creativity with ease and confidence.
Share
Download


Reviews:
No comments
Related manuals for Model BLCS

EX100
Brand: Necchi Pages: 64

PRO 100
Brand: Gamma Pages: 11

VX 805
Brand: VeriFone Pages: 40

2030DC
Brand: Janome Pages: 44

FLARE-1000
Brand: Qtx Pages: 6

BD 75 R Eco
Brand: Kärcher Pages: 15

Scrubtec 770 L
Brand: Nilfisk-ALTO Pages: 64

NC81200 CLASSES
Brand: Carpet Sergers Pages: 30

TF MEGA-A
Brand: Hefter Pages: 71

Pro Climber C525i
Brand: Tunturi Pages: 6
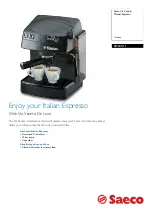
Saeco Via Veneto RI9345/11
Brand: Philips Pages: 2
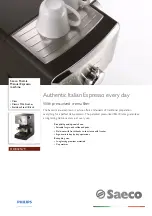
Saeco Poemia HD8325/79
Brand: Philips Pages: 2
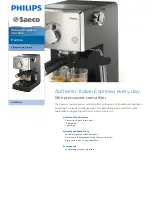
Saeco Poemia HD8325/47
Brand: Philips Pages: 3
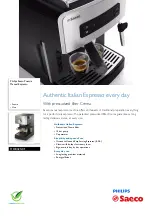
Saeco Poemia HD8425/01
Brand: Philips Pages: 3

OMNIA 26
Brand: COMAC Pages: 29

SIMPLA 50BST
Brand: COMAC Pages: 36

SC6500
Brand: Crescent Pages: 29

FLEXIFOLD 1st STATION
Brand: Baumfolder Pages: 47


