


14
AZT
POS Desktop Receipt Printer User Guide
AZT
POS Desktop Receipt Printer User Guide 15
1. Turn the printer’s power off.
2. Connect the ethernet cable to the printer.
3. Make sure the other end of the ethernet cable is
plugged into your router or switch.
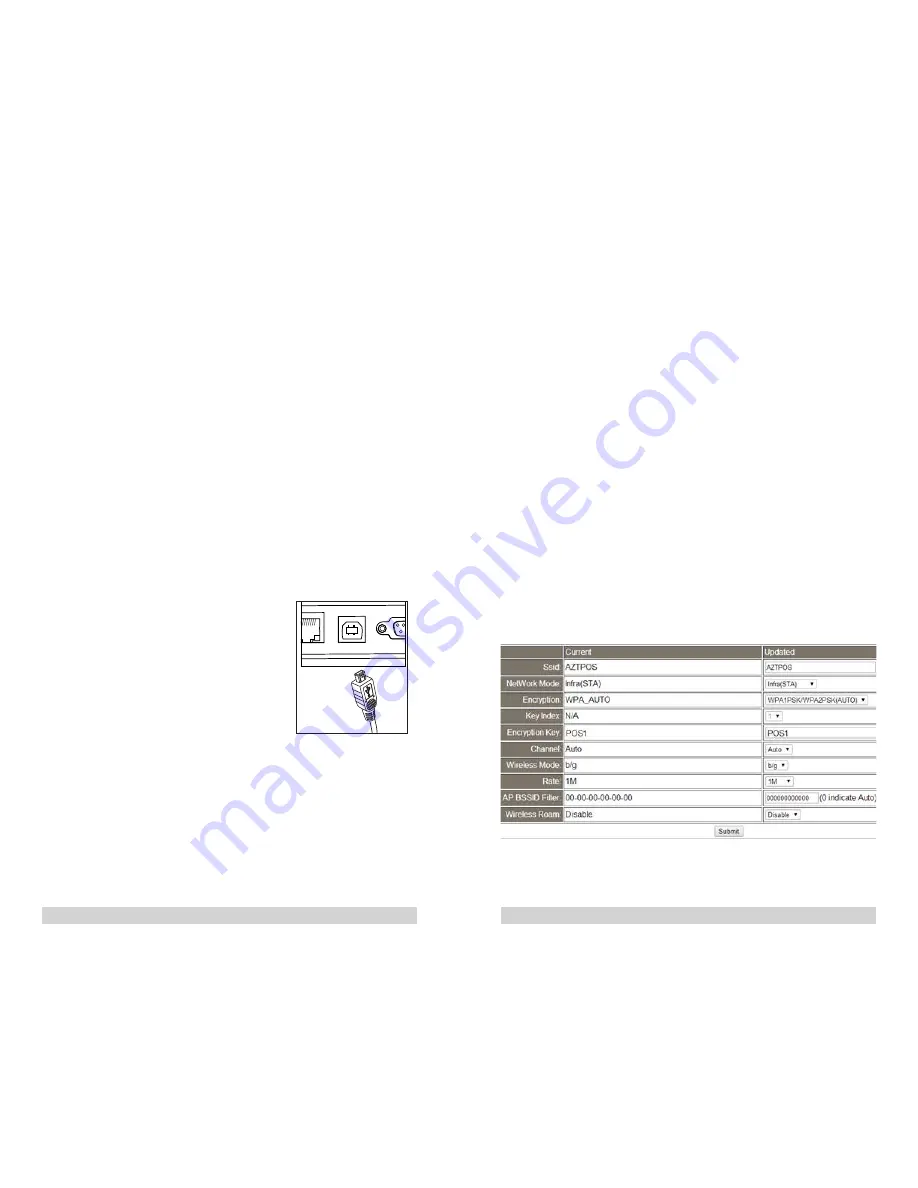
3.2.2. Connect Printer to USB / Serial
1. insert the USB / Serial cable into the printer by attaching
the USB / Serial cable to the fourth (USB) or fifth (Serial)
port from the left
2. Connect the end of the USB cable to the PC’s USB cable
port, or the Serial cable to the PC’s COM port
3. See sections 2.4, 2.5, and 2.5.1 for serial connection
settings
3.2.3.
Set an Ethernet IP Via DHCP (Auto)
Note: The 805W is configured with
ethernet DHCP enabled
1. Plug in power and Ethernet into
the back of the printer. Make sure
the other end of the ethernet
cable is plugged into your router or
switch.
2. Press and hold the feed button on
the front of the printer.
3. Turn on the printer while still holding the “Feed” button
4. The printer will start beeping as it looks for an IP
address, at this time you can release the “Feed” button.
5. The printout will have the printer’s current IP address
listed at the top
3.2.4.
Set an Ethernet IP Address (Manual)
Note: The following instructions are for users with windows 7,
8, and 10 operating systems. Download the Driver Installation
Tool from http://www.aztpos.com/downloads/
1. Click the IP configuration (ZQIPSetting).
2. Change the port setting to USB. This may be selected by
default.
3. In the New IP box, type in an IP address that is
compatible with your network. This IP should match your
router.
Example: If your IP address is 192.168.1.1, try using
an address such as 192.168.1.10. If your IP address is
10.0.0.1, try using an address such as 10.0.0.15.
4. Press the Set IP button. The printer should beep in
confirmation.
Summary of Contents for AZT-805W
Page 15: ......


