AZTPOS AZT-805W User Manual Download Page 10

18


AZT

POS Desktop Receipt Printer User Guide

AZT

POS Desktop Receipt Printer User Guide   19


Mask field. 
 
Note:  For a 192.168.1.xxx type of network, the Subnet 
Mask
 will be 255.255.255.0.

4.  In the Default Gateway field, enter your router’s IP. 

5.  Enter the DNS server number into the DNS Server field. 

Note: This is typically the same as the Default Gateway. 

6.  Click Update Settings

Note: A message such as, “Making this configuration 
page inaccessible…” or a similar message may pop up.  
Move on to the next step. 

7.  Once connected to the IP 

address, turn off the printer. 

8.  Wait 5 seconds, and then turn 

on the printer. 

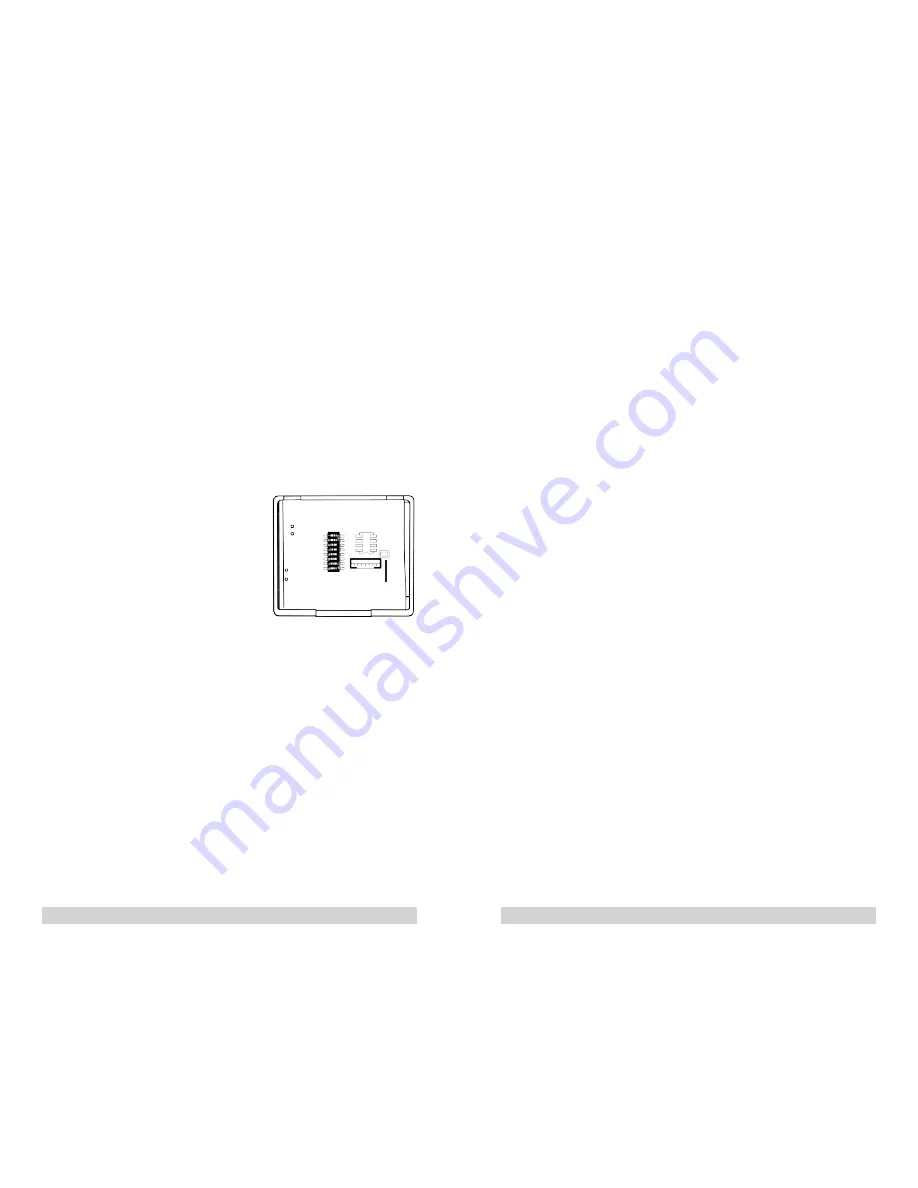
3.2.7. Resetting the WiFi to 

Factory Defaults

1.  Ensure the printer is powered on.

2.  Turn printer over so that the  

bottom is facing you.

3.  Remove the bottom cover.

4.  Hold the small white button  

down for 10 seconds.

5.  Replace the cover, and turn the  

printer upright.

6.  Turn the power on the printer off and back on to 

complete the reset.

3.2.8. Connect AZT-806BT via Bluetooth 
 

Note: The following instructions are for users with windows 7, 
8, and 10 operating systems.  Download the Driver Installation 
Tool from http://www.aztpos.com/downloads/

1.  Add a Bluetooth adapter to your computer.  

 
Note: This is typically done by plugging the adapter into 
a USB port. Ignore this step if your computer already has 
Bluetooth functionality installed. 

2.  Ensure your Bluetooth device is discoverable. To do this, 

you must:

a.  Turn the device on. 

b.  Make it discoverable.

c.  Install the device. 

 
Note: To install most devices, such as a mobile phone, 
keyboard, mouse, or tablet, use the Bluetooth 
Devices option in the Control Panel. 

3.  To install the printer on a Bluetooth-enabled computer, 

follow these steps:

a.  Open the Add Printer dialogue by clicking the 

Devices and Printers tab in your Windows Start 
menu. 

b.  Click the Add a printer option. 

c.  When prompted for the pair code, type in 1234.

WiFi Reset
Button

Summary of Contents for AZT-805W

Page 1: ...Desktop Receipt Printer User Manual for Model Numbers AZT 805W AZT 806BT Copyright 2016 AZT POS...

Page 2: ...Dip Switch Settings 12 3 Setup 13 3 1 Connecting Cables 13 3 2 Connection Methods 13 3 2 1 Connect AZT 805W via Ethernet 13 3 2 2 Connect Printer to USB Serial 14 3 2 3 Set an Ethernet IP Via DHCP Aut...

Page 3: ...ons 24 6 Wall Mount Template 27 Never disassemble or modify this product Tampering with this product may result in injury fire or electric shock Download all drivers and tools from http www aztpos com...

Page 4: ...pen lever and open the printer cover when printing is in progress Do not pull out paper when the printer cover is closed Use the feed button instead Do not transport the printer with its cover open an...

Page 5: ...power cord into the first port on the back of the printer Once the power cord is connected to the printer port plug in the power cord adapter to the power outlet 2 2 Control Panel The control panel i...

Page 6: ...perform the following 1 Ensure that the printer is powered off 2 Turn the printer upside down to reveal the bottom panel of the printer 3 Press up on the plastic clasp on the cover to remove the DIP...

Page 7: ...OFF 115200 bps ON ON Print Mode DIP3 DIP4 Default 42 characters OFF OFF AZT 806BT 48 characters OFF ON AZT 804R AZT 805W 53 characters ON OFF Reserved ON ON Beeper DIP5 Default Enable OFF Disable ON P...

Page 8: ...le is plugged into your router or switch 2 Press and hold the feed button on the front of the printer 3 Turn on the printer while still holding the Feed button 4 The printer will start beeping as it l...

Page 9: ...field enter admin c In the Password field enter 1234567 d Click OK 5 The Simple WiFi Module page will display 6 Click Wireless Settings in the left hand column of the screen 7 Type the WiFi SSID into...

Page 10: ...nd turn the printer upright 6 Turn the power on the printer off and back on to complete the reset 3 2 8 Connect AZT 806BT via Bluetooth Note The following instructions are for users with windows 7 8 a...

Page 11: ...ows 7 8 and 10 operating systems 1 Press the Start button 2 Select the Devices and Printers tab 3 Right click the printer you installed 4 Select Printer Properties from the drop down menu 5 Click Prin...

Page 12: ...that may be present 4 2 Cleaning To maintain the efficiency and operation of the printer it must be periodically cleaned Dust and food particles can accumulate on the print head this can degrade print...

Page 13: ...x 24 Font B 9 x 17 Characters Per Line Font A 48 Font B 64 Barcodes Code 39 Code 128 EAN 8 EAN 13 Driver Windows 7 8 10 Sensor Out of paper Receive Buffer Size 4K bytes Weight 3lbs 1 3kg Dimensions W...

Page 14: ...26 AZTPOS Desktop Receipt Printer User Guide AZTPOS Desktop Receipt Printer User Guide 27 6 Wall Mount Template Notes Hole Locations...

Page 15: ......

Reviews: