background image

User Manual 

Page 25 of 40 

Power Saving Mode 

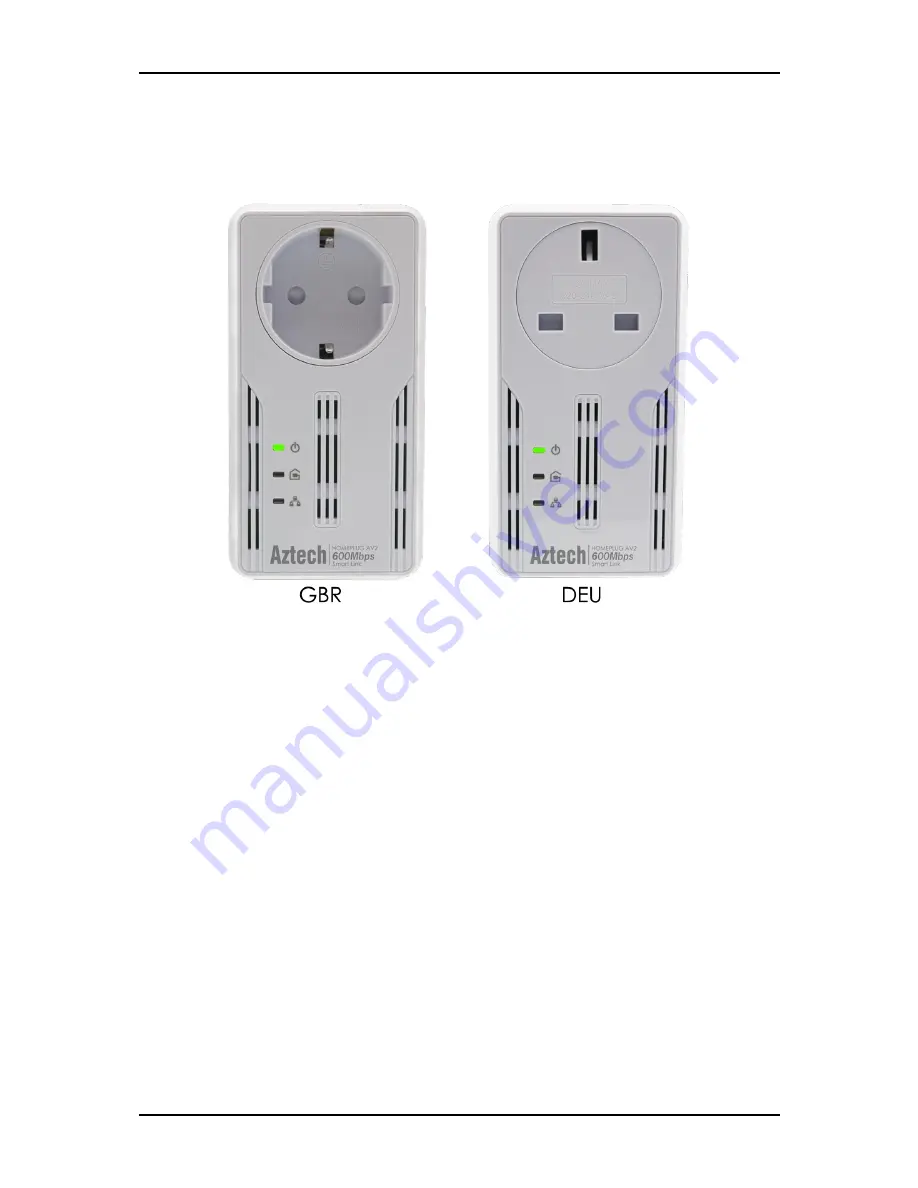
After 15 minutes of Ethernet inactivity, the HL119EP will enter Power Saving Mode. The 

Power LED will start BLINKING slowly to indicate its Power Saving Status. 


Conditions of an HL119EP before entering Power saving mode: 

-


Power LED is blinking slowly 

-


Powerline Activity LED and Ethernet LED are turned OFF. 

-


When  connected  to  a  PC  or  Laptop,  if  there  is  network  card  inactivity, 

HomePlugAV2 is also on a Power Saving mode. 

Note:  If  another  device  is  on  a  Power  Saving  Mode,  the  HomePlugAV2  Utility  may 

detect the device but would be unable to configure its respective setting. 


Summary of Contents for HL119EP

Page 1: ...HL119EP Aztech HomePlug AV2 600 Mbps Smart Link AC Pass thru Eth Adapter V1 1...

Page 2: ...ESS FOR A PARTICULAR PURPOSE OR ANY WARRANTIES ARISING FROM COURSE OF DEALING COURSE OF PERFORMANCE OR USAGE OF TRADE IN NO EVENT WILL THE SELLERS BE LIABLE FOR DAMAGES OR LOSS INCLUDING BUT NOT LIMIT...

Page 3: ...ect Button 13 Creating a Secured HomePlugAV2 Network 15 Joining an Existing Secured HomePlugAV2 Network 20 Power Saving Mode 25 Setup the HomePlugAV2s 26 For Twin Pack 26 For Single Pack 26 About Home...

Page 4: ...is applied A HomePlugAV2 device can only communicate with other HomePlugAV2 devices that use the same Private Network Name The Private Network Name can easily be changed in two ways 1 is through the...

Page 5: ...Smart Link Communication signals traverses in either the Line Neutral pair or the Line Ground pair Aztech HL119EP was developed differently compared to other Standard PLC devices Unlike Standard PLC d...

Page 6: ...finitely wasted with this ideal feature NOTE Avoid connecting the HL119EP to a power strip where other electrical devices are currently plugged in Other devices might produce electrical noise or inter...

Page 7: ...Accepts either cross or straight Ethernet cable Reset Button Press for three 3 seconds then release the button to reset the device to its factory default settings When you reset to factory default all...

Page 8: ...onds this LED will turn OFF to confirm the Private Network Name reset This LED is steady in color when the device is part of a HomePlugAV2 network The LED colors represent the current connection rate...

Page 9: ...ptions beside each step to help you along Detailed instructions are provided in the subsequent pages Setup the HomePlug AV2s Plan your Network Ready to Use Optional Install HomePlug AV2 Utility Softwa...

Page 10: ...are ideas on how you can plan your HomePlugAV2 network Local Network Share ultra fast Internet connection with any computer wherever it is in your house Gaming Network Connect your gaming console to t...

Page 11: ...Manual Page 11 of 40 Entertainment Network Experience IP TV streaming into your home entertainment system Media Network Realize your high tech lifestyle by converging your IP devices into a single net...

Page 12: ...o easily observe the LED behaviors of each HomePlugAV2 device Wait until the Power and Powerline Activity LED of both devices turns ON to confirm that the connection has successfully been established...

Page 13: ...of 40 How to Use Reset and Simple Connect Button The Simple Connect button provides a more convenient way of creating your HomePlugAV2 network without the need of opening the HomePlugAV2 Utility softw...

Page 14: ...ctory default settings press RESET on the device for three 3 seconds Do take note that upon performing factory default reset all settings or changes made into the device would automatically be deleted...

Page 15: ...ver if you intend to create a new Private Network Name using Simple Connect for both devices you need to reset their Private Network Names to a random key before proceeding To create a Secured HomePlu...

Page 16: ...the Simple Connect button for 2 seconds on HomePlug Y After you release the button the Power LED will blink If the Power LED did not blink press Simple Connect again for two seconds Note Do not press...

Page 17: ...es are only given two minutes upon pressing the Simple Connect button for two seconds on HomePlug Y After pressing Simple Connect on HomePlug Y make sure to press Simple Connect on HomePlug X within t...

Page 18: ...as established check the LEDs The Power LEDs and the Powerline Activity LEDs on both HomePlugs are ON When the Powerline Activity LED on either HomePlug X or HomePlug Y is OFF You have to repeat steps...

Page 19: ...outlet An Ethernet enabled device can be a router computer hub gaming console IP phone network printer or IP TV set top box Note HomePlugAV2s work best when connected directly to a wall socket It is s...

Page 20: ...l be processed To join an existing Secured HomePlugAV2 network using Simple Connect Step 1 Plug HomePlugAV2 X beside one of your existing HomePlugAV2 devices It is important to ensure that you can eas...

Page 21: ...lugAV2 device After you release the button the Power LED will continuously blink If the Power LED did not blink press Simple Connect again for two seconds Make sure to press Simple Connect Button agai...

Page 22: ...lug X is off this means the pairing was unsuccessful You have to repeat steps 1 to 3 again until all LEDS in all HomePlugAV2 devices are ON To confirm if the connection was established check the LEDs...

Page 23: ...tlet An Ethernet enabled device can be a router computer hub gaming console IP phone network printer or IP TV set top box Note HomePlugAV2s work best when connected directly to a wall socket It is sug...

Page 24: ...ly be calculated when the device is part of an existing network The exact connection rate value can also be viewed using the HomePlugAV2 Utility The connection rating is present on both GBR and DEU de...

Page 25: ...nditions of an HL119EP before entering Power saving mode Power LED is blinking slowly Powerline Activity LED and Ethernet LED are turned OFF When connected to a PC or Laptop if there is network card i...

Page 26: ...Single Pack A HomePlugAV2 from a single pack uses a random Private Network Name that prevents it from communicating with other HomePlugAV2s To add it into an existing network you need to use either th...

Page 27: ...ghtforward and the user interface is easy to use Note To use the HomePlug AV Utility you need a computer using a Windows operating system with the NET Framework installed If you do not have NET instal...

Page 28: ...ill be installed in your computer 1 HomePlug AV Utility will be installed first followed by 2 NET Framework The installer detects any version of NET Framework in your computer If NET Framework is not...

Page 29: ...shortcut and then select Open Click the Start button click Programs click HomePlug AV click HomePlug AV Ethernet Adapter and then click HomePlug AV Utility The User Interface The HomePlug AV Utility...

Page 30: ...hen you select a network card the MAC Address of the HomePlug AV AV2 connected to your computer appears If there is no HomePlug AV AV2 connected to your computer no MAC address will appear 2 Select a...

Page 31: ...ple networks you can assign different Private Network Names among your devices However you have to ensure that at least two HomePlug AV AV2s have a similar Private Network Name A HomePlug that uses a...

Page 32: ...k Name of HomePlug AV AV2 devices provided that they are using the same Private Network Name as your local HomePlug AV AV2 You cannot change the Private Network Name of remote devices that are not cur...

Page 33: ...device label seen on the example provided below 6 Click Apply When the process is complete the message Settings Applied would appear After changing the Private Network Name of the remote HomePlug AV A...

Page 34: ...g AV AV2 using a random Private Network Name will be disconnected from the HomePlug network and will not be able to communicate with other devices until it forms a new network or joins an existing net...

Page 35: ...abled by default Online Game Internet Prioritizes data streaming Audio or Video Prioritizes data streaming multimedia streaming Voice over IP Prioritizes voice applications To enable QoS 1 Open HomePl...

Page 36: ...local HomePlugAV2 will appear in the Remote Devices list Devices displays the following information TEI Displays the Terminal Equipment Identifier Device MAC address Displays the HomePlugAV2 MAC Addre...

Page 37: ...u can download upgrade files from the product s Web site To upgrade the firmware of a HomePlugAV2 1 Connect HomePlugAV2 to the computer where you are using the HomePlugAV2 Utility 2 Open HomePlugAV2 U...

Page 38: ...However there is no guarantee that interference will not occur in a particular installation If this equipment does cause harmful interference to radio or television reception which is found by turnin...

Page 39: ...other risks Only qualified service personnel can service the device Please contact your vendor for further information Do not use your device during a thunderstorm There may be a risk of electric sho...

Page 40: ...User Manual Page 40 of 40 Copyright 2014 Aztech Technologies Pte Ltd CRN 199800635M All rights reserved...

Reviews: