AXIS Camera Station Administration
AXIS Camera Station User’s Manual
33
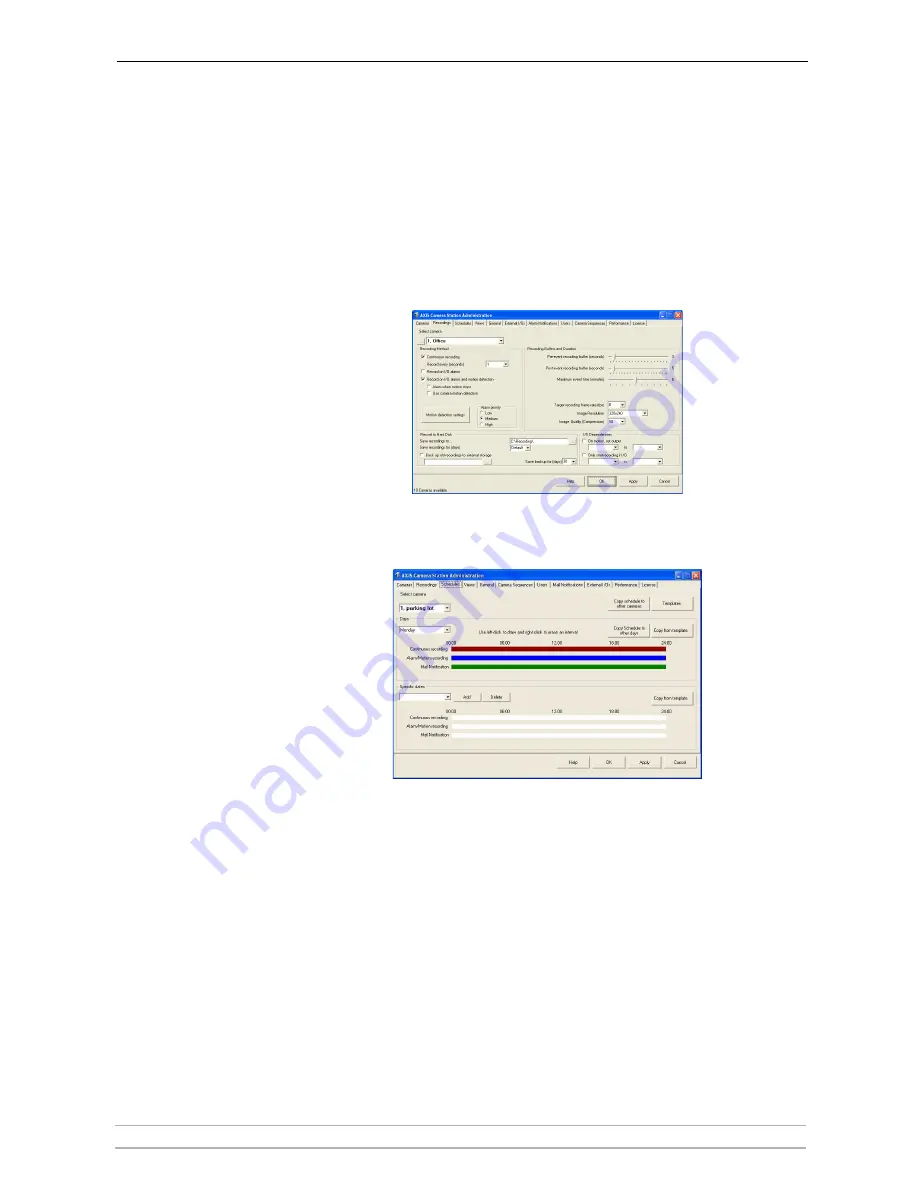
Continuous recording
Follow these instructions to configure a camera to record continuously. This
recording mode uses more disk space than recording only on alarms or motion.
By default, all schedules are enabled at all times.
In order to define a recording schedule, you must first register the camera
under the Cameras tab and enable Continuous recording under Recordings:
1. From
Recordings
, select a camera from the
Select Camera
drop-down list.
For a camera to appear in the drop-down list, it must be registered under
the
Cameras
tab, see
Cameras
, on page 19 for instructions.
2. Check the
Continuous recording
checkbox and click
Apply
.
3. Under
Schedules
, the
Continuous recording
indicator bar will be completely
filled in with red. Right-click and drag on the indicator bar if you wish to
modify the interval.
4. Click
Apply
to save the new settings.
Alarm/Motion
recording
Schedule the intervals during which recordings can be triggered by alarms or
motion detection.
In order to define a recording schedule, you must first register the camera
under the
Cameras
tab and enable
Record on I/O alarms and motion detection
or enable
Record on I/O alarms
under
Recordings
.
Alarm Notification
Schedule the intervals when to notify users on alarms, i.e. send email. This
period will usually be the same as the period set for Alarm/Motion recording.
In order to define a recording schedule, you must first register the camera
under the
Cameras
tab, see
Cameras
, on page 19 for instructions.


