16
AVTECH Inc.
Additional Screens And Interfaces
TemPageR 3E
Additional Screens And Interfaces
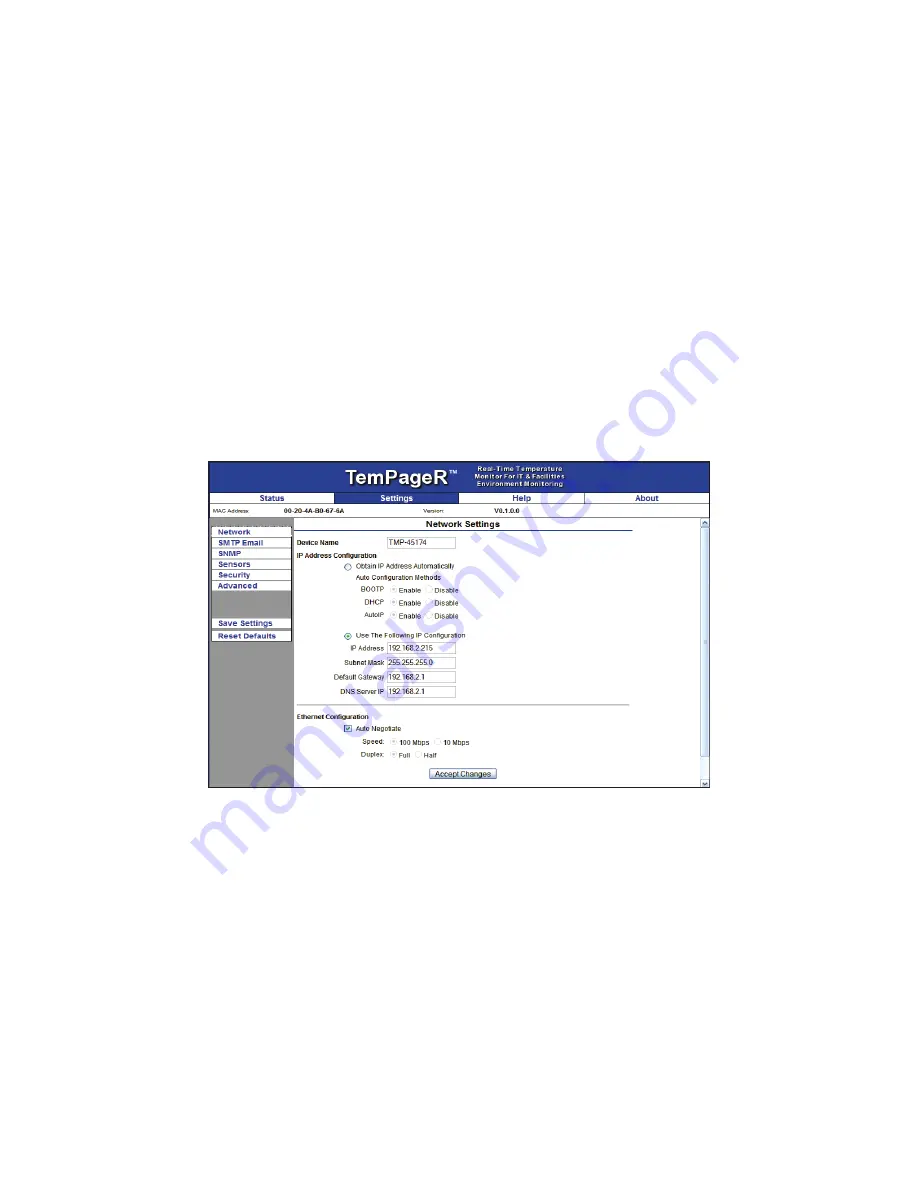
Network
The ‘Network’ tab of the TemPageR 3E ‘Settings’ screen is used to update the network settings of the
TemPageR 3E unit. The network settings can also be updated using the AVTECH Device Discovery
Utility. To configure the TemPageR 3E unit to obtain an IP address automatically using DHCP, select the
‘Obtain IP Address Automatically’ radio button and click the ‘Save Settings’ button. To configure the
unit with a static IP address, un-select the ‘Use The Following IP Configuration’ radio button, enter the
new static IP address, gateway IP address, DNS server IP address, and subnet mask in the appropriate
fields. When finished, click the ‘Accept Change’ button then ‘Save Settings’.
NOTE: If configuring static IP settings on the TemPageR 3E unit, be sure that the settings assigned are valid for the current
location of the TemPageR 3E unit and that there are no other devices assigned to the same IP address. DO NOT set an IP
address that is outside of your subnet or you may not be able to see or discover the TemPageR 3E unit.
Security
The ‘Security’ tab of the TemPageR 3E ‘Settings’ screen is used to configure a username and password
for entry to the TemPageR 3E ‘Settings’ screen. Be sure that the username and password entered
contains only alphanumeric characters, special characters are not supported. Enter the password again in
the second field for verification and click the ‘Accept Change’ button, the ‘Save Settings’.


