


the system to automatically redirect recording to the unused hard drive.
To assign the new hard drive as a hot spare:
a. In the Task list, select
Assign and Unassign Global Hot Spare
.
b. Click
Execute
.
If the new hard drive is not displayed in the Server Administrator, try one of the following:
l
Refresh the browser.
l
Reboot the recorder.
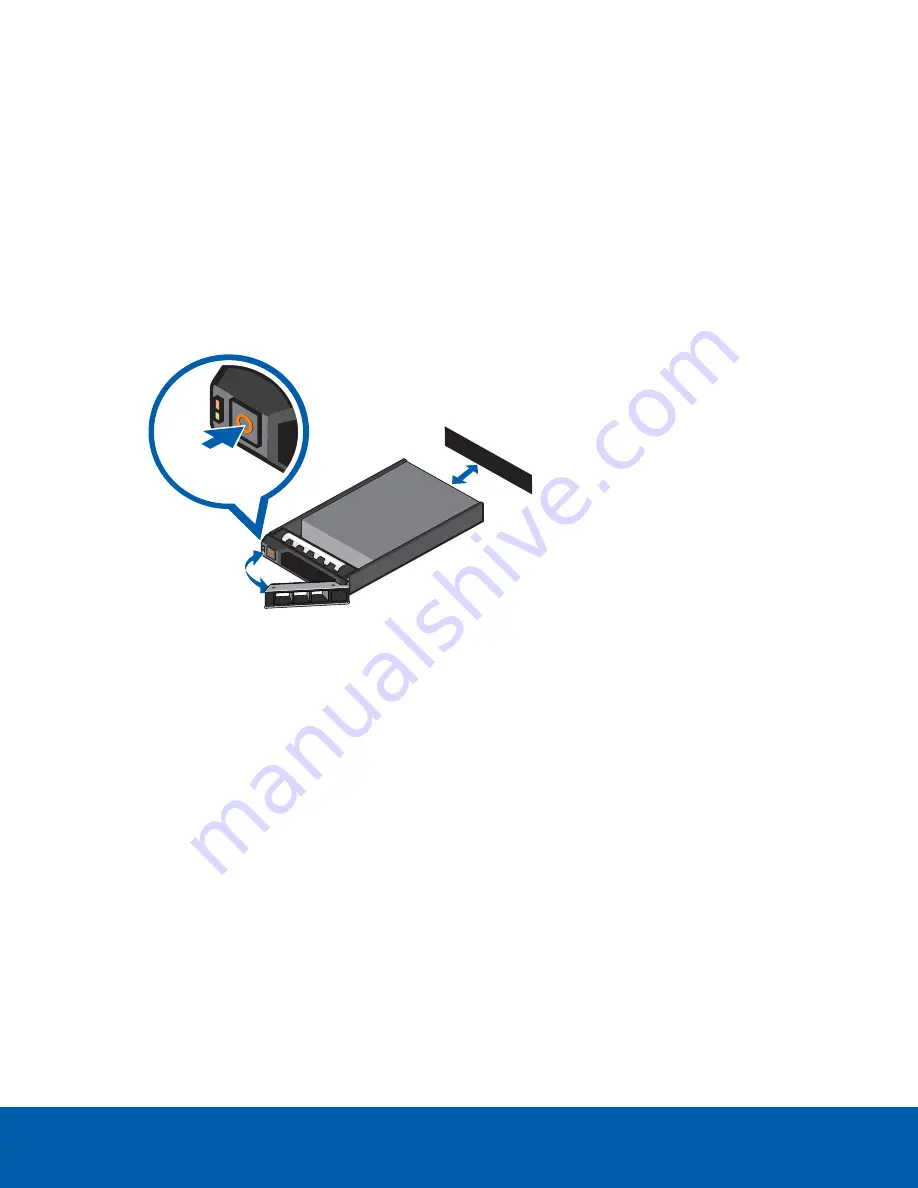
Replacing Front or Back Hard Drives
1. Locate the failed hard drive at the front or back of the recorder.
2. Press the release button on the front left of the hard drive.
3. When the handle is released, pull the hard drive out of the recorder.
4. Remove the four screws from the side of the hard drive carrier.
5. Lift the failed hard drive out of the carrier.
6. Insert a new hard drive into the carrier then screw it into place. The hard drive connectors should face
the back.
7. When the hard drive is secured in the carrier, insert the hard drive back into the recorder.
8. Once the hard drive is inserted all the way in, push the handle against the hard drive to lock it into
place.
The recorder immediately starts rebuilding the hard drive. The progress is displayed in the Server
Administrator. This may take several hours.
Replacing Center Hard Drives
To replace a hard drive stored in the center of the 192TB or 224TB recorder, complete the following steps:
Replacing Front or Back Hard Drives
21


