background image

11/07 Rev. 4.03-01

USER MANUAL

Commissioning and Operation

AP 3.4

6

Basic Operations

Printing a Configuration Report

 1. Turn off the printer. Press and hold the FEED button.

 2. Turn on the power.

 3. READY indicator blinks, release FEED button.

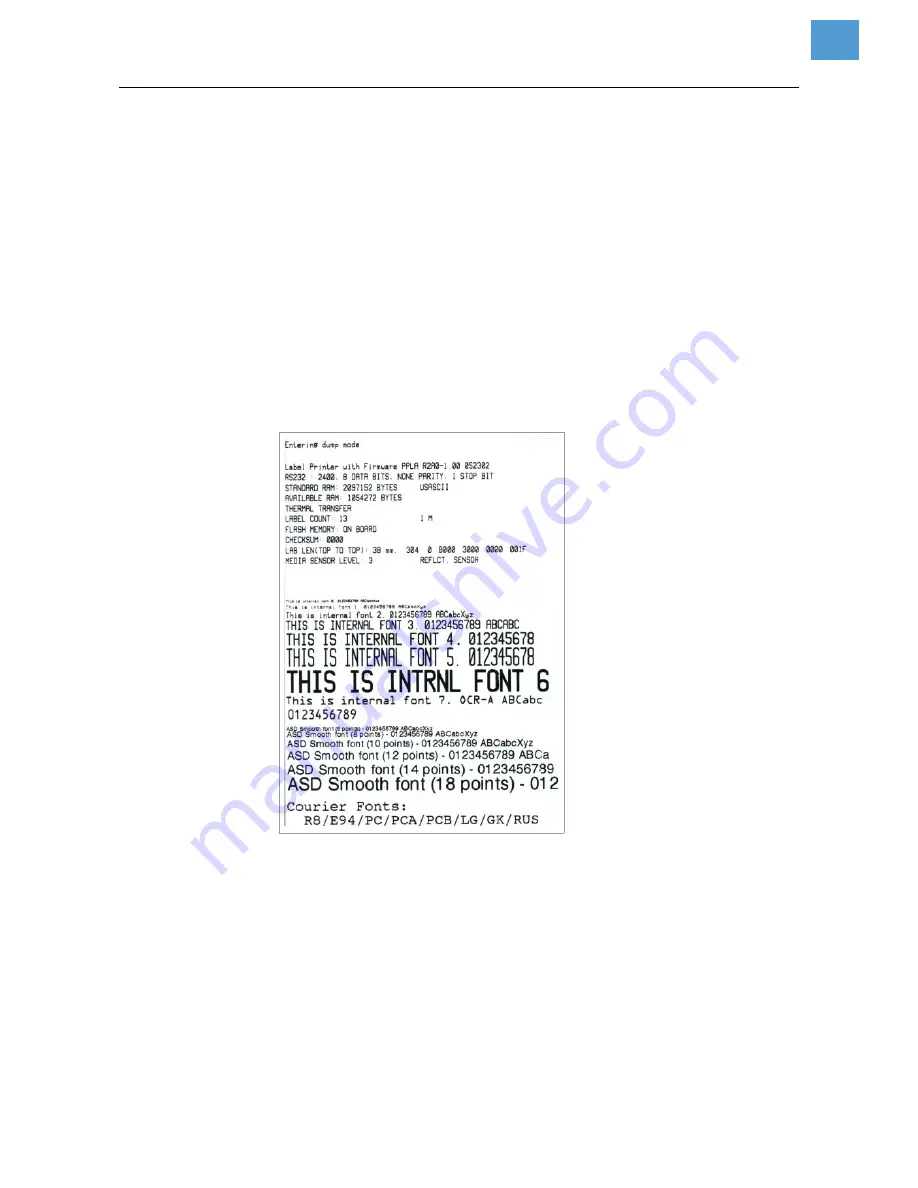
 4. The printer will perform a self test and print out a configuration report [3].

 5. READY indicator stops blinking and lights up.

 6. The following information will be printed on this report.

¯

After self test the printer will enter character dump mode. For normal opera-
tion press the CANCEL button to stop dump mode.

[3]

Configuration report.

Summary of Contents for AP3.4

Page 1: ...inter 3 Operator Controls 4 Buttons 4 LED indicators 5 Basic Operations 6 Printing a Configuration Report 6 Performing a Calibration 7 Performing a Factory Reset 8 Driver Installation 9 Selecting a dr...

Page 2: ...s rear side of the device y Centronics connector parallel port 1C For parallel port connection Mostly it is connected to the printer port of a PC y RS232 connector serial port 1D For serial port conne...

Page 3: ...l cable to the RS232C port of your computer With a USB cable to the USB port of your computer WARNING Printer is driven by mains voltage Touching of live parts can cause life threatening body currents...

Page 4: ...Button then turning on the power switch the printer will perform a self test and a configuration report will be printed BUTTON Pressed at normal status Pressed during power on FEED Feed a label Perfo...

Page 5: ...n then turning on the power switch the prin ter will perform a system reset all the parameters which are stored in EEPROM will be rest to default value LED indicators There are three LED indicators on...

Page 6: ...e power 3 READY indicator blinks release FEED button 4 The printer will perform a self test and print out a configuration report 3 5 READY indicator stops blinking and lights up 6 The following inform...

Page 7: ...all the related parameters will be stored in the EEPROM which is located on Main board This procedure is very important and must always be carried out after instal lation and every time the media type...

Page 8: ...s and hold the CANCEL button 3 Ribbon indicator blinks release the button Ribbon indicator stops blinking and lights up The following parameters automatically reset Label parameters Heat Darkness Spee...

Page 9: ...llowing as Standard Driver and USB Driver USB Driver Install the USB Driver if The print jobs are supposed to be sent via USB interface The AP 3 4 is supposed to be operated with the optional keyboard...

Page 10: ...with Eltron interpreter 6 Further follow the instructions of the installation wizard The driver files are copied to the computer 7 If you are back to the selection window NiceLabel SE CD click Back a...

Page 11: ...lities AP34 Xbar Labelprogram and start the exe file which is stored there 3 Follow the instructions of the installation wizard NiceLabel 1 Insert the CD Printer Documentation is delivered witih the p...

Reviews: