


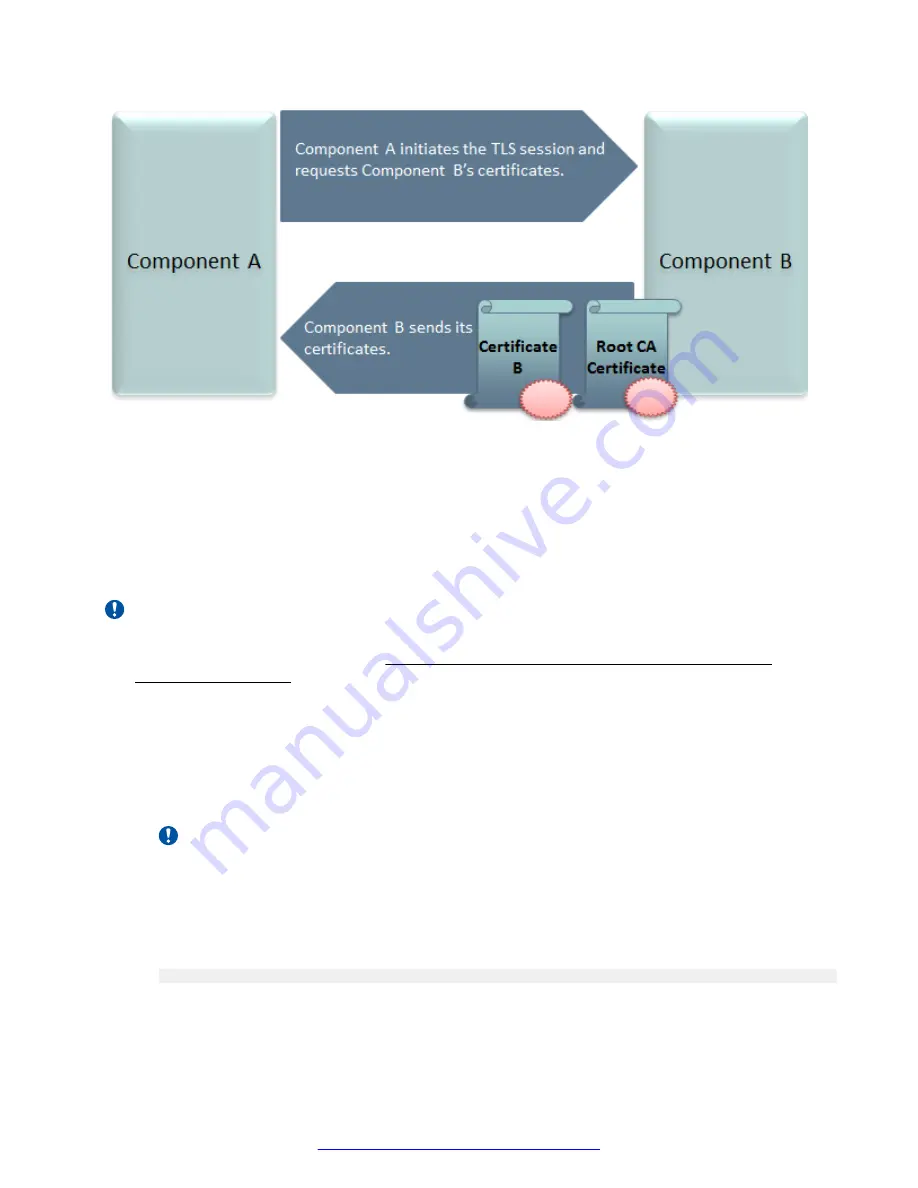
Figure 33: Establishing TLS connection
Scopia
®
XT Desktop server is shipped with a pre-created and pre-installed certificate, but its
encryption keys are non-unique. You can create a unique certificate for stronger authentication as
described in this section.
You create a unique certificate by generating a certificate signing request (CSR) using the
keytool
utility and sending it to a certificate authority (CA) for signing. The
keytool
utility is part of the Java
installation.
Important:
This section does not explain each of the parameters of the keytool command. For a full
description of this Java utility, see http://docs.oracle.com/javase/7/docs/technotes/tools/
windows/keytool.html.
Procedure
1. Stop the
Scopia
®
XT Desktop - Apache Tomcat
service.
2. Copy the
.keystore
file located in
<SD_install_dir>\data\sds.keystore
to a temporary
working folder, for example
C:\cert
. The keystore file holds the certificates on each server.
Currently they hold the default non-unique certificates.
Important:
The password on the
.keystore
file is
radvision
.
3. Open a command line window. The
keytool
utility is located in
<SD_install_dir>\JRE\bin
.
4. Use the
keytool
utility to remove the pre-installed certificate from the
.keystore
file with
the
-delete
parameter. The default certificate has an alias of
default
:
keytool
-delete
-alias default -keystore sds.keystore -storepass radvision
Encrypting Scopia
®
XT Desktop server Communications
August 2015
Avaya Scopia
®
XT Desktop Server Installation Guide
45