


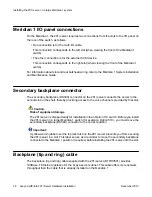


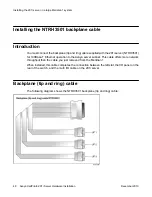


When installed, this cable completes the connection between the left slot, the I/O panel on the
rear of the switch, and the multi I/O cable on the 201i server.
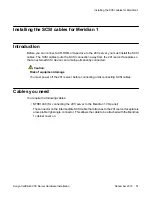
SCSI cables
Before you can connect a CD-ROM or tape drive to the 201i server, you must install the SCSI
cables. You require two cables. These cables route the SCSI connection away from the 201i
server faceplate so that an external SCSI device can remain permanently connected.
Repositioning the secondary backplane connector
Introduction
The secondary backplane (DS30X) connector on the 201i server connects the server to the
second slot on the shelf, thereby providing access to the voice channels provided by that slot.
Caution:
Risk of equipment damage
The 201i server ships ready for installation into an Option 11C or Option 11C Mini switch.
Before you install the 201i server in a larger Meridian 1 switch (for example, Option 51C),
you must move the secondary backplane (DS30X) connector to the correct position.
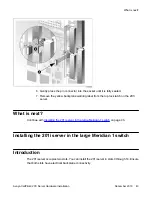
Why you must move the connector
There is an approximate difference of 2 mm (0.08 in) between slots on a Meridian 1 tiered
system and an Option 11C or Option 11C Mini system. As a result, you must install the
secondary backplane (DS30X) connector on the 201i server in the correct position before a
successful connection with the switch backplane can be established.
Important:
A yellow warning label over the top lock latch on the 201i server prevents you from securing
the 201i server in a slot. This label serves as a reminder to move the secondary backplane
connector to the Meridian 1 position, if required, before installing the 201i server into the slot.
SCSI cables
Avaya CallPilot
®
201i Server Hardware Installation
December 2010 39