background image

MCS Manual Rev. 1.4 

Symbols and Notes 

The following general safety rules must be taken into account during installation, operation and 

maintenance. Failure to do so may cause damage to the operator, the sensor or the 
environment. 


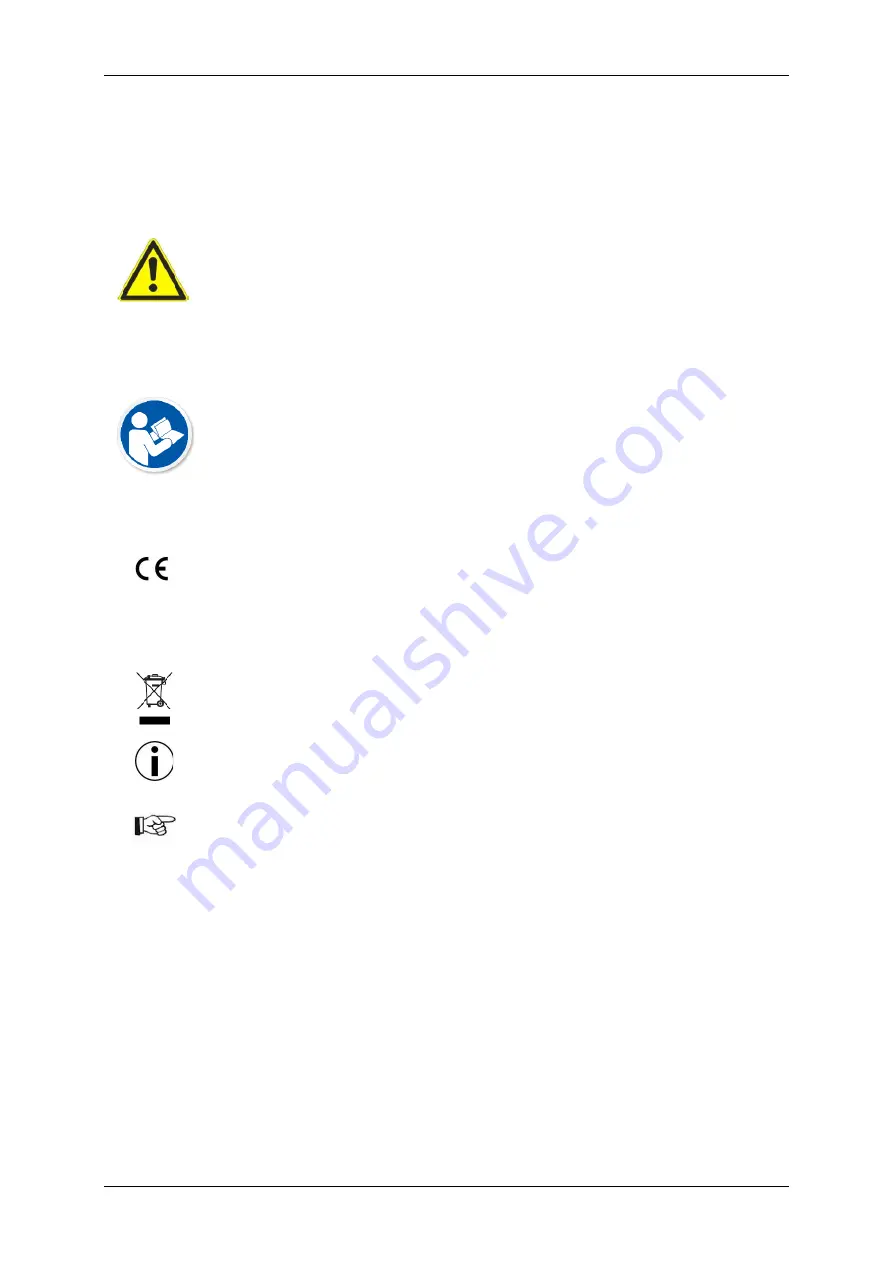
Warning 


Do not use the sensor in adverse environmental conditions, such as in 
rooms with a high concentration of flammable gases, vapors or dust. 


Make sure that all cables are routed without risk of tripping. 


Only connect the power cord to the mains voltage after finishing the 
installation of the camera.


Read the manual 


Read the operating instructions before using the sensor. 


Make sure that the operating personnel have read the operating 
instructions and understood the contents! 


Observe the safety instructions. 


Observe the locally applicable safety and accident prevention regulations. 


In case of any uncertainty contact the manufacturer.


CE marking, see Declaration of Conformity 

RoHS 

RoHS mark, the system complies with RoHS Directive 2002/95 / EG 


WEEE mark, the system is registered according to the WEEE directive under the 

WEEE-Reg.-No. DE 13042735 


Safety information 


General remark 


Summary of Contents for MCS 1280 Series

Page 1: ...er MCS Manual Rev 1 4 User Manual for MCS cx1280 MCS cx2040 MCS cx4090...

Page 2: ......

Page 3: ...ities 10 MCS OVERVIEW 11 Introduction 11 MCS 1280 2040 and 4090 General Specifications 12 MCS Sensor Specifications 14 Sensors Spectral Response 15 Temperature Range Operation Storage 16 Temperature a...

Page 4: ...r Triggering the Sequencer Frame and Profile Acquisition 50 Chunk Data Mode 52 General Description 52 Payload Layout in Chunk Data Mode 53 XML Descriptors and Id s 54 Chunk Data Structure 55 GigE Visi...

Page 5: ...trol 77 Transport Layer Control 77 User Set Control 77 Chunk Data Control 77 Event Control 77 File Access Control 77 CXEXPLORER OVERVIEW 78 cxExplorer 78 cxExplorer Features 79 Image Wizard 79 Image M...

Page 6: ...imer While care has been exercised in the preparation of this document to ensure that it is fully correct and comprehensive the owners assume no responsibility for errors or omissions Neither is any l...

Page 7: ...er cord to the mains voltage after finishing the installation of the camera Read the manual Read the operating instructions before using the sensor Make sure that the operating personnel have read the...

Page 8: ...ethyl alcohol Lens cleaning cloths Clean the sensor with the wetted non dripping cloth Don t expose the sensor to running liquids or immerse it If the protective windows are dirty it must only be cle...

Page 9: ...oducts The relevant standards IEC 60825 1 2001 08 and 21 CFR 1040 10 11 CDRH classify lasers into several categories The regulations regarding the different classes applicable to the used laser are gi...

Page 10: ...here is an example for an IEC classified 2M laser For detailed specifications observe the label on your sensor Class 3R Class IIIa 3R lasers emit optical power between 1 to 5 mW The accessible emissio...

Page 11: ...ction should not exceed exposure duration more than 10 seconds Class IIIb 3B laser products must bear warning and certification labels In addition to the above requirements the certification for class...

Page 12: ...required Not required Required key removal disable laser Eyewear Protection Not required Not required Required under special circumstances Emission Delay Not required Not required Required Specular r...

Page 13: ...s of laser triangulation technique The 3D profile extraction is performed in the sensor by using high performance Field Programmable Gate Array processors At the same time the 3D profile data is sent...

Page 14: ...Z High Speed Triple RS 422 Receiver Max input voltage 5V DC TTL level Max current consumption per channel 21mA RS 422 Mode max frequency 15MHz Min pulse width 32ns Laser Supply Reverse voltage protec...

Page 15: ...r Connector 17 pin M12 connector Ethernet Connector 8 pin A coded M12 connector Mechanical Stress Specification Vibration sinusoidal each axis 2g 20 to 500Hz IEC 60068 2 6 Vibration random each axis 5...

Page 16: ...er Consumption 10 W 6 W 10 W Max Profile Rate at Max Row Width3 94700 Hz 25000 Hz 14500 Hz Effective Profile Rate Hz at Max Row Width Number of Rows Effective Frame Profile Rate Hz 8 94700 25000 14500...

Page 17: ...S Manual Rev 1 4 15 Sensors Spectral Response 0 10 20 30 40 50 60 70 300 350 400 450 500 550 600 650 700 750 800 850 900 950 1000 QUANTUM EFFICIENCY WAVELENGTH nm SPECTRAL RESPONSE cx1280 cx2040 cx409...

Page 18: ...mperature as well as the sensor temperature should be stabilized and no longer increase Afterwards a reliable and stable 3D measurement is given Rapid changes of the ambient temperature greater than 1...

Page 19: ...MCS Manual Rev 1 4 17 Definition Working Distance and Field of View FOV Definition Coordinate System...

Page 20: ...18 MCS Manual Rev 1 4 Mechanical Drawings Housing Types 1 4 2 5 3 6...

Page 21: ...MCS Manual Rev 1 4 19 Dimensions Housing Type 1 and 2 All dimensions in mm...

Page 22: ...20 MCS Manual Rev 1 4 A Spacer B C D 0 15 5 12 195 15 30 5 27 210 30 45 5 42 225 45 60 6 57 240 65 80 5 77 260 All dimensions in mm...

Page 23: ...MCS Manual Rev 1 4 21 Housing Type 3 All dimensions in mm...

Page 24: ...commended mounting position 1 Alternatively position 2 or position 3 can be used separately for mounting WARNING Mounting on multiple positions is not recommended and may affect the calibration accura...

Page 25: ...MCS Manual Rev 1 4 23 Housing Type 4 and 5 All dimensions in mm Height and window position of sensor module varies depending on the triangulation angle...

Page 26: ...24 MCS Manual Rev 1 4 A Spacer B C D 0 107 5 12 4 163 15 122 5 27 4 178 30 137 5 42 4 193 45 152 5 57 4 208 65 172 5 77 4 228 All dimensions in mm...

Page 27: ...MCS Manual Rev 1 4 25 Housing Type 6 All dimensions in mm Height and window position of sensor module varies depending on the triangulation angle...

Page 28: ...commended mounting position 1 Alternatively position 2 or position 3 can be used separately for mounting WARNING Mounting on multiple positions is not recommended and may affect the calibration accura...

Page 29: ...of 25 C Higher temperatures will reduce the laser lifetime Part Number Description MTBF 25 C h 202 206 001 MCS Laser Module 1 405nm Class 2M 50000 202 206 002 MCS Laser Module 1 405nm Class 3R 25000 2...

Page 30: ...converted into a single height profile By scanning the laser line over the object a complete height image can be acquired The figure below demonstrates the typical triangulation geometry The following...

Page 31: ...e sensor output rate As a matter of principle the processing speed is independent of the chosen profile mode and is determined by the AOI size In all profile modes only intensity values higher than th...

Page 32: ...th simple pixel accuracy i e the evaluation of 1088 rows delivers a position range from 0 to 1087 pixels 11 bit If there is more than one local maximum e g when the intensity is saturated the position...

Page 33: ...is not performed and thus an integer representation with one subpixel is realised The evaluation of 1088 rows delivers a position range from 0 to 1087 pixels 11 bit In threshold mode the camera can ou...

Page 34: ...of first order moment Ms Ip P The position value of laser line center of gravity of beam profile is then obtained from PCOG PL Ms Is In addition the laser line width can be delivered over the Data Ou...

Page 35: ...xel accuracy up to 6 subpixel In this case the threshold AOI_TRSH is used to detect the first rising edge of the derived intensity signal Valid values of AOI_TRSH range from 513 to 1023 Mono16 More de...

Page 36: ...a smoothing or differentiating mode FIR in smoothing mode in combination with MAX TRSH and COG algorithms FIR in derivative mode FIR PEAK Pre defined templates with 5 7 or 9 coefficients let the FIR f...

Page 37: ...the laser line appears on a sensor row 1023 In that case make sure that the defined AOI is smaller or even 1023 2047 rows and that the flag AbsOffsetPos Camera Control Mode and Algorithm Control AbsOf...

Page 38: ...ar response The intensity of illuminated pixels which reach a certain level is clipped while darker pixels remain untouched The clipping level can be adjusted 2 times within one exposure time to achie...

Page 39: ...ts Weld Seam Intensity 1 3 2 Saturation 1 3 2 Exposure Time 100 0 Exposure Time Intensity 3 Saturation 1 2 Saturation Threshold 1 3 1 2 100 0 Exposure Limit 1 Knee Point 1 3 1 2 Intensity 3 1 2 Satura...

Page 40: ...pe TripleSlope More details regarding the operation of the MultipleSlope function can be found in a separate application note 0 5 10 15 20 25 30 35 40 100 200 300 400 500 600 700 800 900 1000 1100 Sen...

Page 41: ...2 frames when subsequent sensor images are acquired The exposure times for NDR frame 1 and 2 are depicted with It1 and It2 respectively Please note that the readout of the second frame R2 cannot begi...

Page 42: ...tive First derivative of sensor intensity Not used Not used True Smoothing Smoothed sensor intensity Not used Not used MaximumIntensity False Maximum intensity of Gauss Position of rising edge of Gaus...

Page 43: ...umber of subpixel bits 0 6 True Smoothing Sum of intensity values of Gauss Is in smoothed sensor image Position of rising edge of Gauss line PosL or Gauss width PosR PosL Position of center of gravity...

Page 44: ..._idx if EnableDC0 true write_data_of_DC0 AOI_idx if EnableDC1 true write_data_of_DC1 AOI_idx if EnableDC2 true write_data_of_DC2 AOI_idx 2 NDR mode enabled NDRMode On for profile_idx 1 profile_idx Pro...

Page 45: ...single AOI single DC disabled NDR mode and output of 6 profiles resulting to a frame height of 6 rows ProfilesPerFrame 6 NumAOIs 1 EnableDC0 false EnableDC1 false EnableDC2 true NDRMode Off Row Descr...

Page 46: ...of DC2 readout from AOI2 5 Data of DC0 readout from AOI1 2 6 Data of DC2 readout from AOI1 7 Data of DC0 readout from AOI2 8 Data of DC2 readout from AOI2 9 Data of DC0 readout from AOI1 3 10 Data of...

Page 47: ...nableDC1 false EnableDC2 true NDRMode On NumberOfNDRFrames 2 Row Description Profile 1 Data of DC2 extracted from NDR1 readout from AOI1 1 2 Data of DC2 extracted from NDR2 readout from AOI1 3 Data of...

Page 48: ...e optimal position of the laser line In that case the laser line is automatically centered to the AOI The user must only define the minimum required AOI Height number of required sensor rows for the e...

Page 49: ...er Resolver Interface PTM3 Profile Acquisition 1 A B RS422 Example Trigger after number of steps 4 Counter Internal Trigger Profile Acquisition 2 Profile Acquisition 3 t ENC_A ENC_B t Profile Acquisit...

Page 50: ...ts and set UseAlternateResolverInputs to true Name Interface Access Visibility Description TriggerDivider IInteger RW Beginner Trigger divider Min 1 Max 65535 Increment 1 TriggerCoord IInteger RO Begi...

Page 51: ...ways IBoolean RW Guru TRUE Count trigger coordinate always FALSE Count trigger coordinate during image acquisition only UseAlternateResolverInputs IBoolean RW Guru Use IN1 IN2 instead of A B as inputs...

Page 52: ...nd stopped with rising edge of camera input 2 IN2 When stop occurs the frame is not transmitted immediately over the GigE interface but the sensor continues to acquire profile data until the predefine...

Page 53: ...ly over the GigE interface Using the Chunk Data mode it is possible to determine how many rows of the frame contain valid data see ChunkImageInfo for details PTM0 free run PTM3 RS422 5 AutoStart no ex...

Page 54: ...rt or Stop and the buffer status in AutoStart mode The ChunkAcqInfo block consists of totally 32 bytes containing following data 64 bit timestamp 32 bit frame counter 32 bit trigger coordinate 8 bit T...

Page 55: ...has little endian byte order An endian converter for ChunkData is not supported Payload Layout in Chunk Data Mode Chunk Image Data GV_ChunkDescriptorData for Image Data N x GV_ChunkAcqInfo GV_ChunkDe...

Page 56: ...Descriptors and Id s ChunkImageInfo Port Name FrameInfoPort ChunkID 11119999 ChunkID Port ChunkAcqInfo Port Name CameraChunkPort ChunkID 66669999 ChunkID Port ChunkImage Port Name ImageInfoPort Chunk...

Page 57: ...igned int triggerCoord 12 15 unsigned char triggerStatus 16 unsigned short DAC 17 18 unsigned short ADC 19 20 unsigned char INT_idx 21 unsigned char AOI_idx 22 unsigned short AOI_ys 23 24 unsigned sho...

Page 58: ...started AcquisitionEnd 36883 9013 Frame Acquisition is terminated TransferStart 36884 9014 Frame transfer is started from the camera TransferEnd 36885 9015 Frame transfer is terminated AoiTrackingOn...

Page 59: ...information The Status panel shows runtime status information The Memory Statistics have an overview of used memory for each component displaying current usage memory size maximum usage and error The...

Page 60: ...58 MCS Manual Rev 1 4...

Page 61: ...0 C to 125 C Mechanical Drawings Don t connect C5 cameras to the CS IO Panel Wrong wiring can cause damage to the camera Due to laser safety regulations the power supply for the laser must be provided...

Page 62: ...J3 4 B Differential encoder resolver track B J3 5 A Differential encoder resolver track A J3 6 A Differential encoder resolver track A J3 7 RGND Encoder Resolver ground J3 8 SHIELD Encoder Resolver s...

Page 63: ...MCS Manual Rev 1 4 61 Mechanical Dimension All dimensions in mm Mount for DIN rail assembly...

Page 64: ...62 MCS Manual Rev 1 4 Compact Sensor Series I O Schematics I O and Encoder with Differential TTL Mode for RS422 Standard...

Page 65: ...MCS Manual Rev 1 4 63 I O and Encoder with Differential HTL Mode for RS422 Option...

Page 66: ...64 MCS Manual Rev 1 4 I O and Encoder with Single Ended HTL or TTL Mode for RS422 Option...

Page 67: ...n pulse width 475ns Single Ended TTL Max input voltage 5V DC TTL level Max frequency 5 MHz Min pulse width 80 ns Single Ended HTL Max input voltage 24V DC Max frequency 400 kHz Min pulse width 1 2 s P...

Page 68: ...de can be realized with both inputs IN1 IN2 and outputs OUT1 OUT2 Example configurations for Master Slave Connections Two compact sensors to eliminate laser interference OUT2 IN1 t t Exposure max 200...

Page 69: ...1 4 67 One dual head sensor for synchronised exposure trigger Use Registers Master Output2 Out2_IntegrationActive Slave ProfileTriggerMode CameraInput1 The rising edge of Master OUT2 generate a slave...

Page 70: ...68 MCS Manual Rev 1 4 CS GigE Interface GigE Interface M12 GigE Female Connector Pin Assignment Pin No GigE Signal Name 1 BI_DC 2 BI_DD 3 BI_DD 4 BI_DA 5 BI_DB 6 BI_DA 7 BI_DC 8 BI_DB Shield Shield...

Page 71: ...solver Track A 8 VCC_EXT Sensor supply voltage 10 to 24V DC 9 GND_EXT2 Laser Sensor supply GND Pin2 10 ENC_A Encoder Resolver Track A 11 ENC_GND Encoder Resolver ground 12 OUT2 Electrically isolated d...

Page 72: ...k cable connected Green On network connected After Network connected Green On CCP status connected Off CCP status disconnected Red On no network found no network cable connected 3 LSR Red On Laser is...

Page 73: ...gth 15m high flex Pigtail cables 202 202 311 M12 17 pin pigtail cable for power I O and laser control straight M12 female connector IP67 on camera plug shielded length 3m high flex 202 202 312 M12 17...

Page 74: ...Encoder Resolver Track A 8 Gray VCC_EXT Sensor supply voltage 10 to 24V DC 9 Red GND_EXT2 Laser Sensor supply GND Pin2 10 Violette ENC_A Encoder Resolver Track A 11 Gray Pink ENC_GND Encoder Resolver...

Page 75: ...igE cable straight M12 male connector IP67 on camera plug to RJ45 IP20 length 10m standard 202 201 205 M12 GigE cable straight M12 male connector IP67 on camera plug to RJ45 IP20 length 15m standard 2...

Page 76: ...74 MCS Manual Rev 1 4 GigE Signal Name Pin No M12 Pin No RJ45 BI_DC 1 5 BI_DD 2 7 BI_DD 3 8 BI_DA 4 2 BI_DB 5 3 BI_DA 6 1 BI_DC 7 4 BI_DB 8 6 Shield Shield Shield M12 Male Plug 1 8 RJ45 Male Plug...

Page 77: ...ending on the angled adapter cable the option TYPE 1 or TYPE 2 will change the outlet direction of the angled cables Part Number Description 202 201 501 Power I O TYPE 1 202 201 502 GigE TYPE 1 202 20...

Page 78: ...eatures relating to camera control AOIs Features relating to area of interest FIR Control Features relating to FIR Mode and Algorithm Control Features relating to camera mode and algorithm AoiTracking...

Page 79: ...er AutoStart Features relating to AutoStart Transport Layer Control Features related to GigE Vision specification GigE Vision Features related to GigE Vision specification User Set Control Features re...

Page 80: ...sted to the required settings Furthermore the cxExplorer gives the opportunity to display various information like the 2D image 3D height image and many more This chapter gives some general informatio...

Page 81: ...in 3D mode The configuration of the required mode can be easily done with the cxExplorer via the Image Wizard 3D Wizard or over the XML Window Image Wizard The Image Wizard is an easy way to set the c...

Page 82: ...1 4 Image Mode The image mode enables the output of the 2D CMOS sensor images of the camera That can be helpful i e to set and optimize the laser power the Area Of Interest AOI or the exposure time 2...

Page 83: ...e camera mode can be easily switched to 3D mode Set the number of profiles per frame choose the 3D algorithm set the integration time and select the number of subpixel Enable the required Output Chann...

Page 84: ...4 3D Mode In the 3D mode a greyscale height image can be acquired and displayed in the Image View using one of the four different algorithms Furthermore the intensity image can be also displayed 3D gr...

Page 85: ...cxSDK consists of the cxCam and cx3d library The cxCam library provides functions for discovering and enumerating connected devices via the GEV standard as well as the camera configuration image acqui...

Page 86: ...ble not needed filter drivers and protocols of the NIC port 4 Set the computer Internet Protocol Version 4 TCP IPv4 to a fix IP address and a fix subnet mask as well as the sensor For example PC 169 2...

Page 87: ...o metrical values cxExplorer The calibration can be loaded and applied directly in the cxExplorer over Device Load Save Calibration Metric 1 Camera Calibration Calibration files which are saved in the...

Page 88: ...the Image View to refresh the tools Further the tip of the pointer will now show the current position in millimeter cxSDK With the help of the cxSDK the calibration can be easily downloaded programmat...

Page 89: ...MCS Manual Rev 1 4 87...

Page 90: ...cess your support inquiries immediately we always need the serial number of the camera the firmware version the device version the camera configuration file cfg a snapshot as Tiff saved with the cxExp...

Page 91: ...series is 2 years starting from the date of delivery from AT Automation Technology GmbH Extended Warranty The warranty period can be extended to maximum 36 months Return Policy Before returning a sen...

Page 92: ...lave Connection CS GigE Interface Cables 1 2 08 01 2021 Correct mechanical drawings Add Sensor Spectral Response Add adapter cable orientation 1 3 08 02 2021 Minor corrections 1 4 08 07 2021 Change de...

Page 93: ...Automation Technology GmbH All rights reserved Subject to change without prior notification...

Reviews: