


Add Furniture
|
87
3
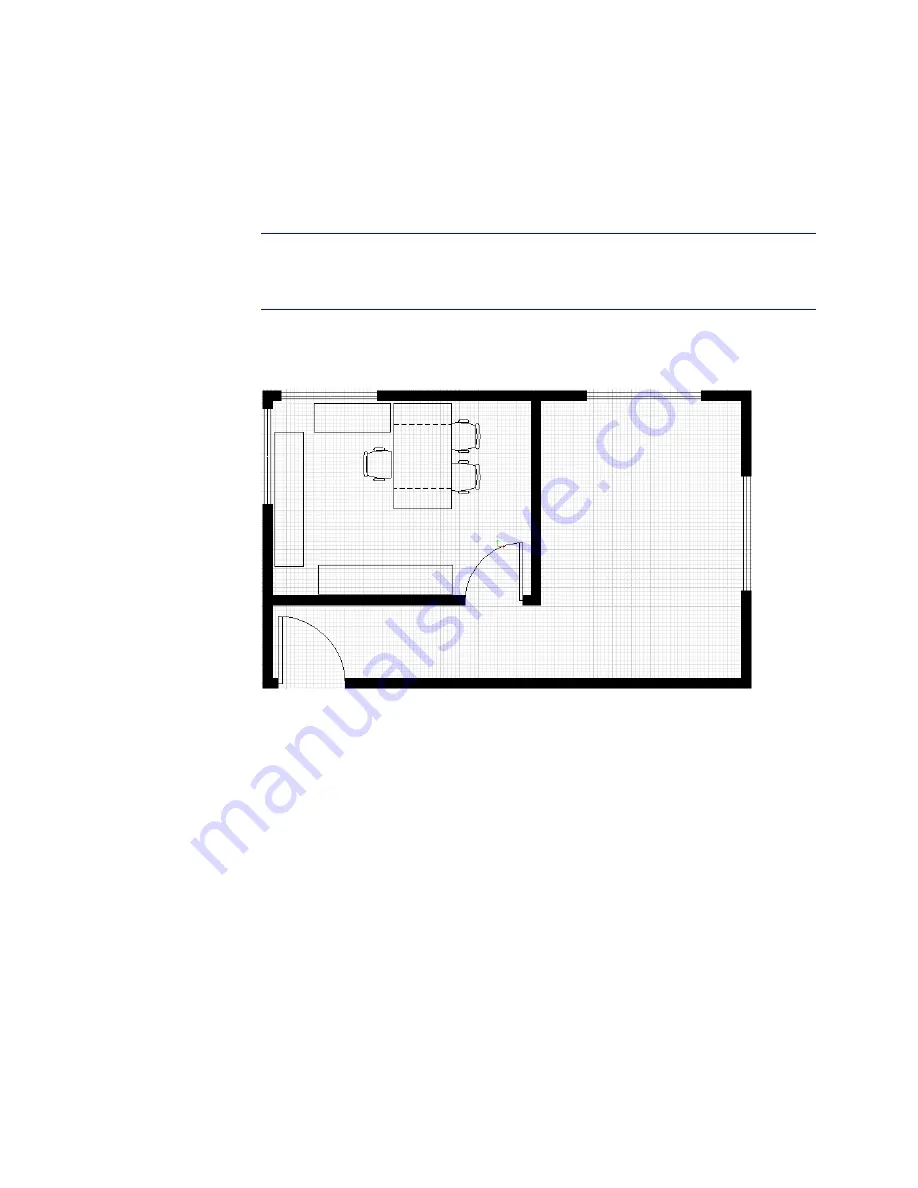
Click RPrivOffProSta and drag it into the interior office section of the
drawing. Do not release the mouse button yet.
4
On the keyboard, press the F5 key until the office workstation is rotated
counter-clockwise and the desk and chairs are on the right side in the inte-
rior office. (SHIFT+F5 rotates the workstation clockwise.)
Tip
You can also use the numeric keypad on the right side of the keyboard
to rotate entities. To rotate entities clockwise, press the - (minus) sign. To
rotate entities counter-clockwise, press the + (plus) sign.
5
Click to place the workstation, and then right-click to end the command.
Your drawing should look similar to the following illustration.
You have rotated and placed the workstation in the interior office space.
6
On the File menu, click Save.
You are ready to create a table and chairs for the outer office.
Summary of Contents for 003A1-121111-1001 - AutoSketch v.9.0
Page 1: ...AutoSketch Getting Started 9 June 2004 ...
Page 6: ...vi ...
Page 12: ...6 ...
Page 22: ...16 ...
Page 76: ...70 ...
Page 98: ...92 ...
Page 116: ...Office created using the Office Layout wizard ...
Page 117: ...Jig created using the Mechanical Part wizard ...
Page 118: ...Test Site created using the Diagram wizard ...
Page 119: ...Tuner Diagram created using the Diagram wizard ...
Page 120: ...Utopia Created using the Building wizard ...
Page 121: ...Birdhouse created using the Workbench wizard ...
Page 122: ......


