60
|
Tutorial 2 — Create a Birdhouse Drawing
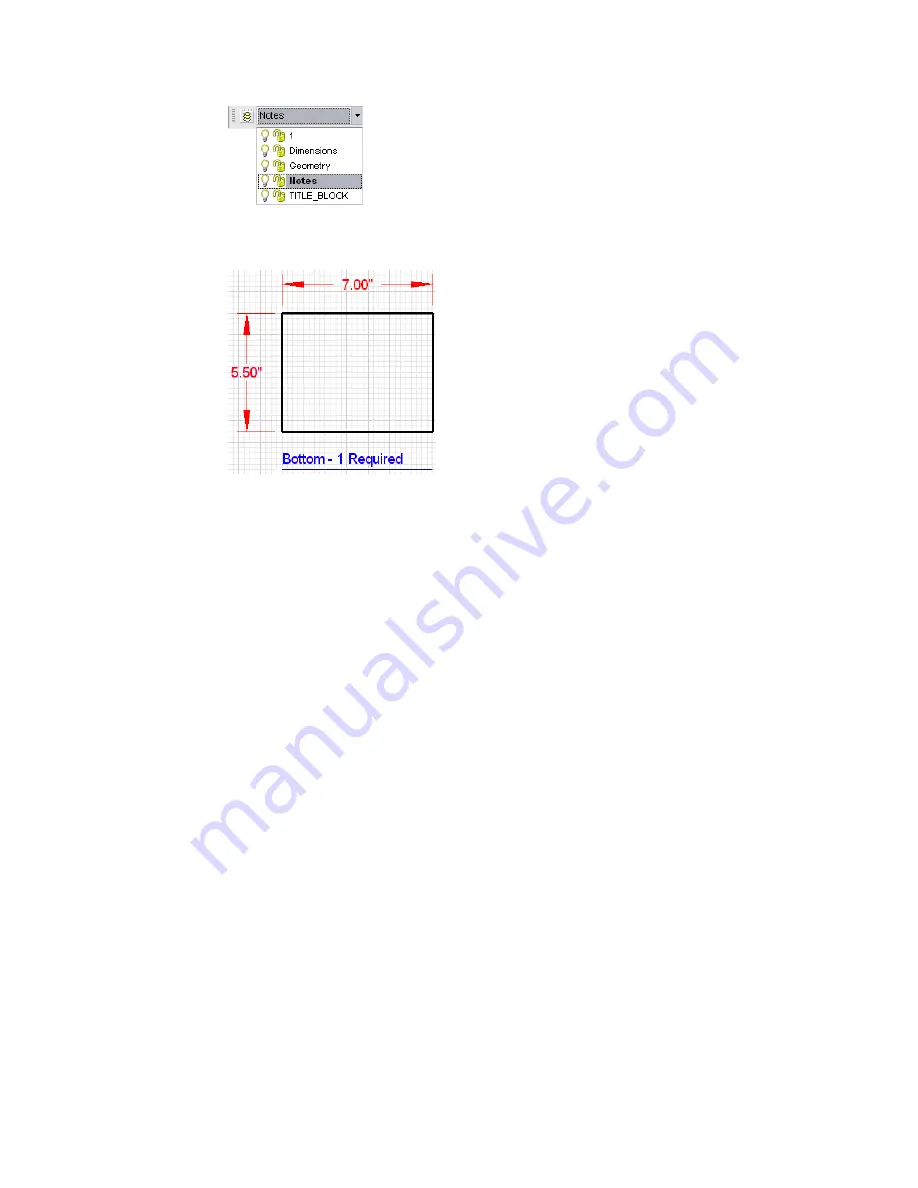
Once the text and text line are added to the Notes layer, they are blue, the
same color as the other text in this drawing.
12
Save your work.
Create the Back of the Birdhouse by
Grouping and Rubber-Stamping
In this exercise, you learn to
❒
Pan to a section in the drawing.
❒
Select individual entities.
❒
Select multiple entities using the SHIFT key.
❒
Group an entity.
❒
Use the Absolute Coordinates dial to place an entity.
❒
Rubber-stamp an entity.
❒
Add an entity to the Geometry layer.
❒
Explode an entity.
You are ready to create the back of the birdhouse by grouping the front entity
and then rubber-stamping the entity. The entity you create in this exercise is
the same shape and size as the entity you rubber-stamped, but with slight
modifications.
Summary of Contents for 003A1-121111-1001 - AutoSketch v.9.0
Page 1: ...AutoSketch Getting Started 9 June 2004 ...
Page 6: ...vi ...
Page 12: ...6 ...
Page 22: ...16 ...
Page 76: ...70 ...
Page 98: ...92 ...
Page 116: ...Office created using the Office Layout wizard ...
Page 117: ...Jig created using the Mechanical Part wizard ...
Page 118: ...Test Site created using the Diagram wizard ...
Page 119: ...Tuner Diagram created using the Diagram wizard ...
Page 120: ...Utopia Created using the Building wizard ...
Page 121: ...Birdhouse created using the Workbench wizard ...
Page 122: ......