- 33 -
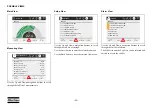
It is possible to override a fault shut-down by briefly
switching the heater off and then on again.
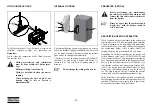
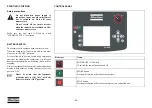
When an emergency stop has to be performed:
Switch off the preheater at the control element
Remove the fuse or disconnect the heater from the
battery
Safety procedure before starting after a
longer period of standstill
Check whether the fuse is in its place and / or the
wiring is connected to the battery.
Check if all parts are firmly fixed.
Check the fuel system visually on leaks.
Preheater altitude capability
Up to 1,500 meters:
no restrictions
Above 1,500 meters:
Operation possible for short periods
Continuous operation NOT possible
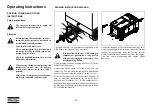
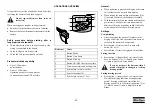
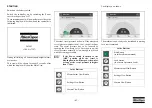
OPERATIONS OVERVIEW
General
When no button is pressed the display will return
to its default mode - normal time display.
When setting the time, holding the buttons (2) or
(3) pressed, the time will change more rapidly.
With this mini-clock you can set and activate three
pre-set times. Each pre-set time is deactivated
after the set heating period has ended. It has to be
activated again for each new heating action.
Settings
Commisioning
After connecting the power all symbols in the
display will blink. Now the actual time has to be
set before the heater can be operated.
Press button (1); time blinks. Set time with
buttons (2) or (3).
Press button (1); time is displayed, colon blinks.
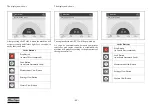
Setting the time
Press button (1) longer then 3 sec.; time blinks.
Set with buttons (2) or (3). Briefly press button
(1); time is displayed, colon blinks.
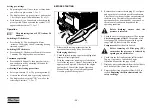
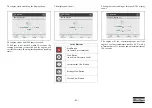
Setting heating period
Press button (1) longer then 3 sec.; time blinks.
Wait till the display indicates "setting heating
period"; heating symbol and time blink. Set
heating period (10 to 120 min) using button (2) or
(3). Press button (1); time is displayed, colon
blinks.
Do not repeat this more than twice in
succesion!
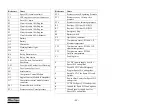
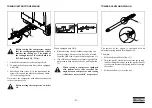
Reference
Name
1
Button Mode
2
Button Time down
3
Button Time up
4
Button ON/OFF select pre-set time
5
Time, pre-set time and heating time
6
Symbol pre-set time is active
7
Symbol heating ON
8
Symbol pre-set time 1,2 or 3
(5)
(6)
(7)
(4)
(8)
(3)
(1)
(2)
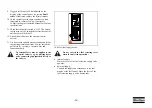
If you do not press the button within 5
seconds the mode is changed to “setting
heating period”.
Summary of Contents for XRHS 1150 CD4 C3 WUX
Page 2: ......
Page 16: ... 16 Main parts ...
Page 18: ... 18 REGULATING SYSTEM ...
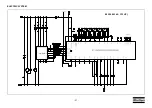
Page 21: ... 21 ELECTRIC SYSTEM 9822 0963 40 C13 HP ...
Page 105: ......
Page 106: ...www atlascopco com ...

