


Manual, F/T Sensor, Ethernet Axia
Document #9610-05-Ethernet Axia-09
Pinnacle Park • 1031 Goodworth Drive • Apex, NC 27539 • Tel:+1 919.772.0115 • Fax:+1 919.772.8259 •
85
14.1 Errors Powering Up
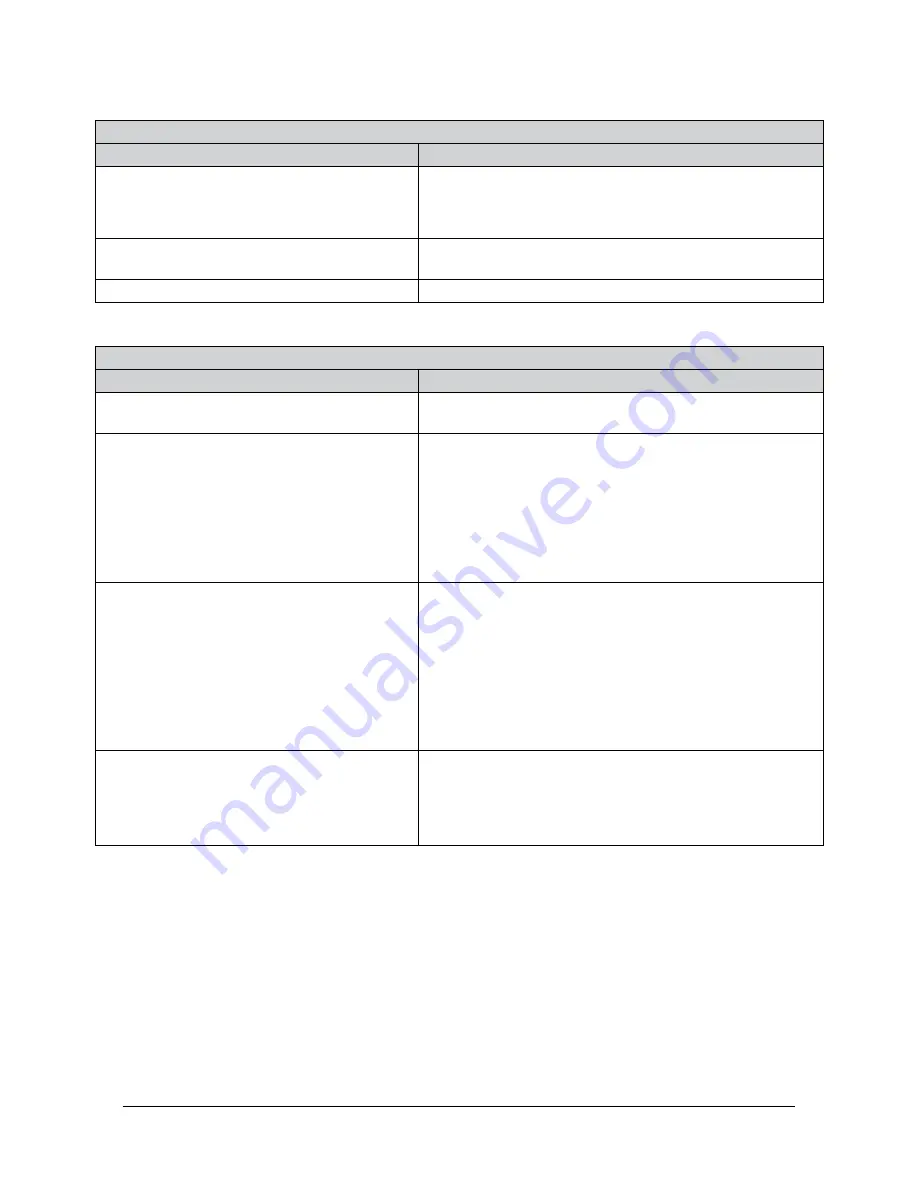
Table 14.1—Powering Up
Symptom
Cause and Resolution
Status LED stays red after the 20 second
power up phase.
Check the sensor cable connections.
Verify the sensor cable is not damaged.
There may be an internal error in the sensor.
Status LED is red for the first 20 seconds, after
power up, and then turns green.
Normal operation
The L/A LED is not green or flashing green.
Check the Ethernet cable connection.
14.2 Errors with Communications
Table 14.2—Communications
Symptom
Cause and Resolution
What IP address is assigned to the sensor?
Section 5.1—IP Address Configuration for
.
How can the Ethernet Axia be set to the
default IP address of 192.168.1.1?
Configure the computer to communicate with the sensor
at its current address by following the instructions in
Section 5.1—IP Address Configuration for Ethernet
Axia’s current IP address can be found using the discovery
utility which is available on the file
9030-05-1026
that was
e-mailed to the customer when the product was shipped.
Once communication is established, reset the address to a
value compatible with the user’s network.
DHCP is not assigning an IP address.
Ethernet LAN must be connected during power up.
DHCP is not selected as the IP Address Mode on the
Communications page.
The DHCP server waits more than 30 seconds to respond,
and the sensor requires the DCHIP server to react more
quickly.
The sensor must be power cycled when any IP Address
settings are changed.
Browser cannot find the Axia sensor on
Ethernet network.
Clear the Windows
®
computer’s ARP table to remove
memory of a previous device that used the same IP
address as the sensor by restarting the computer or, if you
have administrative privileges, by going to the computer’s
Start menu, selecting Run..., and entering “arp –d *”.