1. Introduction
9
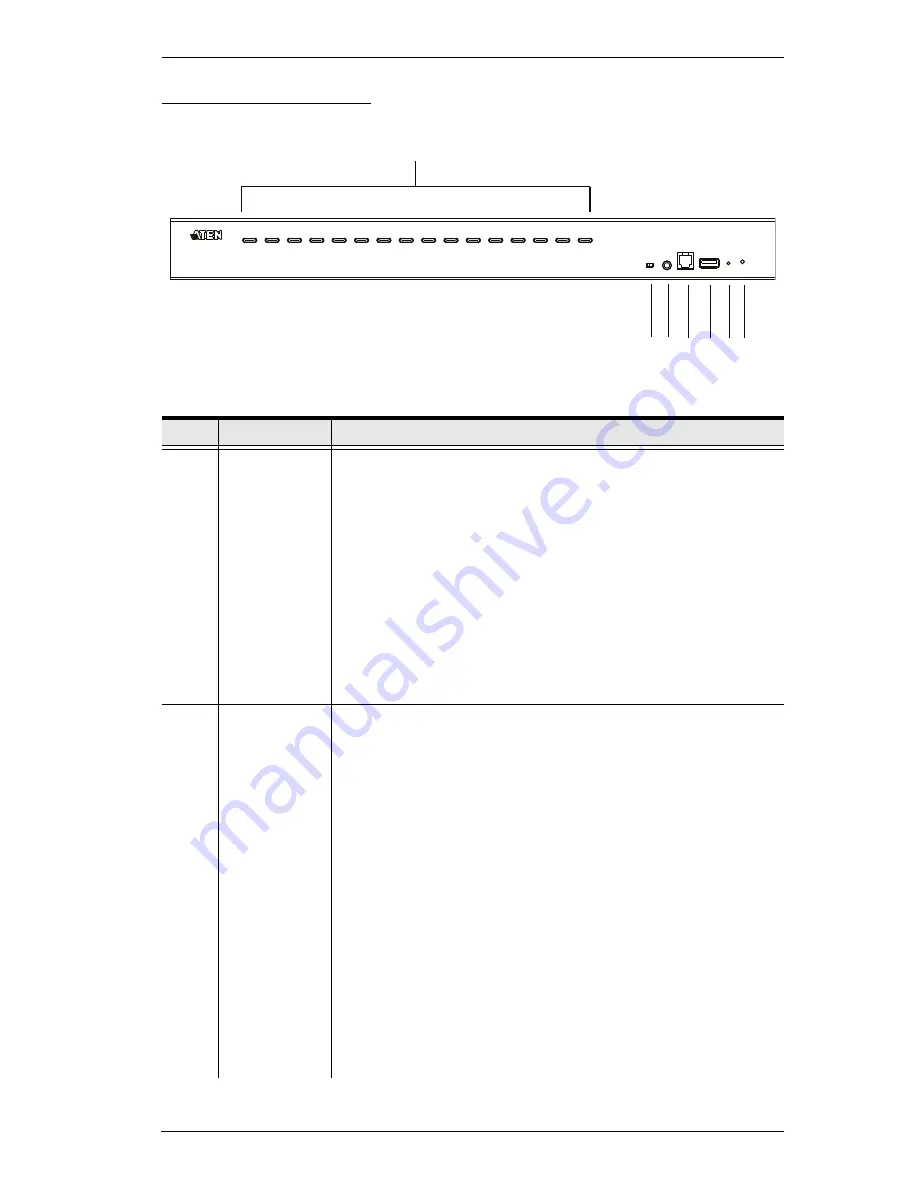
Front View CS17916
No.
Component
Description
1
Port Selection
Pushbuttons
For manual port selection (see
Port Selection
, page 30, also):
Press a port selection pushbutton for less than two seconds to bring
the KVM, USB hub, and audio focus to the computer attached to its
corresponding port.
Press a pushbutton for longer than two seconds to bring the KVM
and audio focus* to the computer attached to its corresponding port.
Press pushbuttons 1 and 2 simultaneously for 2 seconds to start
Auto Scan Mode*. See
Auto Scan Mode
, page 49, for details.
Press pushbuttons 15 and 16 simultaneously for 2 seconds to per-
form a keyboard and mouse reset. See
Keyboard / Mouse Reset
,
page 51, also
Note:
Enable mouse emulation for independent switching (see
page 42).
2
Port LEDs
The Port LEDs are built into the Port Selection Switches. The
left ones are the KVM Port LEDs; the right ones are the USB
LEDs:
KVM
Lights DIM ORANGE to indicate that the computer attached to the
corresponding port is up and running (On Line).
Flashes to indicate that Firmware Upgrade mode is in effect.
Changes to BRIGHT ORANGE to indicate that the computer
attached to its corresponding port is the one that has the KVM focus
(Selected).
Flashes to indicate that the computer attached to its corresponding
port is being accessed under Auto Scan mode.
USB
Lights GREEN to indicate that the computer attached to its corre-
sponding port is the one that has access to the USB peripherals.
Note:
The USB 2.0 hub cannot be accessed through the
switch by computers on the second or third level of a cascaded
installation.
1 & 2
4
3
5 6 7 8
Summary of Contents for CS17916
Page 1: ...8 16 port USB HDMI KVM Switch CS1798 CS17916 User Manual www aten com...
Page 38: ...CS1798 CS17916 User Manual 28 This Page Intentionally Left Blank...
Page 42: ...CS1798 CS17916 User Manual 32 This Page Intentionally Left Blank...
Page 56: ...CS1798 CS17916 User Manual 46 This Page Intentionally Left Blank...


