SECTION 2
INSTALLING THE PRINTER
8
6.
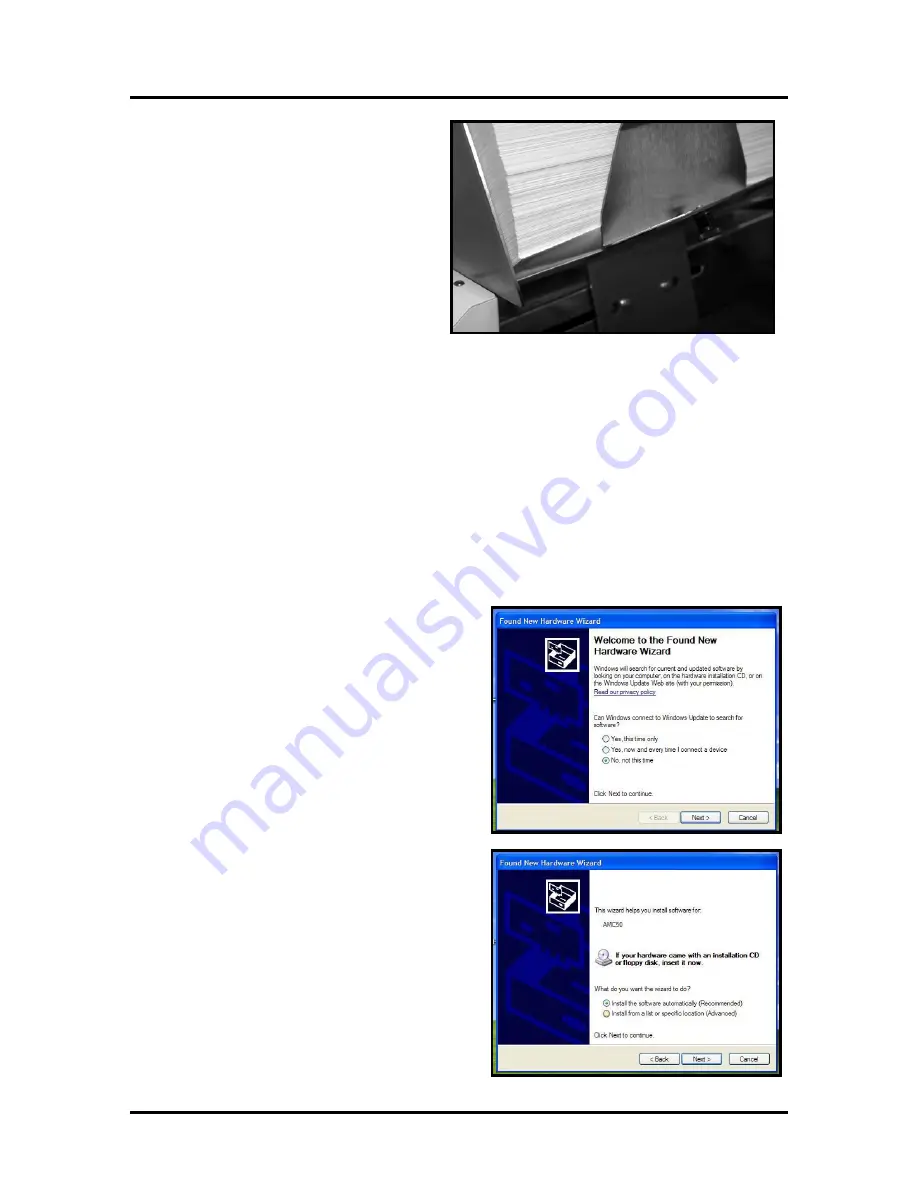
Adjust the rear guide by loosening the
locking screw and place it so that the
media is raised approximately 1/2-inch
above the feed table.
7.
The same procedure is used for other media sizes and types.
NOTE: The amount of media that can be stacked on the printer is determined by the weight of
the material. The feeder may not feed larger and heavier media when the stack is full. If this is
the case reduce the amount of media in the stack until the feeder functions properly.
Installing the Printer Driver
The installation procedure for the AJ5000 driver is different for USB and Parallel Ports. Follow the
instructions below for installing the printer with a USB port. Instructions for installing the printer on a
Parallel Port follow the instructions below.
Install the disk supplied with the printer in your CD drive. If the Window’s Explorer window opens, close
it.
USB Port Installation
1.
Connect the printer to the computer via the
USB port and turn the printer
ON
. In a few
minutes the “Welcome to the Found New
Hardware wizard” will open on the computer
screen. Check the box “
No, not this time
” as
shown. Then click
NEXT>
.
2.
The next window that opens will show the
name of the printer AMC50 or AMCAMC50.
Click on the “
Install the software
automatically (Recommended
” box and then
click on
NEXT>
.
Summary of Contents for AstroJet 5000
Page 37: ......


