11
Viron e-Quilibirum Series Chlorinator
Installation Manual
10
Viron e-Quilibirum Series Chlorinator
Installation Manual
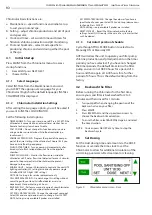
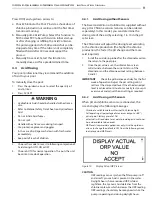
Press DOSE and up/down arrows to:
a. Shock Chlorinate the Pool: Provide a shock dose of
chlorine production or sanitise until the first timer
tomorrow morning.
b. Manually prime Acid Pump: Select this function to
fill the clear PVC tube with Acid on initial start-up
or after changing or refilling the Acid Container.
The priming period is for 300 seconds but can be
stopped at any time. If the tube is not completely
filled with Acid after 300 seconds repeat the
process.
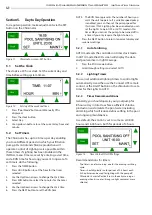
c. Manually Dose Acid: Select this function to
manually dose acid for a predetermined time.
4.4
Acid Dosing
Your pool professional may recommend the addition
of Acid to your pool.
To manually dose the pool:
1.
Press the up/down arrows to select the quantity of
acid in litres.
2.
Press ACCEPT.
WARNING
• Hydrochloric Acid should be handled with extreme
care.
• Refer to Material Safety Data Sheets on Hydrochloric
Acid.
• Do not inhale Acid fumes.
• Do not spill.
• Handle with extreme care during transport.
• Use protective gloves and goggles
• In the case of spillage wash down with fresh water
immediately.
• Keep out of reach of children.
3.
Choose the mode to revert to following completion of
Acid dosing: AUTO, ON or OFF
4.
Choose AUTO for normal operation. This puts the unit
back into time clock operation.
4.4.1
Acid Dosing without Sensors
The base model Viron e-Quilibrium is supplied without
any pH or Chlorine sensors (sensors can be ordered
separately). In this model, you can determine the
dosing rate of the acid by selecting 1 to 10 in the pH
set screen.
The Chlorinator will adjust the dosing level according
to the chlorine production (the higher the chlorine
production, the faster the pH change and the more
acid required).
1.
Install the acid dosing tube after the chlorinator cell on
the return to the pool pipe.
2.
Once the pH value is set, the information screen
will alternates between the current status of the
chlorinator and the chlorine output setting (between
0 and 8).
IMPORTANT
:
Check the pH balance each day for the first
week of operation. Adjust the pH setting until it
settles at the desired pH level. Once the desired pH
level is achieved, continue to manually test your pH
every week and adjust the pH setting as required.
4.4.2
Acid Dosing with Sensors
When pH and chlorine sensors are connected, the
screen displays the following messages:
• Chlorine Level (chlorine low, chlorine OK, chlorine high)
• Cell operating at (percentage of maximum output, or “off”)
• pH set point (factory preset at 7.6)
• pH actual (will read close to set point providing acid container
has acid available to be dosed)
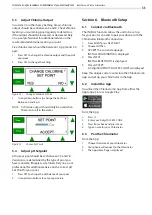
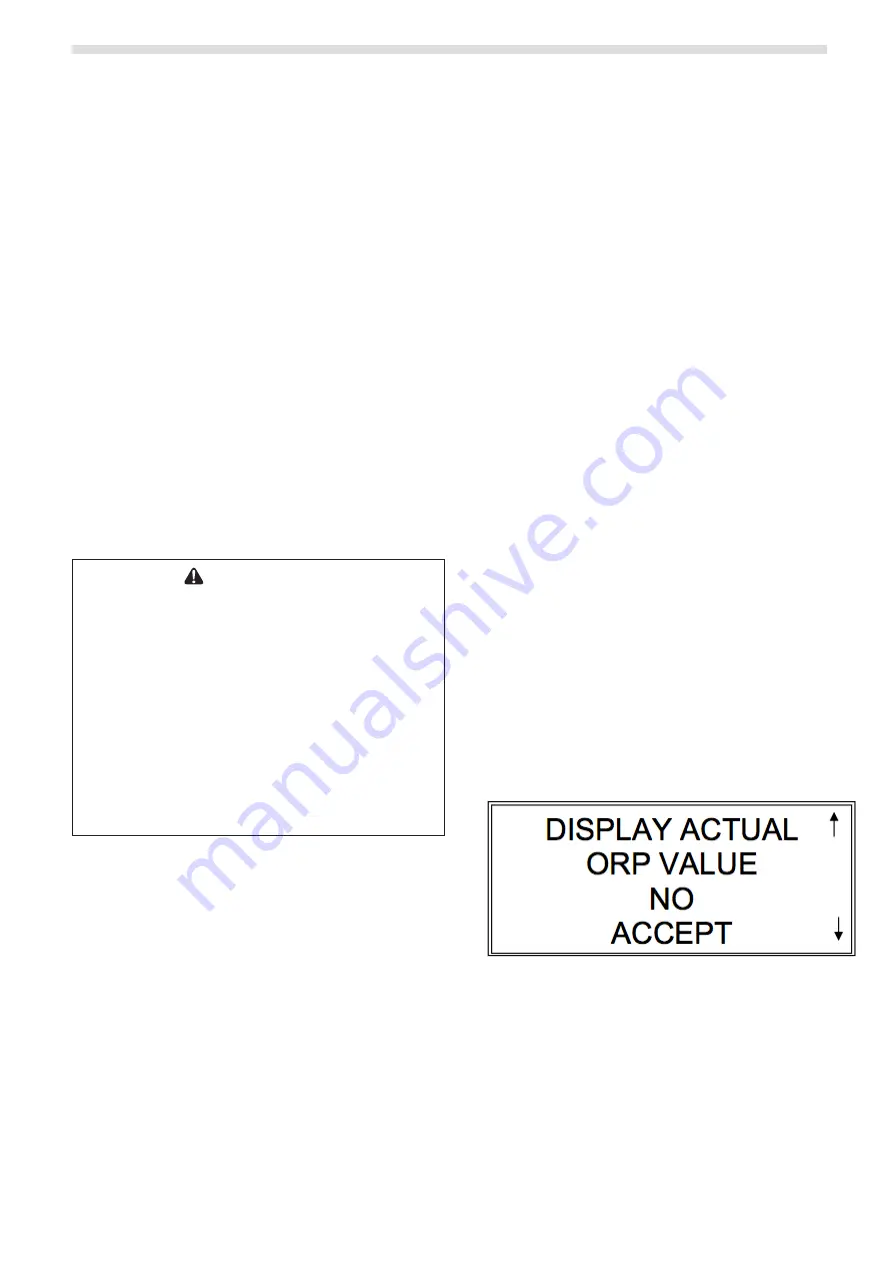
• ORP levels (commercial applications only). Use the up/down
arrows to change the default to YES from the following screen
to display actual ORP levels.
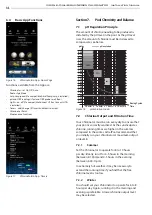
Figure 10.
Display Actual ORP screen
CAUTION
ORP readings can vary when the filter pump is off
and also if Cyanuric Acid is present in the water.
Daylight hours show a reduced ORP, while at
nighttime, the Cyanuric Acid detaches from the
chlorine molecule which increases the ORP reading.
ORP readings should only be recognised while the
pump is operating and during daylight hours.


