SECTION 3 OPERATING THE A-2000
______________________________________________________________________
3-21
3.4.7 Language
Selection
Menu
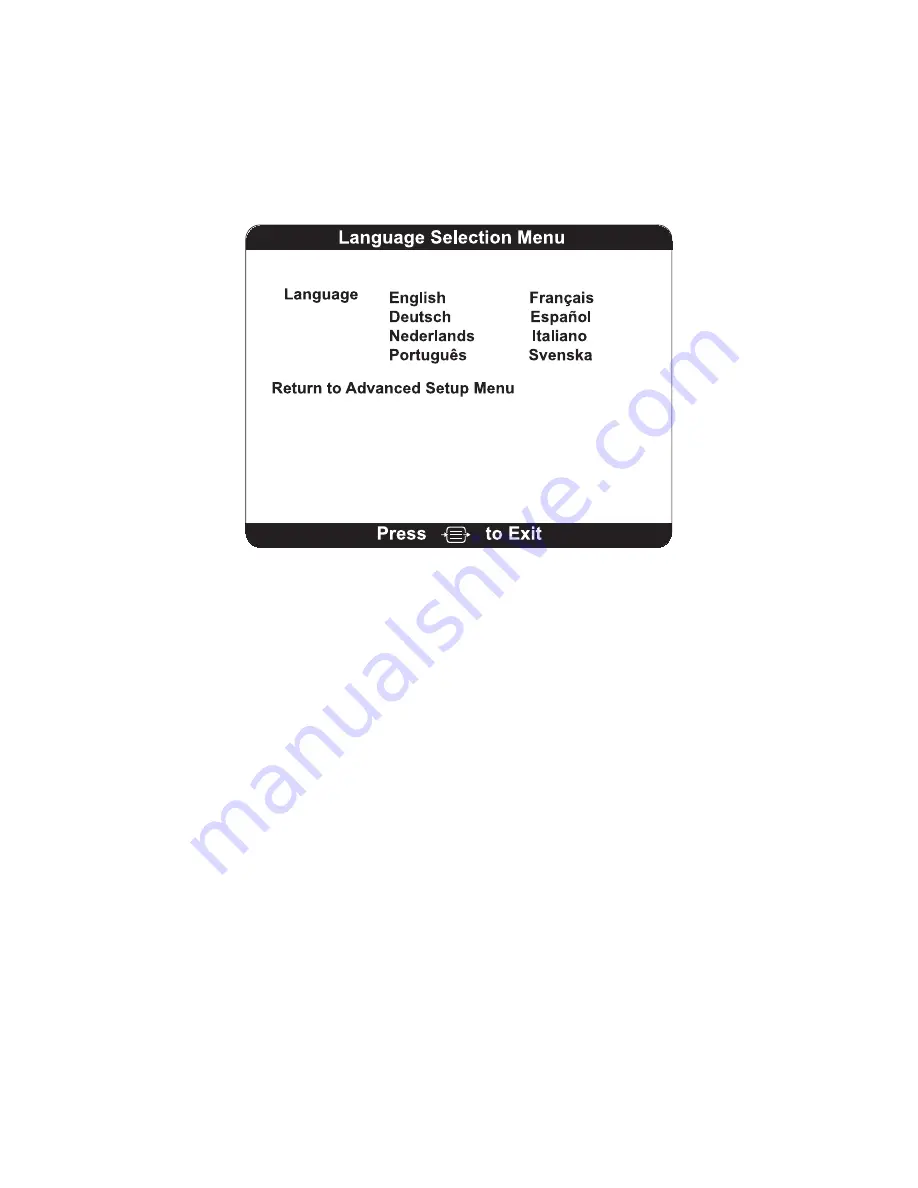
The A-2000 is designed to support multiple languages.
Figure 19 The Language Selection Menu
To change languages:
1. Press
[MENU/EXIT]
to access the Setup Menu.
2. Highlight
Advanced Setup
using the up [
↑
] or down [
↓
] arrows, then press
[SELECT].
3. Highlight
Language Selection Menu
using the up [
↑
] or down [
↓
] arrows.
4. Press
[SELECT]
. A new menu screen will display listing the language choices.
5. Press
[SELECT]
until the desired language is selected.
6. Use the up [
↑
] or down [
↓
] arrows to highlight
Return to Advanced Setup Menu
and press
[SELECT]
. This will redisplay the
Advanced Setup Menu
in the
selected language.
7. To make sure that the selected language displays every time the monitor is
turned on, use the arrows to highlight
Save Settings
, then press
[SELECT]
to
save setting changes.
Return to Advanced Setup Menu -
Returns to the previous menu.
1. Press the up [
↑
] or down [
↓
] arrows to highlight
Return to Advanced Setup
Menu.
2. Press
[SELECT]
to re-display the Advanced Setup Menu.
3.4.8 Sensor Data Display Screen And System Configuration Menu
The Sensor Data Display screen and System Configuration Menu are covered under the
Diagnostic Menu in Section 7, "Diagnostics and Troubleshooting".
Summary of Contents for A-2000 BIS
Page 96: ...SECTION 8 SPECIFICATIONS WARRANTY AND SOFTWARE LICENSE AGREEMENT 8 8...
Page 100: ...SECTION 9 APPENDIX 9 4...
Page 102: ......
Page 103: ......


