35
Motion Detection List
Add:
3 areas can be set for which they will be identified in 3 colors each, Red, Green or Blue.
Once clicked, according to the color selected, a squared block can be drawn on top of the video displayed
using the mouse.
Press the left click of the mouse to start drawing the box, and drag it upon the video to mark the desired
area. Once finished, release the left click of the mouse, and the box will be drawn as intended.
Delete:
In case any of the area is not required, click on the name of the Area Name from the Motion
Detection List, and click on Delete.
OSD On/Off:
Select “OSD On” to present in
screen that Motion Detection is working
.
Windows Area Name:
Descriptive name of your choice
Sensitivity:
values run from 0 to 100; for which the higher the number, the more sensitive is the motion
area.
Color:
3 colors can be chosen among the areas set for the motion detection; Red, Blue or Green.
Save:
Once the process has been completed click on “Save” to make the changes permanent.
Cancel:
in case for any reason, the selection was not properly configured, click on Reset to clear up the
values for each feature.
5.4.3
Event Server
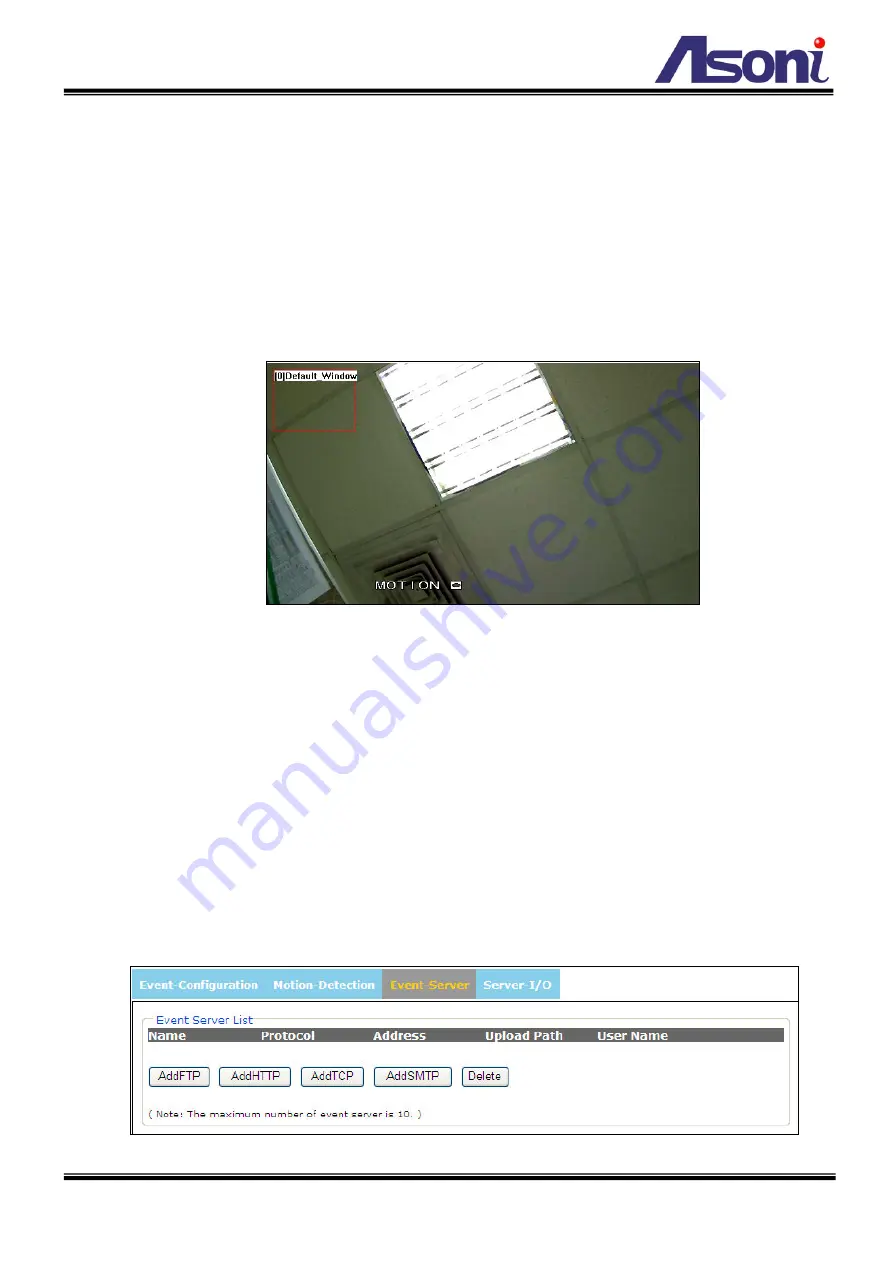
Event Servers are used to receive uploaded image files and/or notification messages. To set up Event
Server connections in your camera, go to Setup > Event Configuration > Event Servers and enter the
required information for the required server type.


