24
PMR-Nano
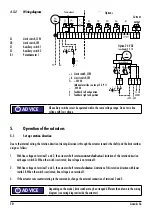
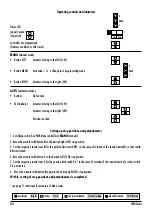
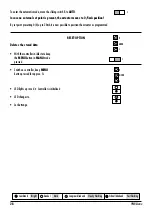
Operating controls and indicators
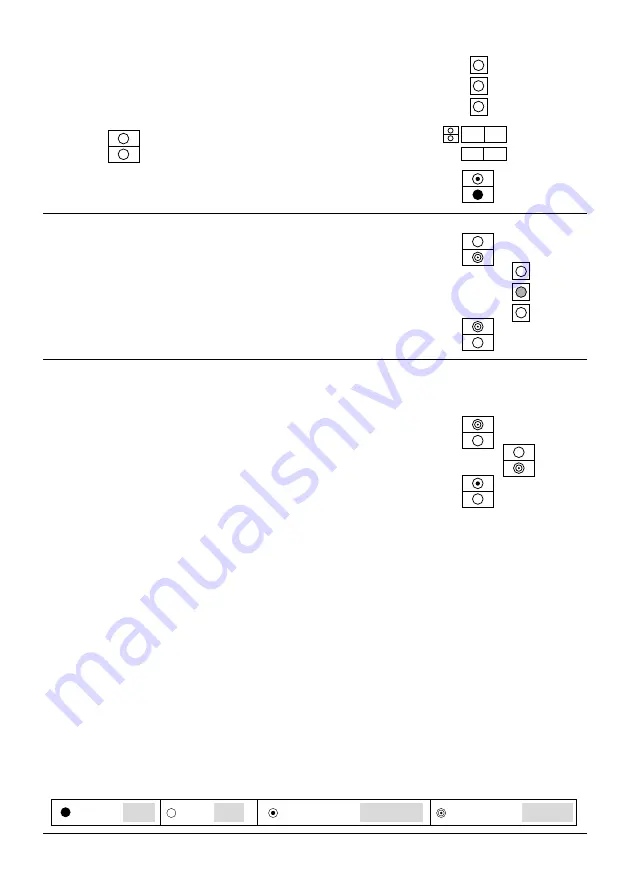
Status LED
(upper) green
(lower) red
Controller not programmed
(Delivery condition or after reset)
MANU
(manual mode)
•
Button LEFT:
Actuator moving to the left (CCW)
•
Button MENU:
Activation > 5s
Change in to programming mode
•
Button RIGHT:
Actuator moving to the right (CW)
AUTO
(automatic mode)
•
Buttons :
No function
•
LED indicator
Actuator moving to the left (CCW)
Actuator moving to the right (CW)
Position reached
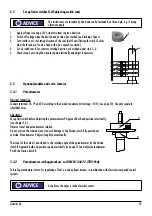
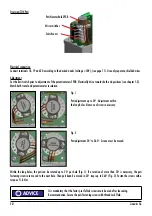
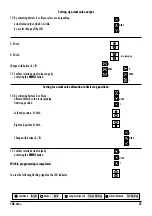
Setting up stop positions and potentiometer
1. Set sliding switch
S
on PMR-Nano controller to
MANU
(manual).
2. Move the actuator with button
R
to the desired right (CW) stop position.
3. Set the respective control cam
R
for the position limit switch
SR
* in the sense of rotation of the control camshaft, so that switch
SR
is activated.
4. Move the actuator with button
L
to the desired left (CCW) stop position
5. Set the respective control cam
L
for the position limit switch
SL *
in the sense of rotation of the control camshaft, so that switch
SL
is activated.
6. Move the actuator with button
R
again to the desired right (CW) stop position.
With it, setting of stop positions and potentiometer is completed.
* see page 11 in manual for actuators of Nano series.
L
MENU
R
S
Manu
Auto
L
MENU
R
Leuchtend Bright Dunkel Dark Langsam blinkend Slowly flashing Schnell blinkend Fast flashing

