Chapter 7: How Tos
82
7.11 Burn To Disc
Once your video clips and menus are all ready to go, you can
preview your project, choose the output options, and burn it to
disc.
Step 1.
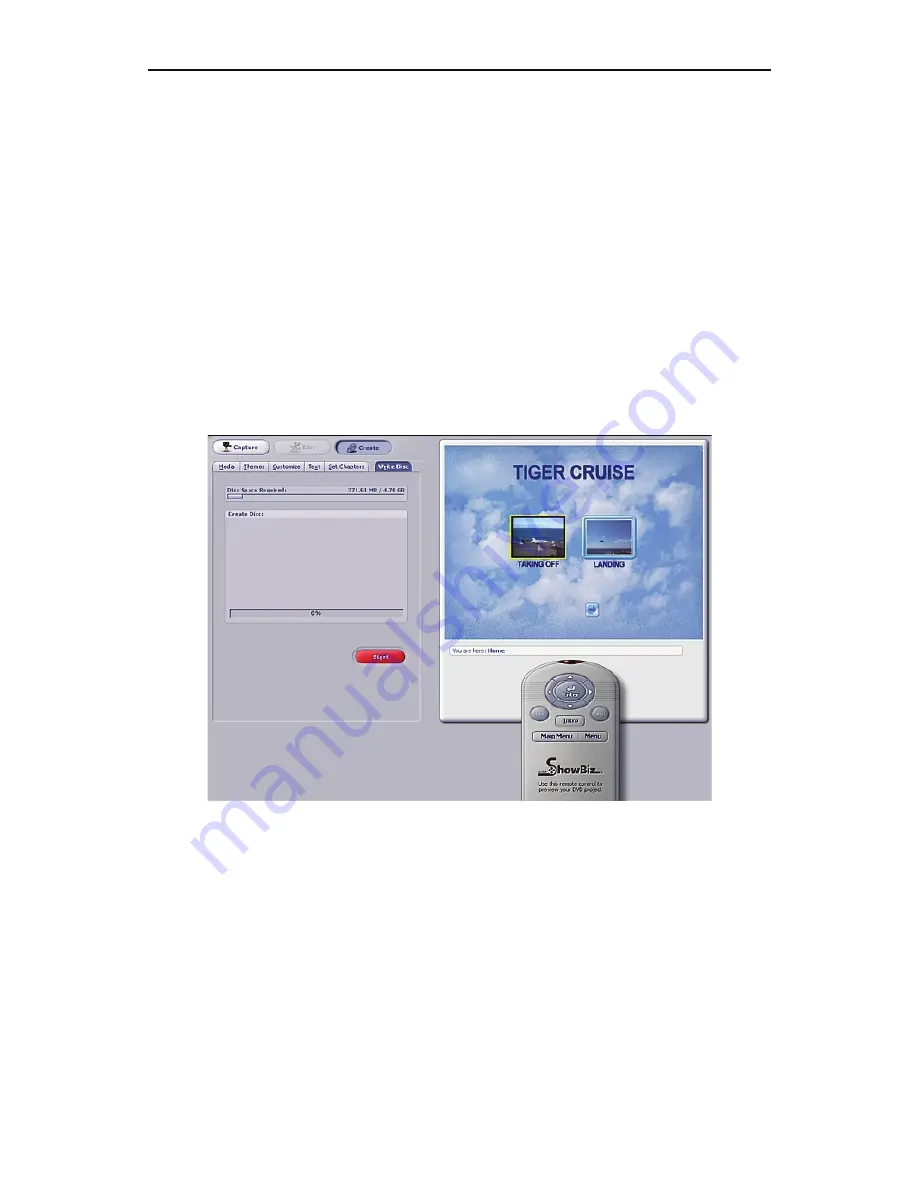
When you're all ready to go, click the Write Disc tab in
the Create module.
Step 2.
Preview your movie with the virtual remote control. It
should work similarly to a standard DVD player remote control.
Use it to navigate through your various menus and play back your
movie. If you're creating a VCD, press the corresponding number
on the remote to view the chapter.
Step 3.
Once you're ready to burn your movie to disc, click
"Start." You'll be prompted to set the output options:
-
Choose the playback format. If you are in the US or
Japan, choose NTSC. Most of Europe uses PAL.
-
Choose where to save the movie. From the pull-down,
select either your DVD burner drive or your hard drive.
-
In the Disc Label field, enter a title for your movie.
-
Choose the burn speed of the drive if you are burning
your project to disc, or the directory on your hard drive
to save the movie if you are saving a copy locally.
Summary of Contents for SHOWBIZ 2
Page 1: ...User Manual ...
Page 5: ...Chapter 1 Introduction 1 1 Introduction Installation System Requirements Workflow Overview ...
Page 11: ...Chapter 2 Capture 7 2 Capture Video Capture Audio Capture ...
Page 53: ...Chapter 5 Quick DVD 49 5 Quick DVD ...
Page 58: ...Chapter 5 Quick DVD 54 ...
Page 59: ...Chapter 6 Menus 55 6 Menus File Edit View Options Play Extras Help Keyboard Shortcuts ...
Page 70: ...Chapter 6 Menus 66 ...
Page 88: ...Chapter 7 How Tos 84 ...
Page 98: ...NOTES ...
Page 99: ...NOTES ...


