Chapter 7: How Tos
77
Step 3. Preview.
When the slide show reaches the photo, the focus will be
exclusively on the "Begin" marquee. The display will then "pan &
zoom" to the "End" marquee. Use the preview to get an idea how
the effect works.
Additional Options:
Rotation.
Rotate marquees by clicking and dragging the rotate
marker located on the top-center bar of the marquee. Also, notice
that there is a single point in the center of each marquee box.
Click and drag this point to any location; the marquee revolves
around the point as it rotates.
Duration.
Generally, slides don't need to "pan & zoom" over the
entire display time. The Pan & Zoom duration slider has two
markers. Use these markers to shorten the pan & zoom effect in
relation to the total display time. When you leave both cursors at
0%, the pan & zoom effect lasts for the entire duration of the slide
(meaning the slide is panning, zooming, or rotating for the entire
display time). Preview your work as necessary until you're
satisfied with the effect.
Pan Only.
Check the "Pan Only" box to lock the marquee
width/height ratio.
Snap to Grid.
Check the "Snap to Grid" box to make it easier to
horizontally or vertically align the "Begin" and "End" marquees.
This is useful if you want to create a simple pan effect that scrolls
up/down or left/right.
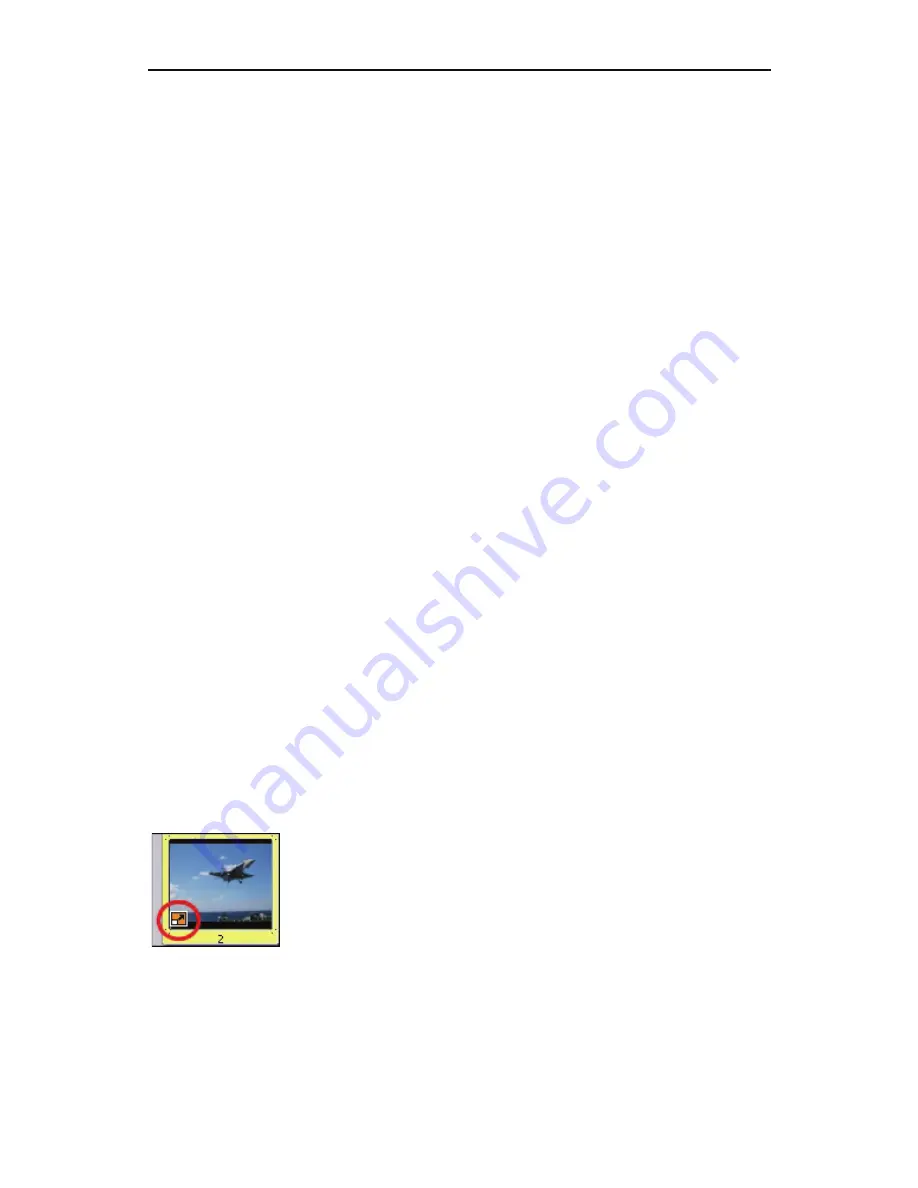
Slides that have the pan & zoom effect applied to them display the
following icon:
Summary of Contents for SHOWBIZ 2
Page 1: ...User Manual ...
Page 5: ...Chapter 1 Introduction 1 1 Introduction Installation System Requirements Workflow Overview ...
Page 11: ...Chapter 2 Capture 7 2 Capture Video Capture Audio Capture ...
Page 53: ...Chapter 5 Quick DVD 49 5 Quick DVD ...
Page 58: ...Chapter 5 Quick DVD 54 ...
Page 59: ...Chapter 6 Menus 55 6 Menus File Edit View Options Play Extras Help Keyboard Shortcuts ...
Page 70: ...Chapter 6 Menus 66 ...
Page 88: ...Chapter 7 How Tos 84 ...
Page 98: ...NOTES ...
Page 99: ...NOTES ...


