Version: 20220420
23
Assigning an IP address with Axis device manager
By default, the FireCatcher Camera is configured to use DHCP. Axis Device Manager can be used to assign an IP
address to the camera or to find out the IP address that was dynamically received by the camera on your network if
a DHCP server is active. If you want to change the IP address to a fixed value, follow the steps below. Verify with your
IT department what IP addresses are allowed to use.
1.
Download the latest version of the Axis device manager from
https://www.axis.com/support/tools/install-
and-manage-systems/axis-device-manager
. Run the installation program and follow the instructions on
screen.
2.
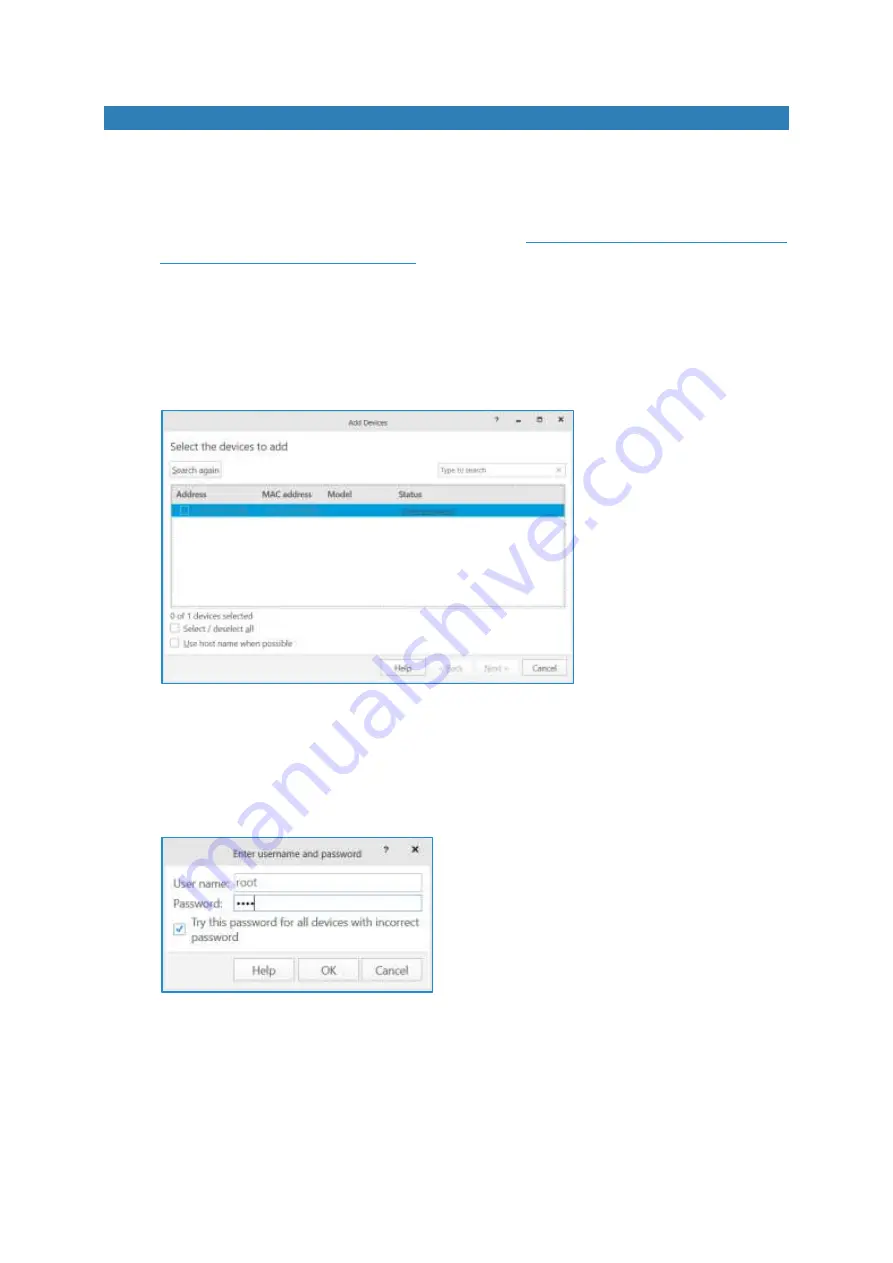
Make sure your FireCatcher Camera is powered up and connected to the network. Start Axis Device Manager
on a Microsoft Windows computer that is on the same physical network as the cameras. The program will
start and scan the network for cameras. All FireCatcher Cameras should appear in the "Add devices" dialog
window in grey font with "Enter password" next to it. If your camera is not showing, verify network
connections and power.
3.
Find the new FireCatcher Camera in the camera list. Click "Enter password". A dialog box will appear that
allow to enter the username and password for the FireCatcher Camera. Fill in:
User name = root
Password = root
Click "OK"
4.
The camera will now appear in the "Add devices" window with model name "P-1375". Select the camera if
not yet done so and click "Next".


