


10 Copyright © Apricorn, Inc., 2000-2007
Chapter 2. Apricorn EZ Gig II installation
and startup
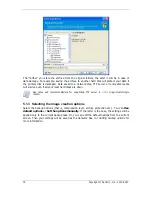
2.1 Installing Apricorn EZ Gig II
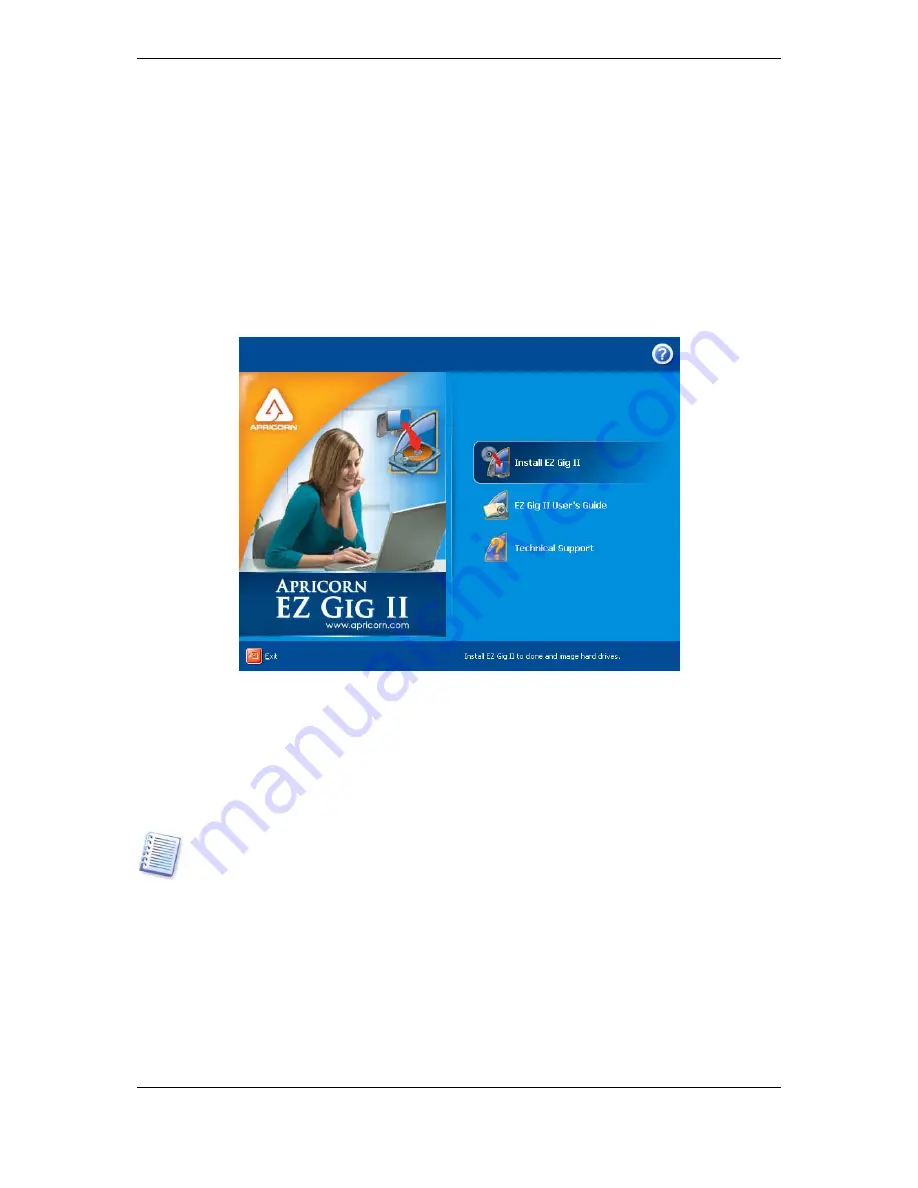
To install Apricorn EZ Gig II:
•
Run the Apricorn EZ Gig II setup file.
•
In the Install Menu, select the program to install: Apricorn EZ Gig II.
•
Follow the install wizard instructions on the screen.
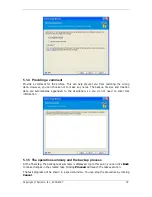
Typical, Custom and Complete installation is available. Having pressed Custom, you can
choose to install, besides Apricorn EZ Gig II and EZ Gig II Media Builder.
With EZ Gig II Media Builder you can create bootable rescue disks (see details in
Chapter
7. Creating bootable media
). You might not need this tool if you purchased a boxed product
that contains a bootable CD. Installing the Bootable EZ Gig II Media Builder will allow
you to create bootable media or its ISO image at any time from the main program window or
running Bootable EZ Gig II Media Builder on its own.
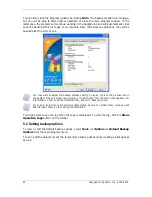
When installed, Apricorn EZ Gig II creates a new device in the Device Manager list (Control
Panel -> System -> Hardware -> Device Manager -> Apricorn Devices ->
Apricorn EZ Gig II Backup Archive Explorer). Do not disable or uninstall this device, as
it is necessary for connecting image archives as virtual disks (see
Chapter 9. Exploring
archives and mounting images).
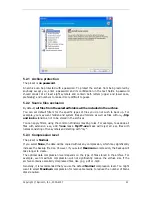
2.2 Extracting Apricorn EZ Gig II
When installing Apricorn EZ Gig II, you can save the setup (.msi) file on a local or network
drive. This will help when modifying or recovering the existing component installation.
To save a setup file:
•
Run the Apricorn EZ Gig II setup file.


