Tutorial
79
That’s all it takes to put a show together. You can press the
key at this
point and the Clips you’ve placed on the StoryBoard timeline will play in
sequence.
The default transition between Clips in the StoryBoard is a cut, which is
represented by the brown box between Clips. To start our program though,
we want to add a dissolve so that the untitled clip appears to fade in. Here’s
how to make that happen. Press the Transitions key on the top row of your
keyboard. Drag the Dissolve transition into the brown box between the
Black clip and the first clip and drop it there. Want to see how the dissolve
looks? All you have to do is press the key (or click on the black video
clip and select ). If you press the Full Screen key on the keyboard,
then the key, you can watch your program play back in real time on the
full screen.
Effective video programs are usually composed of many elements: video
Clips, Transitions, Titles, Effects, and audio Clips. Master editors fine-tune
each of these elements in the programs that they produce, so it is important
for an editing system to facilitate these adjustments. With your Applied
Magic video editing unit, you simply click on an element, then press the
Details key (on the right side of the keyboard), or the Details tab above the
StoryBoard (on the right side), to access these adjustments.
When you capture a video clip, you don’t have to be concerned about
capturing just the bit you think you’ll need for your program. In fact, it’s
usually more efficient to capture more of each clip than you think you’ll
need. This gives you more flexibility when you’re actually putting the clip
into your program, because you can precisely adjust the starting and ending
frames of each clip to fit your concept.
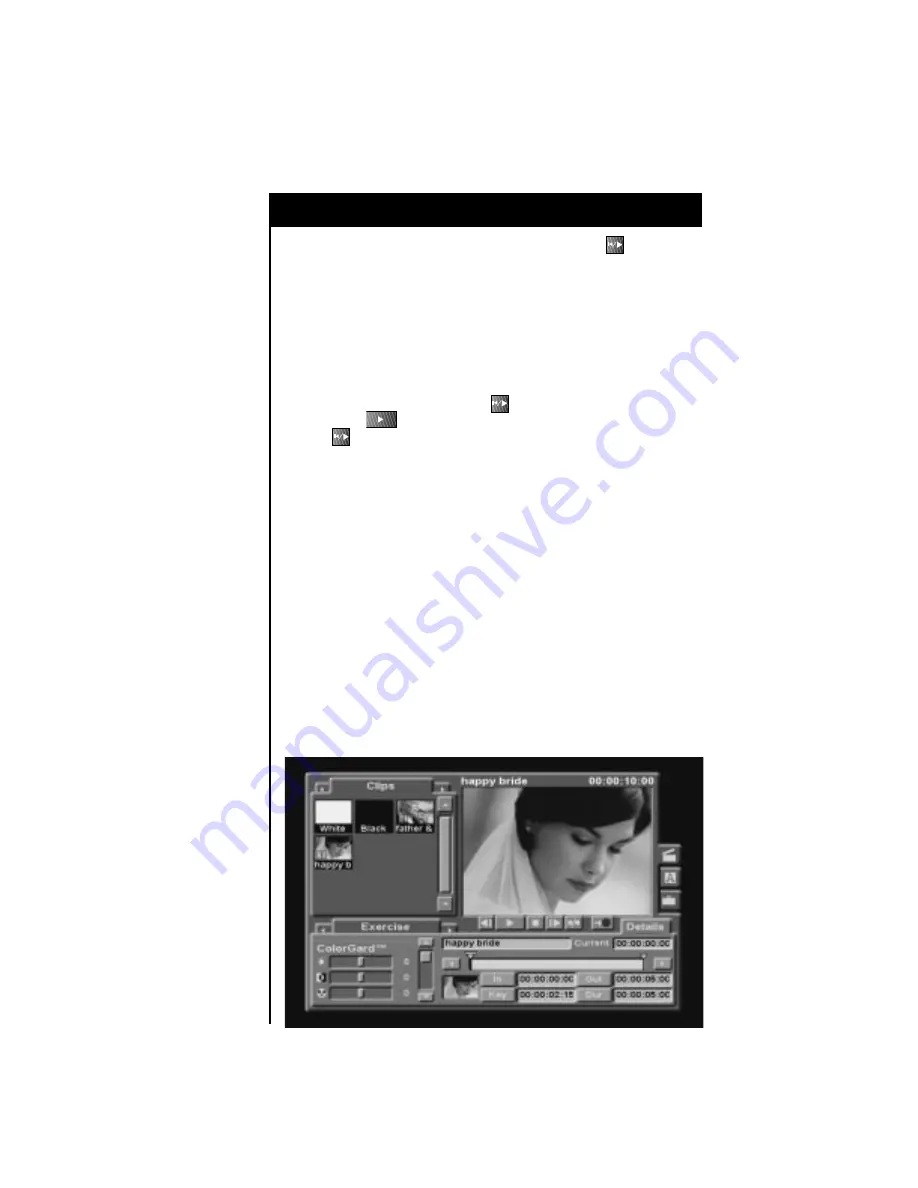
Take a look at the trimming facilities. Click on a video clip on the
StoryBoard and press the Details key on your keyboard. The Details screen
appears over the StoryBoard.


