


OPC-5XX7 User Manual
58
3.10 Set Administrator/User Password
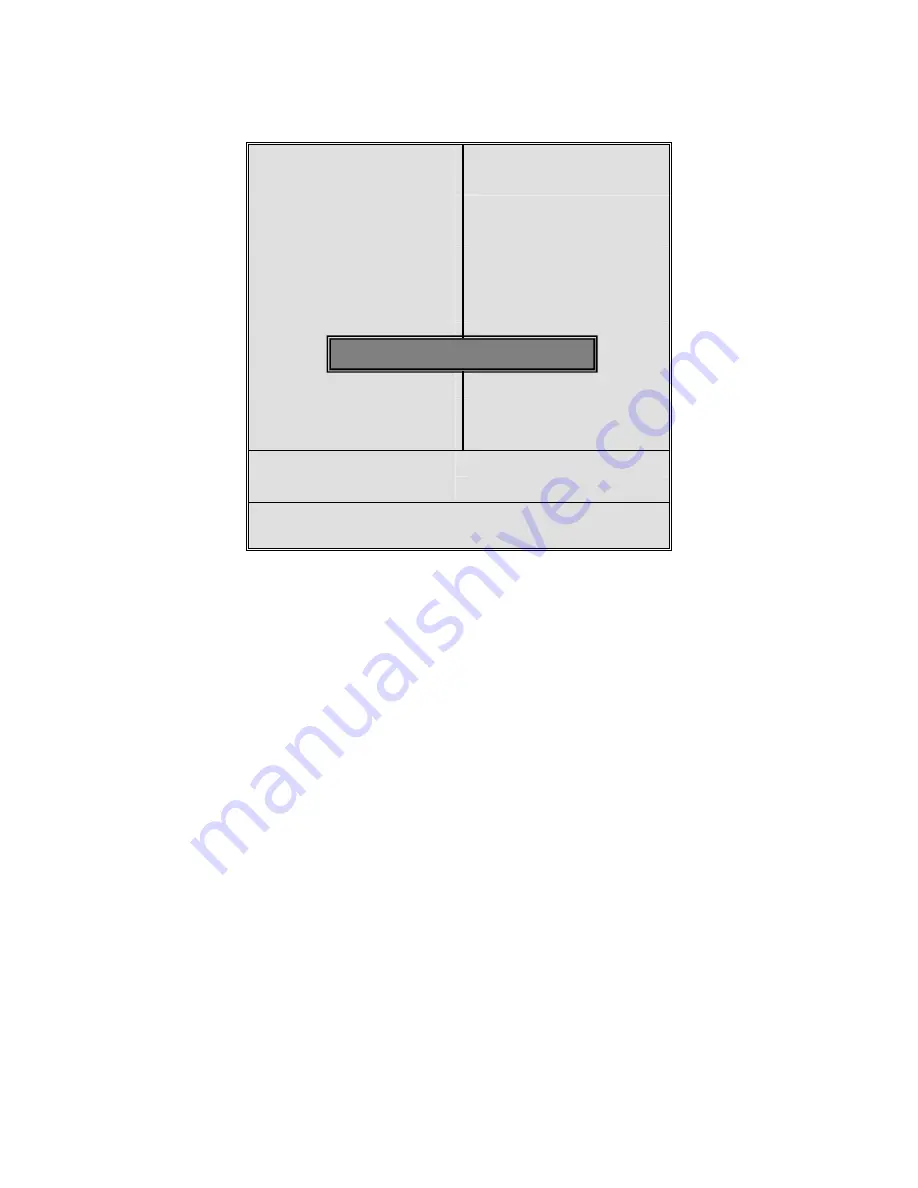
When selecting this feature, the following information will be shown:
Phoenix – AwardBIOS CMOS Setup Utility
►
Standard CMOS
Features
Load Fail-Safe Defaults
►
Advanced BIOS
Features
Load Optimized Defaults
►
Advanced Chipset
Features
Set Administrator
Password
►
Integrated Peripherals
Set User Password
►
Power Management
Setup
Save & Exit Setup
►
PNP/PCI Configurations Exit Without Saving
►
PC Health Status
Esc : Quit
↑↓→←
: Select Item
F10 : Save & Exit Setup
Change/Set/Disable Password
Type the password with up to 8 characters and then press
Enter
key. This will clear all
previously typed CMOS passwords. You will be requested to confirm the password. Type the
password again and press
Enter
key. You may press
Esc
key to abandon password entry
operation.
To clear the password, just press
Enter
key when password input window pops up. A
confirmation message will be shown on the screen as to whether the password will be disabled. You
will have direct access to BIOS setup without typing any password after system reboot once the
password is disabled.
Once the password feature is used, you will be requested to type the password each time you
enter BIOS setup. This will prevent unauthorized persons from changing your system configurations.
Also, the feature is capable of requesting users to enter the password prior to system boot to
control unauthorized access to your computer. Users may enable the feature in Security Option of
Advanced BIOS Features. If Security Option is set to System, you will be requested to enter the
password before system boot and when entering BIOS setup; if Security Option is set to Setup, you
will be requested for password for entering BIOS setup.
Enter Password:
Summary of Contents for OPC-5XX7
Page 8: ...OPC 5XX7 User Manual 8 1 3 Dimensions Figure 1 1 Dimensions of the OPC 5087 ...
Page 9: ...OPC 5XX7 User Manual 9 Figure 1 2 Dimensions of the OPC 5127 ...
Page 10: ...OPC 5XX7 User Manual 10 Figure 1 3 Dimensions of the OPC 5157 ...
Page 11: ...OPC 5XX7 User Manual 11 Figure 1 4 Dimensions of the OPC 5197 ...
Page 13: ...OPC 5XX7 User Manual 13 Step 4 That s how it should look after it has been installed ...
Page 16: ...OPC 5XX7 User Manual 16 Figure 2 2 Mainboard Dimensions ...
Page 17: ...OPC 5XX7 User Manual 17 ...
Page 18: ...OPC 5XX7 User Manual 18 Figure 2 3 Connector and Jumper Locations ...
Page 63: ...OPC 5XX7 User Manual 63 ...
Page 64: ...OPC 5XX7 User Manual 64 ...
Page 67: ...OPC 5XX7 User Manual 67 ...
Page 68: ...OPC 5XX7 User Manual 68 ...
Page 69: ...OPC 5XX7 User Manual 69 Click FINISH A Driver Installation Complete ...
Page 71: ...OPC 5XX7 User Manual 71 ...
Page 72: ...OPC 5XX7 User Manual 72 Click FINISH A Driver Installation Complete ...
Page 74: ...OPC 5XX7 User Manual 74 ...
Page 75: ...OPC 5XX7 User Manual 75 Click FINISH Audio Driver Installation Complete ...
Page 79: ...OPC 5XX7 User Manual 79 ...


