
ARCHMI-7XX User Manual
99
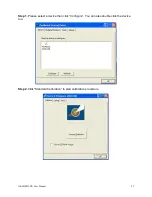
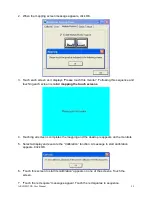
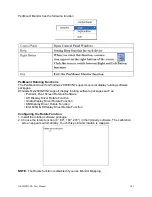
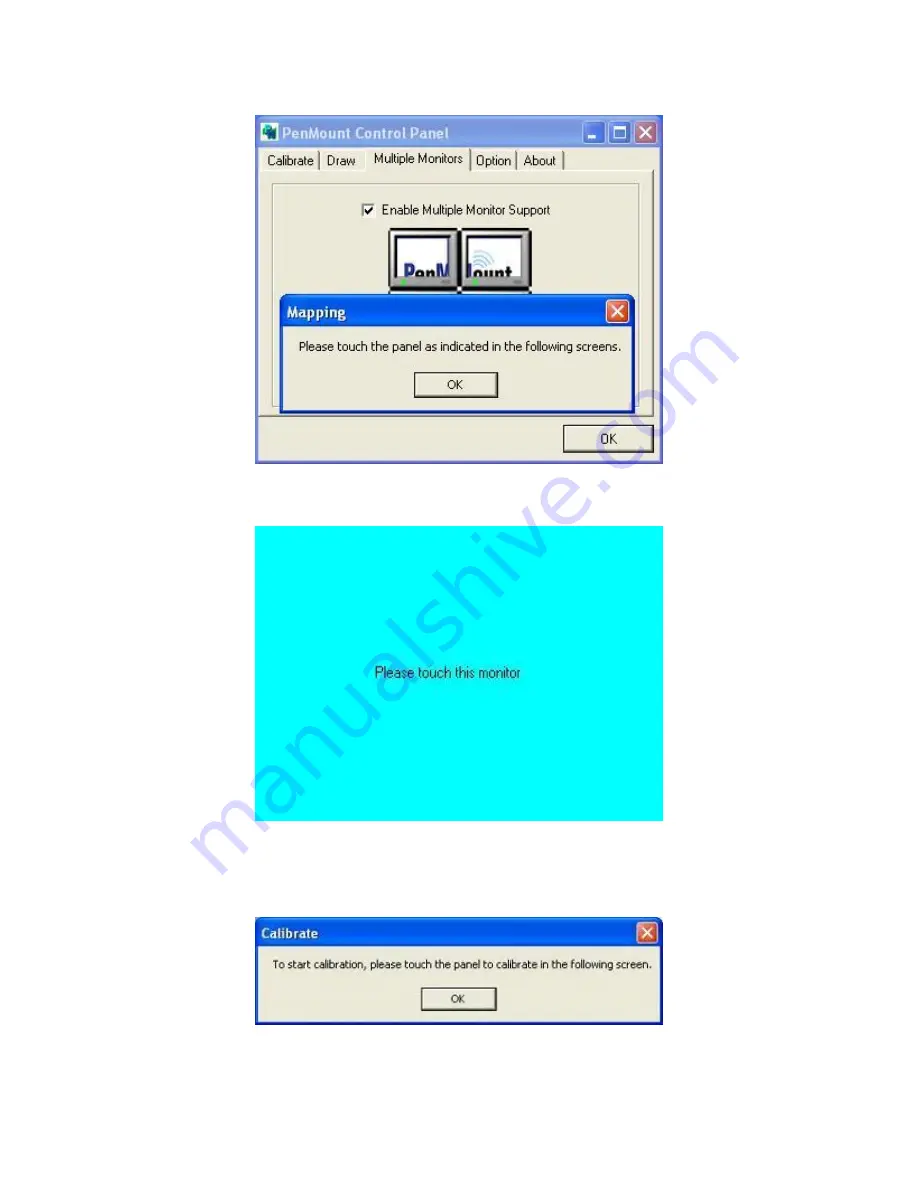
2. When the mapping screen message appears, click OK.
3.
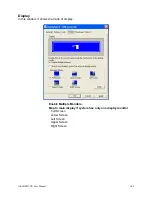
Touch each screen as it displays “Please touch this monitor”. Following this sequence and
touching each screen is called
mapping the touch screens
.
4. Touching all screens completes the mapping and the desktop reappears on the monitors.
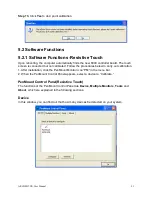
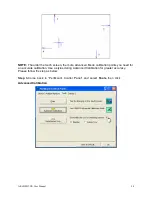
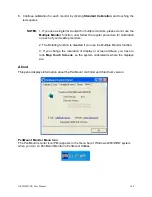
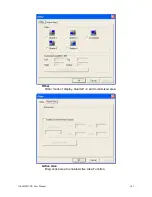
5. Select a display and execute the
“Calibration” function. A message to start calibration
appears. Click OK.
6.
“Touch this screen to start its calibration” appears on one of the screens. Touch the
screen.
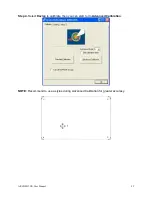
7.
“Touch the red square” messages appear. Touch the red squares in sequence.
Summary of Contents for ARCHMI-7XX
Page 8: ...8 ...
Page 9: ...9 1 2 Dimensions Figure 1 1 Dimensions of ARCHMI 707 ...
Page 10: ...10 Figure 1 2 Dimensions of ARCHMI 708 ...
Page 11: ...11 Figure 1 3 Dimensions of ARCHMI 710 ...
Page 12: ...12 Figure 1 4 Dimensions of ARCHMI 712 ...
Page 13: ...13 Figure 1 5 Dimensions of ARCHMI 715 ...
Page 14: ...14 Figure 1 6 Dimensions of ARCHMI 721 ...
Page 16: ...16 Figure 1 8 Rear View of ARCHMI 707 ARCHMI 708 Figure 1 9 Rear View of ARCHMI 710 ...
Page 17: ...17 Figure 1 10 Rear View of ARCHMI 712 ARCHMI 715 Figure 1 11 Rear View of ARCHMI 721 ...
Page 25: ...25 units mm Figure 2 1 Mainboard Dimensions ...
Page 27: ...27 Board Bottom Figure 2 3 Jumpers and Connectors Location_ Board Bottom ...
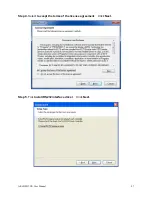
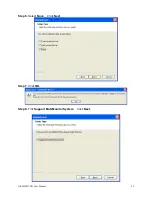
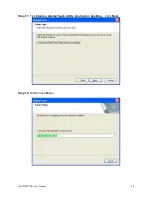
Page 75: ...ARCHMI 7XX User Manual 75 Step 3 Read license agreement Click Yes Step 4 Click Next ...
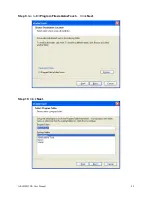
Page 82: ...ARCHMI 7XX User Manual 82 Step 2 Select Resistive Touch Step 3 Click Next to continue ...
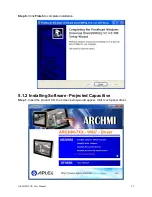
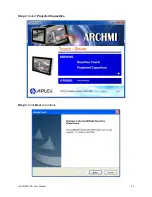
Page 86: ...ARCHMI 7XX User Manual 86 Step 2 Select Projected Capacitive Step 3 Click Next to continue ...
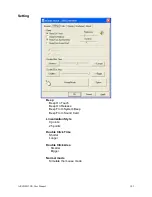
Page 96: ...ARCHMI 7XX User Manual 96 Setting ...
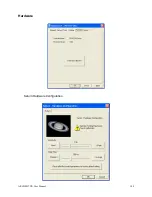
Page 108: ...ARCHMI 7XX User Manual 108 Hardware Saturn Hardware Configuration ...
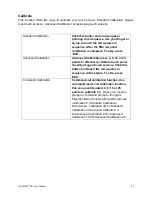
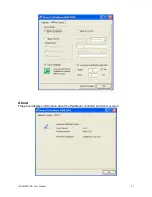
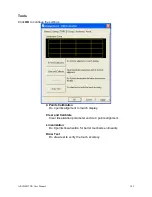
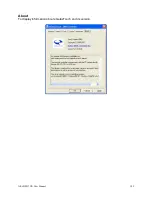
Page 109: ...ARCHMI 7XX User Manual 109 About To display information about eGalaxTouch and its version ...


