ARCHMI-7XX User Manual
98
Multiple Monitors
Multiple Monitors support from two to six touch screen displays for one system.
The PenMount drivers for Windows 2000/WIN 7 support Multiple Monitors. This function
supports from two to six touch screen displays for one system. Each monitor requires its own
PenMount touch screen control board, either installed inside the display or in a central unit.
The PenMount control boards must be connected to the computer COM ports via the RS-232
interface. Driver installation procedures are the same as for a single monitor. Multiple
Monitors support the following modes:
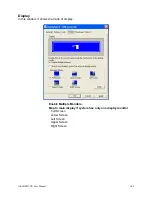
Windows Extends Monitor Function
Matrox DualHead Multi-Screen Function
nVidia nView Function
NOTE:
The Multiple Monitor function is for use with multiple displays only. Do not
use this function if you have only one touch screen display. Please note
once you turn on this function the rotating function is disabled.
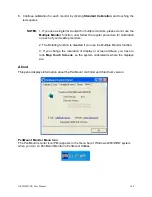
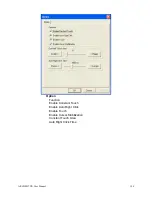
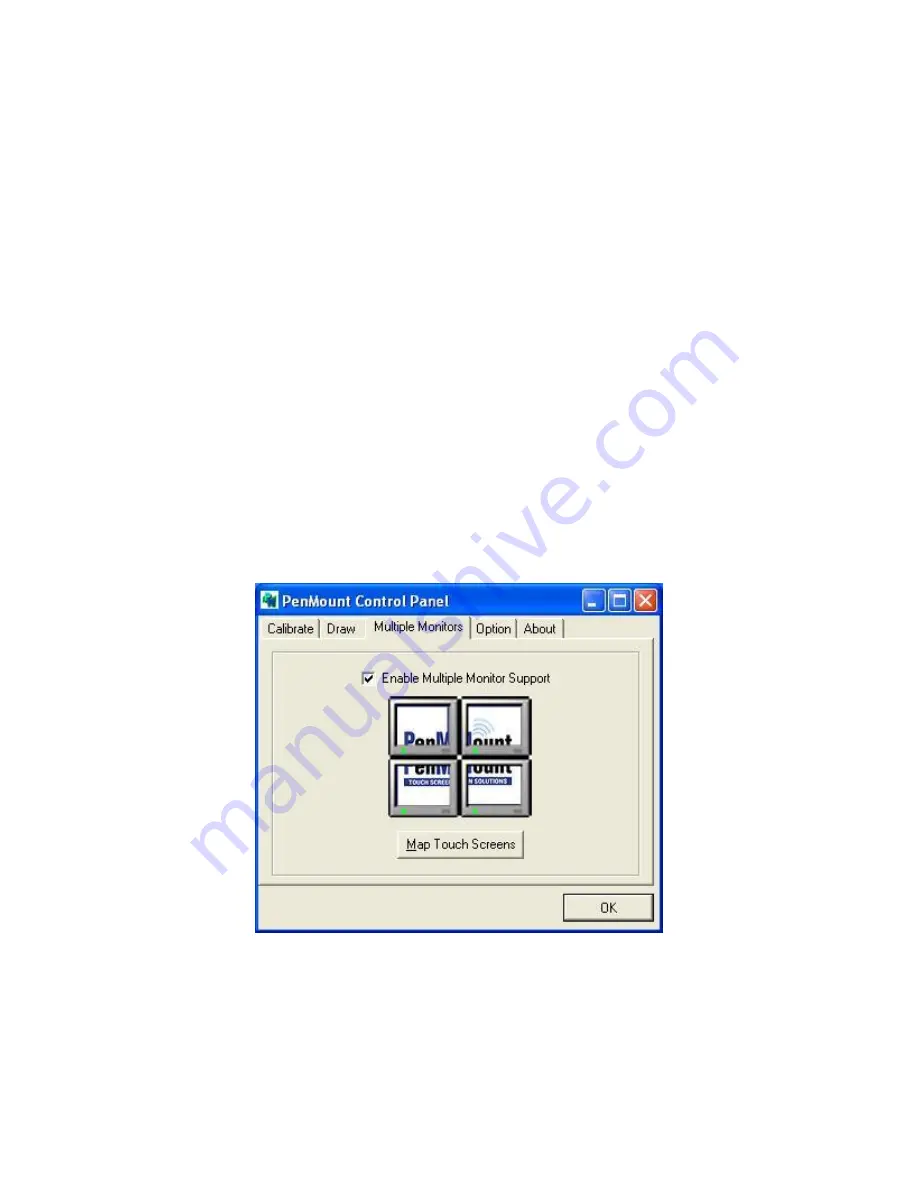
Enable the multiple display function as follows:
1. Check the
Enable Multiple Monitor Support
box;
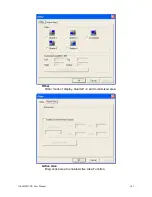
then click
Map Touch Screens
to
assign touch controllers to displays.
Summary of Contents for ARCHMI-7XX
Page 8: ...8 ...
Page 9: ...9 1 2 Dimensions Figure 1 1 Dimensions of ARCHMI 707 ...
Page 10: ...10 Figure 1 2 Dimensions of ARCHMI 708 ...
Page 11: ...11 Figure 1 3 Dimensions of ARCHMI 710 ...
Page 12: ...12 Figure 1 4 Dimensions of ARCHMI 712 ...
Page 13: ...13 Figure 1 5 Dimensions of ARCHMI 715 ...
Page 14: ...14 Figure 1 6 Dimensions of ARCHMI 721 ...
Page 16: ...16 Figure 1 8 Rear View of ARCHMI 707 ARCHMI 708 Figure 1 9 Rear View of ARCHMI 710 ...
Page 17: ...17 Figure 1 10 Rear View of ARCHMI 712 ARCHMI 715 Figure 1 11 Rear View of ARCHMI 721 ...
Page 25: ...25 units mm Figure 2 1 Mainboard Dimensions ...
Page 27: ...27 Board Bottom Figure 2 3 Jumpers and Connectors Location_ Board Bottom ...
Page 75: ...ARCHMI 7XX User Manual 75 Step 3 Read license agreement Click Yes Step 4 Click Next ...
Page 82: ...ARCHMI 7XX User Manual 82 Step 2 Select Resistive Touch Step 3 Click Next to continue ...
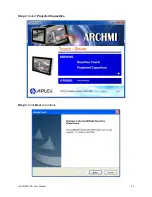
Page 86: ...ARCHMI 7XX User Manual 86 Step 2 Select Projected Capacitive Step 3 Click Next to continue ...
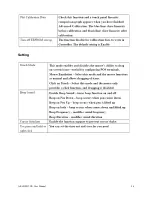
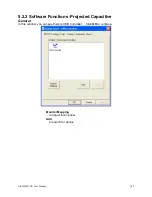
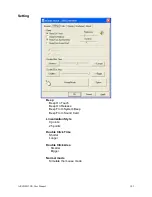
Page 96: ...ARCHMI 7XX User Manual 96 Setting ...
Page 108: ...ARCHMI 7XX User Manual 108 Hardware Saturn Hardware Configuration ...
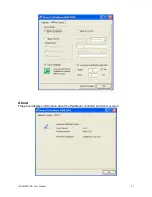
Page 109: ...ARCHMI 7XX User Manual 109 About To display information about eGalaxTouch and its version ...

