


3
4
4. You'll find the Speaker connector (labeled SPEAKER) behind the PWR connector.
5. The Power LED, Hard Drive LED, LED I & LED II connectors all share a
single ribbon cable. Attach the Power LED (labeled POWER) and HDD LED
connectors to the appropriate headers on your motherboard. You can use
the LED I and LED II connectors as you see fit; as SCSI LED, Message LED,
etc. or any other function supported by your motherboard, expansion cards,
and peripherals.
Connecting the USB Ports
You'll find eight wires with connectors attached to the front-mounted USB ports
of the case.
1. Locate the internal USB header on your motherboard. It consists of 10 pins
in two rows.
Note:
On some motherboards, you may find one or two
pins labeled "NC," which means "no contact." That's an empty pin, which
you don't need to use. Or you may notice one pin missing on either one or
both rows. Don't worry about it, since you only need 8 pins for a full
connection.
2. Check your motherboard manual for the pin-out positions.
3. Power Pins: There are two power pins, one on each row. They are usually
marked as Power, Vcc or +5V. Connect the two +5V connectors to the
two power pins. Each connector can go to either pin.
4. Ground Pins: There are two ground pins, one on each row. They are usually
marked as GROUND or GND. Connect the two GROUND connectors to the
two ground pins. Each connector can go to either pin.
Note:
On some motherboards, there may be two ground pins on one row.
You don't need to use both of them, but make sure you connect one
ground pin on each row.
5. Data Pins: There are two plus data pins, one on each row, and two minus
data pins, one on each row. They are usually marked as USBD2+,
USBD3+ and USBD2-, USBD3- or USBP2+, USBP3+ and USBP2-, USBP3-
respectively.
a. Connect the (1)+D connector to either of the two plus data pins.
b. Connect the (1)-D connector to the minus data pin. The minus data
pin should be in the same row as the plus data pin to which you just
connected the (1)+D connector.
c. Repeat the same procedures to connect the (2)+D and (2)-D connectors
to the motherboard. Make sure they are in the same row.
Installing 5.25" Devices
Your new case features four 5.25" drive bays. Each is covered by a ventilated
metal cover and an EMI Contact plate as one contiguous assembly. To make
installation easier and quicker, we've prepared the top drive bay without the
metal plate. If you'd like to install a 5.25" drive in another bay:
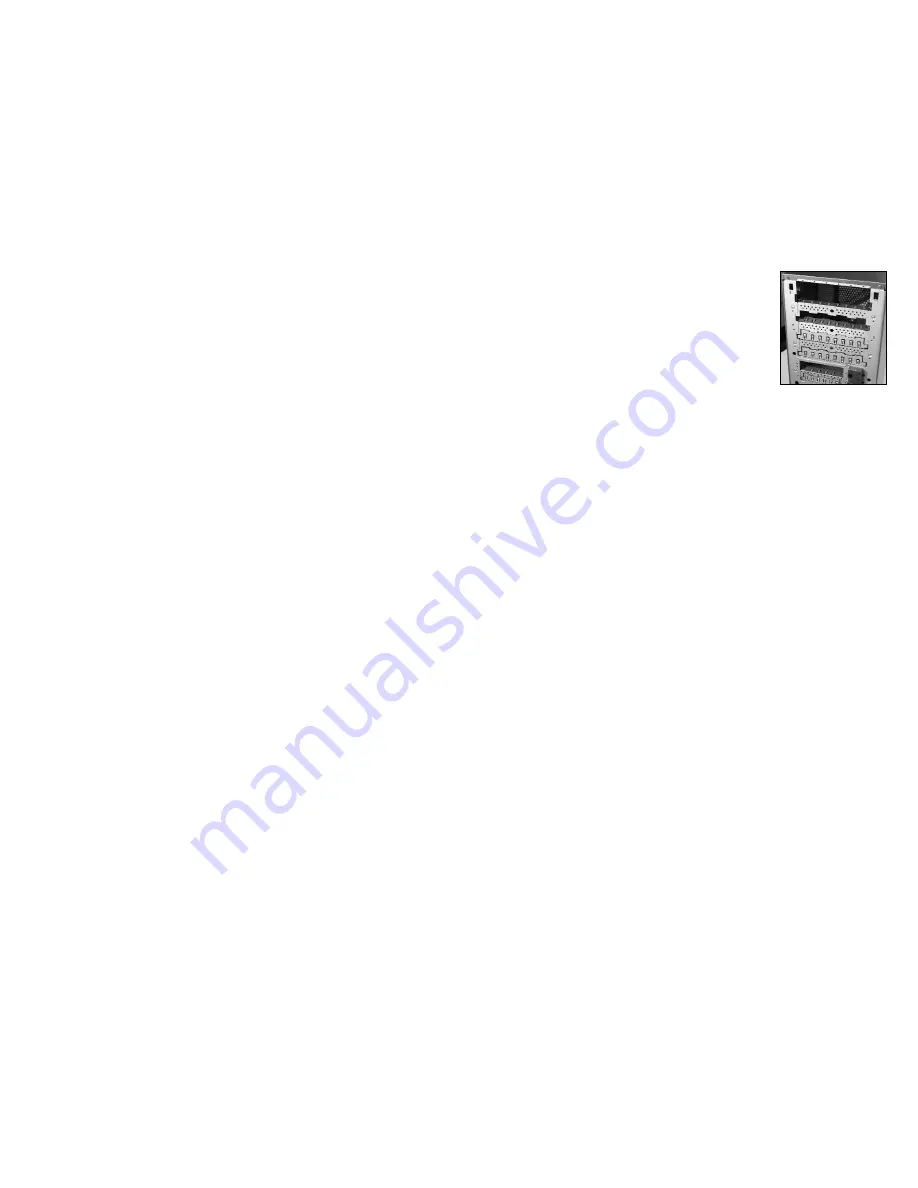
1. Find the EMI Contact plate covering the lower half of your chosen drive
bay. Then bend it 90 degrees inwards to form a drive support. (See photo 1.)
2. Carefully twist the assembly that covers the upper half of your chosen
drive bay back and forth. When it breaks off, remove it.
Note:
Please watch your fingers. Where you removed the assembly, you're
likely to find sharp metal. If you don't plan to use certain drive bays, leave
the metal cover assemblies in place. And if you
later decide to cover drive bays again, we've included
two EMI cover plates in the toolbox.
3. Mount two drive rails to the sides of your 5.25"
device.
4. Slide the device into the drive bay until you hear a
click.
5. To install more drives, simply repeat the same
procedure.
6. Connect a large 4-pin white connector from the
power supply to the male 4-pin connector on each device.
7. When you're done, carefully push the plastic drive bay covers off the bezel.
Then re-attach the bezel to the case.
Connecting Data Cables
After you've connected the devices to the power supply, you need to connect
the data cables between the devices and the motherboard. Although data cables
aren't included with this case, here are some useful tips:
1. For hard drives and CD-ROMs, use 40-pin IDE ribbon cables. For floppy
drives, use 34-pin ribbon cables. These cables should be included with your
drives, and should have a red strip on one side indicating pin number 1.
When you connect a ribbon cable to a device, make sure that the red strip
is on pin 1, usually toward the power connector.
2. Attach the side with 2 connectors to the devices. This allows you to connect
another device if you wish.
3. Connect the far end of the cable to your motherboard on the IDE port,
either IDE 1 or IDE 2, or the FLOPPY port.
Note:
If you wish to connect a 3.5” drive and a 5.25” drive on the same IDE
channel, we recommend that you use IDE cables which provide 10 or more
inches of flexible cable between connectors or the start of any protective boot.
We further recommend that you mount the drives such that the 3.5” drive is in
the topmost internal 3.5” bay and that the 5.25” drive is in the bottom 5.25” bay.
Installing External 3.5" Devices
Your new case features a 3.5" drive cage which can hold 2 external 3.5" drives.
1. Remove the drive bay cover from the drive bay where you intend to install
a drive.
2. Release the cage by pulling the quick release lever towards the rear of the
case. Slide the cage out and put it on a flat, level surface.
3. Mount your floppy drive or other external devices into the cage.
4. Slide the drive cage back into the case and lock it.
5. Find a small 4-pin white connector on the power supply and connect it to
the male 4-pin connector on the device.
Installing Internal 3.5" Devices
Your new case features four internal hard drive bays under the external 3.5”
drive bays. Each bay includes an individual drive tray which mounts through the
open side panel of the case.
Photo 1
Summary of Contents for SLK3700-BQE
Page 23: ......