background image

Record Logos

Erase

 Frame 1 

(lf3)

 Frame 4 

(lf3)

 Logo 1 

(lf3)

 Frame 3 

(lf3)

 Logo 4 

(lf3)

 Position / Size Adjust

 Luma key 

(lf4)

 Cut out color 

(lf4)

 Store

 H pos

 Logo 1

 V pos

 Logo 2 (empty) 

(lf2)

 H size

 Logo 3 (empty) 

(lf2)

 Level black

 Cut out black

 V size

 Logo 4

 Level white

 Cut out white

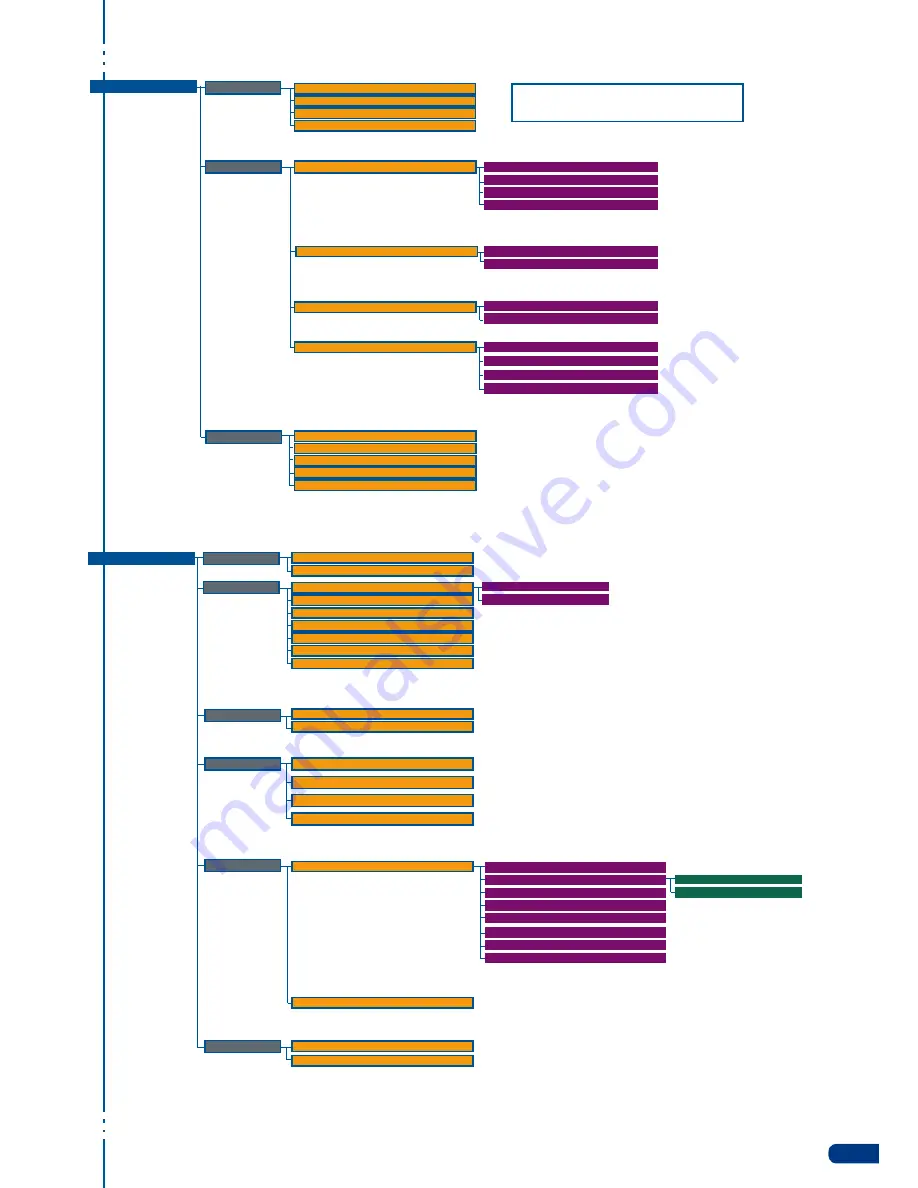
LOGOS/FRAMES

Record Frames

 Frame 1

 Frame 3

 Frame 2 (Empty) 

(lf1)

 Frame 4

 (lf1) Empty if slot is free for a Frame

 (lf2) Empty if slot is free for a logo

 (lf3) Displays only list of valid Frames and Logos

39

AUDIO

Aux. settings

Audio Main

 Breack away

 Input 1

 Input 3

 DVI

 SDI 2

 Stereo

 TopLayer follow

 Input 2

 Input 4

 SDI 1

 Master Volume

 Audio Delay

 Balance

 Balance

 Level

Mode

Source settings

 Level

 Master Mute

Audio Prelist 

(m1)

Delay Mode

 Input 1

 None

 Input 3

 SDI 2

 Input 2

 Input 4

 DVI 

 SDI 1

 Source

 Aux. Mute

 Auto Adjust
 Manual Adjust

 Level

 Balance

Summary of Contents for Smart Vu

Page 1: ...version 1 00 USER MANUAL...

Page 2: ...SAFETY INSTRUCTION 2 2 UNPACKING AND INSPECTION 2 3 RACKMOUNT INFORMATION 2 4 CABLE ADAPTOR INFORMATION 2 5 HARDWARE SPECIFICATIONS 5 10 10 11 11 Input specifications Output specifications Communicati...

Page 3: ...es Source output selection Source input selection Input selection settings Output selection settings PIP configuration PIP as layers Working with PIPs Working with frames Working with logos Working wi...

Page 4: ...nsitions and effects Audio configuration OPTIONAL REMOTE CONTROL SYSTEMS 47 APPLICATION EXAMPLES AND TIPS 7 1 ABOUT APPLICATION EXAMPLES 7 2 APPLICATION EXAMPLE 7 3 EXTERNAL PROGRAMMING 48 48 48 49 HO...

Page 5: ...IP PIPs can be reduced enlarged bordered and shadowed PIPs can overlap depending on their visual priority Smart Vu allows for Dynamic PIP on the opening and closing of the sequence vertically or horiz...

Page 6: ...idelines The equipment connected to the network must have a release system easily accessible and located outside the unit Unplug the power cord do not pull on the power cord but always on the plug its...

Page 7: ...branch de la prise murale Appliquer les consignes suivantes Le mat riel reli a demeure au r seau doit avoir un dispositif de sectionnement facilement accessible qui doit tre incopor l ext rieur de l a...

Page 8: ...e Per assicurarsi che totalemente l apparecchio non pi collegato il cavo deve essere disconesso della presa murale Seguire le instruzioni seguenti Il materiale collegato a residenza alla rete deve ave...

Page 9: ...Kabel aus der Netzsteckdose ausgesteckt werden Bitte beachten Sie die folgenden Hinweise Wenn Ger te dauerhaft am Netz bleiben m ssen sie ber eine leicht zug ngliche Trennvorrichtung verf gen die au...

Page 10: ...debe de ser desconectado de la toma de corriente Aplicar las siguientes consignas El material conectado a residencia a la red inform tica debe de tener un dispositivo de seccionamiento f cilmente acce...

Page 11: ...g temperature should not exceed 40 C 104 F The rack and all mounted equipement in it must be reliably grounded according to national and or local electrical standards 2 2 UNPACKING AND INSPECTION 2 3...

Page 12: ...Hz 50 Hz 625 lines 15 734 kHz 60 Hz 525 lines Levels R G B 0 7 Vp p SYNC 0 3 Vp p or TTL negative Impedance RGB 75 ohms SYNC 75 ohms or Hi Z COMPONENT Connectors Inputs 1 4 female HD15 DVI Input 1 fem...

Page 13: ...le DVI I analog pins Standard PAL SECAM 15 625 kHz 50 Hz 625 lines NTSC 3 58 4 43 MHz 15 734 kHz 60Hz 525 lines Level 1 Vp p 0 7 V Luma 0 3 V Sync Impedance 75 ohms DVI Digital Video Interface Connect...

Page 14: ...2Hz 75Hz 848 x 480 16 9 50Hz 60Hz 72Hz 75Hz 1024 x 768 4 3 50Hz 60Hz 72Hz 75Hz 1280 x 720 16 9 50Hz 60Hz 1280 x 768 15 9 50Hz 60Hz 72Hz 75Hz 1280 x 800 16 10 50Hz 60Hz 72Hz 75Hz 1280 x 1024 5 4 50Hz 6...

Page 15: ...4 3 50Hz 60Hz 72Hz 75Hz 848 x 480 16 9 50Hz 60Hz 72Hz 75Hz 1024 x 768 4 3 50Hz 60Hz 72Hz 75Hz 1280 x 720 16 9 50Hz 60Hz 1280 x 768 15 9 50Hz 60Hz 72Hz 75Hz 1280 x 800 16 10 50Hz 60Hz 72Hz 75Hz 1280 x...

Page 16: ...following EN 55022 2006 A1 2007 EN 55024 1998 A1 2001 A2 2003 EN 61000 3 2 2006 EN 61000 3 3 1995 A1 2001 A2 2005 Safety test following IEC 60950 1 2005 UL 60950 1 2007 CAN CSA C22 2 NO 60950 1 Power...

Page 17: ...11 TMDS Data 1 Shield 17 TMDS Data 0 23 TMDS Clock 6 DDC Clock 12 Not used 18 TMDS Data 0 24 TMDS Clock C1 Analog Red Video or Cr Pr or C C2 Analog Green Video or Y or Composite Video C3 Analog Blue...

Page 18: ...ng the DVI inputs a specific feature allows enable disable the HDCP receiver for the input chosen It can be very useful especially using a Mac Input Menu DVI HDCP detection The output status can provi...

Page 19: ...deo sources simultaneously The versatility of the Smart Vu will allow for almost any event configuration and cater for all your projection needs The intuitive rear panel of the Smart Vu will let you s...

Page 20: ...viewed on screen and or on a preview monitor see also Output Specifications in this chapter Finally the audio in and output card will let users trigger audio with any source accurately balance or twea...

Page 21: ...omposite source to the HD15 input of the device S VIDEO SOURCES The S VIDEO signal also called Y C HI 8 or S VHS is available on DVD players and high quality VCRs S VHS The S VIDEO signal in which the...

Page 22: ...5 to 4 x BNC cable between the HD15 connector of the device and your RGB S source PREVIEW OUTPUT ANALOG 1 x analog output for the main display device on female HD15 connector DIGITAL ANALOG 1 x main o...

Page 23: ...input level can be adjusted Each input and output offers balanced or unbalanced connections It should be noted that the management of the audio output follows the position of video layers Two modes a...

Page 24: ...er leaving room for what is most important to our users concentrating on their event The Smart Vu front panel is comprised of several sections each carefully labeled and self explanatory corresponding...

Page 25: ...puts by simply pressing one of the Input buttons When pressed the BLACK button allows users to remove layer content on screen The Layer Selection section allows to select which type of layer to work w...

Page 26: ...mart Vu Layer Effects menu Opening and Closing transitions The Smart Vu PRESET SELECTION button is a practical front panel shortcut to the SmartVu Preset menu and will activate the four available Pres...

Page 27: ...software information LAN settings reset factory settings amongst other user oriented functions Menu navigation To access the Smart Vu menu press the EXIT MENU button in the control section 2 To highl...

Page 28: ...tton color codes are as follow Sources on the Main output are indicated in red when active Sources on the Preview output are indicated in green when active Buttons in the layer section turn red or gre...

Page 29: ...ctor preview monitor NOTE It is strongly recommended to set the output format of the SVU300 to match the native resolution of the display devices connected to the SVU300 1 In the Menu section press th...

Page 30: ...apply transparency or transitions to 1 Press the PIP button The button will start blinking On the preview screen the layer will appear as a color rectangle and 00 will be indicated in the layer rectan...

Page 31: ...main display indicating the frame which will be captured Select an empty frame memory empty frames are indicated in the sub menu to store the frame into Press the corresponding ENTER button 4 The Sma...

Page 32: ...g the scroll knob and pressing ENTER to memorize logo settings 5 Select an empty logo memory empty logos are indicated in the sub menu to store the logo into Press the ENTER button The Smart Vu will d...

Page 33: ...ating the SCROLL knob and pressing ENTER 3 Repeat the procedure in the Closing Effect sub menu to determine the way your layer will close The Smart Vu allows the creation of user defined presets very...

Page 34: ...ak Away mode will air the selected audio source while the Top Layer Follow mode will air audio from the toptmost active layer of the Smart Vu 2 Select Source Settings from the Audio menu to select the...

Page 35: ...HOME MENU MAIN PREVIEW MAIN Format 1920 x 1080 Live Input 3 Live Input 3 Internal 60Hz Current Layer Live 34...

Page 36: ...ED HD YUV i11 Audio Input 4 Computer SOG i11 Computer HV C i11 Computer RW i11 Computer 0 255 i10 Audio DVI Computer 16 235 i10 DVI video RGB i10 Audio SDI 1 DVI video YUV i10 Audio SDI 2 Hi Z Auto NT...

Page 37: ...0 19 10 800x600 4 3 24 Hz o2 1024x768 4 3 29 97 Hz o2 1280x768 15 9 50 Hz o2 1280x1024 5 4 60 Hz o2 H V RGB HV 1366x800 15 9 75 Hz o2 H V RGsB SOG RGB limited 16 235 Preview 1440x900 16 10 1680x1050 1...

Page 38: ...R7 Interlaced 50 Hz R8 Interlaced 60 Hz R9 SDTV R10 Analog input or Interlaced signal R11 Interlaced signal A3 displayed when an input is active selected t1 only displayed for Type Luma Key or LumaKe...

Page 39: ...om to Top b3 Slide Bottom to Top b3 WipeHV from Center WipeHV from Center Layer zoom b3 Transparency Border b3 Opening effect Type Cut Cut Slide Left to Right b3 Slide Left to Right b3 Fade Fade Wipe...

Page 40: ...rame 3 Frame 2 Empty lf1 Frame 4 lf1 Empty if slot is free for a Frame lf2 Empty if slot is free for a logo lf3 Displays only list of valid Frames and Logos 39 AUDIO Aux settings Audio Main Breack awa...

Page 41: ...x 0 xxxx Device address MF K xxxx Gateway address FA V xxxx Remote port L1 CS V xxxx LAN UDP Default setup L2 CONTROL RS232 LAN LAN setup L1 UDP only L2 Confirmation asked 40 Key locking LCD brightnes...

Page 42: ...the software on a Computer Windows based only and have a LAN board or RS 232 link to use the RCS After the installation launch the program and proceed to the network establishment Software installatio...

Page 43: ...ter sources frames layers and logos directly by clicking on the corresponding button then navigating through the different available tabs The red window of the RCS 3 represents your Main window and ca...

Page 44: ...a crossed RJ45 cable between the Smart Vu and your PC then power on your devices Use straight RJ45 if connecting through a network switcher 2 Click on the RCS program file on your PC to run the softwa...

Page 45: ...e RCS 2 Select the type of plug which is connected to outputs 1 2 of your Smart Vu by clicking in the appropriate field in Analog Type or DVI Type for both Main and Preview outputs 3 Select the approp...

Page 46: ...ttom of the Preview section click on the Transition tab then select the transition type from the left dropdown menu and the effect behaviour from the right dropdown menu 3 Determine effect duration by...

Page 47: ...inputs via the SDI BNC connectors all accessible via the Audio menu of the Smart Vu and which can be affected to one or both of the 2 independant symetrical asymetrical outputs of the device To confi...

Page 48: ...creens in a single or multiple display configuration 6 2 Orchestra 6 3 TRK 800 TRK 800 Triple Remote Keypad designed to control up to 3 units Powerful High End Remote Controller Controls up to 3 diffe...

Page 49: ...our equipment In an effort to make the use of our machines the most pleasant experience possible the Analog Way team is constantly aiming to create easy to follow examples update information and furni...

Page 50: ...meters of the product 2 In the Control SmartVu LAN Setup menu configure the connection of the SVU300 product in UDP mode and setup the Local and Remote Addresses as well as the Local and Remote Ports...

Page 51: ...ing on your location See map below for information on which regional maintenance center you depend on RMA Conditions 1 Prior to returning any item you must receive a Return Material Authorization RMA...

Page 52: ...gway com Before calling your regional maintenance center please gather the following information Serial number of the unit Firmware version look in CONTROL MENU VERSIONS Model reference SVU300 Descrip...

Page 53: ...he illustrations and screens described in this manual may be exaggerated or simplified for easy recognition and may be slightly different from the actual unit ANALOG WAY SAS 33 rue du Saule Trapu Parc...

Reviews: