Configuration
10
NXB-KNX KNX Communications Gateway
Login is only required if the
Web
and/or
Admin
security options have been enabled on the unit.
1.
Click the
Login
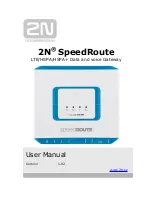
link in the upper-right corner of the initial page (FIG. 5). This invokes the Login popup page
(FIG. 13).
Enter the default login information:
Username =
administrator
Password =
password
2.
Click the
Login
button.
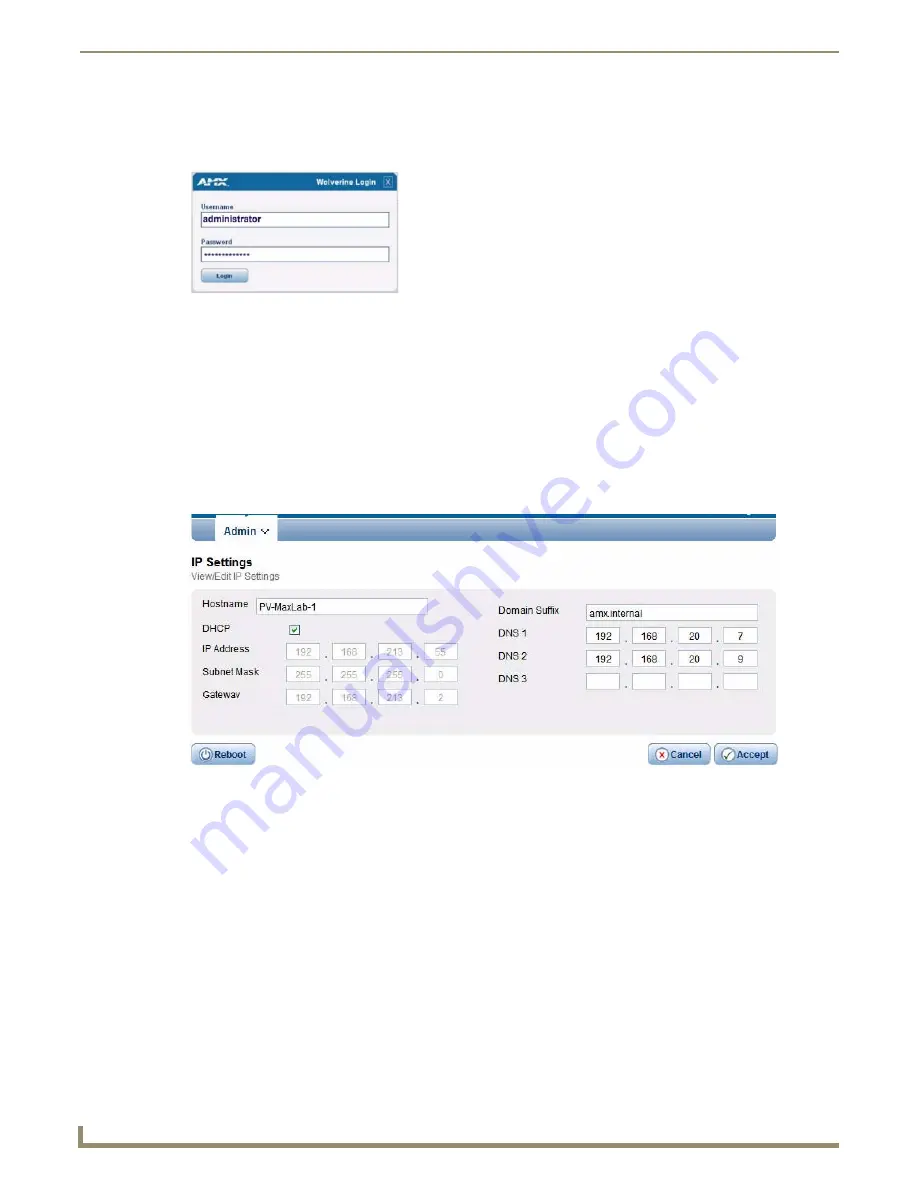
Once you have successfully logged into the Configuration Manager, the IP Settings page is displayed, and can be edited
as needed.
IP Settings
Select
IP Settings
from the Admin drop-down menu to open the
IP Settings
page (FIG. 14). Use the options on the page
to specify network/IP settings for this NXB-KNX unit.
Port Settings
FIG. 13
NXB-KNX Configuration Manager - Login popup page
FIG. 14
IP Settings page
Hostname:
Enter a Hostname for this unit (enabled only if DHCP is disabled).
DHCP:
Click to toggle DHCP on this unit (default = enabled).
Note that DHCP must be enabled in order for the zero-configuration client (i.e. Bonjour for
Windows) to detect the NXB-KNX on the network.
See the
NetLinx Studio (featuring Zero-Config functionality)
section on page 5 for details.
IP Address:
Enter an IP Address for this unit (enabled only if DHCP is disabled).
Subnet Mask:
Enter a Subnet Mask for this unit (enabled only if DHCP is disabled).
Gateway:
Enter a Gateway for this unit (enabled only if DHCP is disabled).
Domain Suffix:
Enter the Domain Suffix for this unit.
DNS 1, 2, 3:
Enter up to three DNS addresses for this unit.
Reboot:
Click to initiate a system reboot.
IP Settings changes only take effect after a reboot.