I N ST R U C T I O N M A N U A L
A CE N D O V I B E
™
ACV - 2 1 0 0 A CE N D O V I B E
C O N FE RE N C I N G S O U N D B A R
ACV - 5 1 0 0 A CE N D O V I B E
C O N FE RE N C I N G S O U N D B A R W I T H C A M E RA
Page 1: ...INSTRUCTION MANUAL ACENDO VIBE ACV 2100 ACENDO VIBE CONFERENCING SOUNDBAR ACV 5100 ACENDO VIBE CONFERENCING SOUNDBAR WITH CAMERA ...
Page 2: ...and the point where they exit from the apparatus 11 ONLY USE attachments accessories specified by the manufacturer 12 USE ONLY with a cart stand tripod bracket or table specified by the manufacturer or sold with the apparatus When a cart is used use caution when moving the cart apparatus combination to avoid injury from tip over 13 UNPLUG this apparatus during lightning storms or when unused for l...
Page 3: ...the Wall Mount Bracket and Attaching the Acendo Vibe 10 Connections 11 ACV 5100 Connectors 11 ACV 2100 Connectors 12 Rotating the Acendo Vibe Into the Seated Position 12 Installing Lock Down Screws 13 Side Panel Keypad 13 Volume and Mute Controls 13 Camera ACV 5100 only 13 Remote Control 14 Pairing the Remote Control to the Acendo Vibe 14 Pairing the Acendo Vibe with a Bluetooth Source Device 14 S...
Page 4: ...r settings from this file 27 Viewing Modifying an Acendo Vibe Configuration File 27 Sending New Settings to Acendo Vibe 28 Getting Current Settings From Acendo Vibe 29 Sending Firmware Update to Acendo Vibe 29 Serial Commands 31 Overview 31 RS 232 Connector Specifications 31 Command Protocol 31 Protocol Definition 31 Syntax 31 Case Sensitivity 31 Path Syntax 31 Command Reply 31 Parameters 31 Unsup...
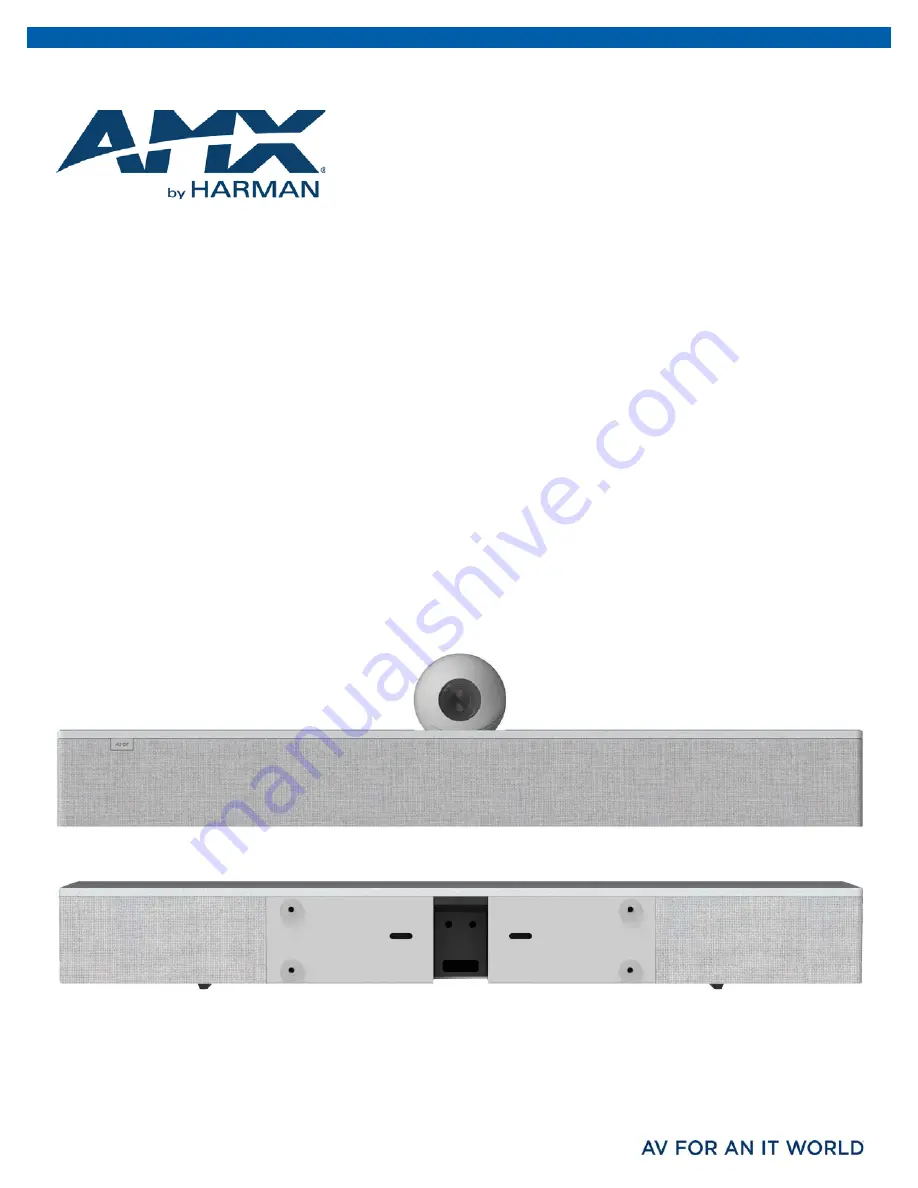
Page 5: ...g applications via its USB port Refer to the Camera ACV 5100 only section on page 13 for details NOTE To adjust the camera s view simply grasp the camera and rotate to the desired position FIG 1 ACV 5100 Front Rear views ACV 5100 Product specifications MODELS AVAILABLE ACV 5100GR Grey FG4151 00GR ACV 5100BL Black FG4151 00BL INCLUDED ACCESSORIES 15V 4A Power Supply Remote Control 6 USB 2 0 Cable 5...
Page 6: ...6 USB 2 0 Cable 5mm Wall Mount Spacers 4 Lock Down Screws 2 DIMENSIONS HWD 3 x 23 1 2 x 3 15 16 76 mm x 590 mm x 100 mm Depth with optional wall mount spacers 4 1 8 105 mm WEIGHT 6 3 lbs 2 86 kg ACTIVE POWER REQUIREMENTS 100 240V 1 3A max Only use the included power supply REGULATORY COMPLIANCE FCC 47 CFR Part 15 Subpart C Subpart B emissions EN 55024 EN 60950 1 IEC EN UL 60065 2014 ENVIRONMENTAL ...
Page 7: ... Off default On Bluetooth Device Name Enter a new name for the Acendo Vibe unit This is the device name for the Acendo Vibe when discovered via Bluetooth default Acendo Vibe Events ACV 5100 only Configure how CEC display control operates relative to defined events and adjust Occupancy Sensor settings see page 15 Aux Out Gain Select Variable default or Fixed Default Volume Enter a value for the def...
Page 8: ...e bottom surface Removing the Wall Mount Bracket 1 Open the Wall Mount Bracket held closed by internal magnets 2 Press and hold the Release Button to slide the Bracket out over the button to disengage the pins on the Bracket from the hinges on the unit FIG 6 3 Lift the Wall Mount Bracket off of the hinges to remove FIG 7 Wall Mount Considerations Distance between conference table and display The c...
Page 9: ...ottom of Display with the bottom surface of the display 4 Use the top edge of the notch in the Bracket see Top flat surface of Acendo Vibe to determine the closest placement for the Acendo Vibe beneath the display Mark the mounting surface 5 Align the top flat surface of the Acendo Vibe with the mark made in step 4 6 Mount the Bracket using mounting screws and optional mounting spacers see FIG 10 ...
Page 10: ...s on the main unit with the pins on the Bracket b Carefully slide the pins into the hinges until the Bracket snaps into place Note Press the Bracket into place so that the last pin depresses the Release Button allowing the pins to slide into the hinges see FIG 7 c With the Acendo Vibe attached to the Bracket rotate the unit up to its seated position Note that the Bracket snaps shut and is held clo...
Page 11: ...om the Acendo Vibe to an auxiliary device AUX IN Use this 1 8 mini stereo connector to receive analog stereo sound from an analog audio source device HDMI OUT Type A Connect to an HDMI input on a display device HDMI IN Type A Connect to an HDMI output from a source device such as a laptop or Acendo Core USB Use the USB 2 0 Type B port to connect a PC laptop to the Acendo Vibe as a source device Ac...
Page 12: ... analog stereo sound from the ACV 2100 to an auxiliary device AUX IN Use this 1 8 mini stereo connector to receive analog stereo sound from an analog audio source device USB Use the USB 2 0 Type B port to connect a PC laptop to the ACV 2100 as a source device Acendo Vibe is plug and play with PC laptop using a standard UAC driver The USB connection is also used to configure the ACV 2100 via the AM...
Page 13: ...and Mute Microphone enable disable the speakers and microphone Note that these buttons are lit on the Acendo Vibe and flash on the remote control to indicate that the sound functions are muted Camera ACV 5100 only The ACV 5100 is equipped with a wide angle camera for videoconferencing and supports a wide range of web conferencing applications via USB To configure your USB device such as a laptop t...
Page 14: ... Select the Acendo Vibe device for pairing The Bluetooth LED on the Acendo Vibe side panel lights solid to indicate that the device is paired If automatic switching is disabled use the Source Select button on the Acendo Vibe to select Bluetooth as the audio source if necessary At this point the Bluetooth LED is lit solid Bluetooth audio is sent to the Acendo Vibe speakers and microphone audio is s...
Page 15: ... Ground The logic of DET is High for occupancy detected and Low for vacancy Acendo Vibe Configuration Tool The Acendo Vibe is configured via the Acendo Vibe Configuration Tool software available to download from AMX In most cases the default settings should not require adjustment For details see the Acendo Vibe Instruction Manual available to view or download from www amx com Setup Mode In order f...
Page 16: ... Events ACV 5100 model only Audio and File as indicated in the Side menu bar along the left side of the application window FIG 18 NOTE In most cases the default settings should work fine without any need for adjustment However as part of the initial installation process it is necessary to use the configuration software tool to commission each Acendo Vibe unit The Acendo Vibe unit must be in Setup ...
Page 17: ... the on screen directions to install a In the Welcome to the Acendo Vibe Setup Wizard dialog click Next to proceed FIG 19 b Read and accept the License Agreement and click Next to proceed FIG 20 c Select a destination folder for this installation or leave the default folder setting and click Next to proceed FIG 21 d Select a Start Menu folder folder for this installation or leave the default folde...
Page 18: ...t to proceed FIG 23 f In the Ready to Install dialog click Install FIG 24 3 This selection invokes the first of two Device Driver Installation Wizards FIG 25 These Wizards install the two device drivers required by the Acendo Vibe FIG 22 Acendo Vibe Setup Wizard Select Start Menu Folder dialog FIG 23 Acendo Vibe Setup Wizard Select Additional Tasks FIG 24 Acendo Vibe Setup Wizard Ready to Install ...
Page 19: ...s the second device driver FIG 27 6 Click Finish to close the Device Driver Installation Wizard and return to the final Acendo Vibe Setup Wizard dialog FIG 27 FIG 25 Device Driver Installation Wizard 1 of 2 Welcome dialog FIG 26 Device Driver Installation Wizard 1 of 2 Completing the Device Driver Installation Wizard dialog FIG 27 Device Driver Installation Wizard 2 of 2 Completing the Device Driv...
Page 20: ...ool The software provides the ability to create and save configuration json files and then transfer them to one or more Acendo Vibe units at a later time See the File Options Open Save and Transfer section on page 25 for details Accessing the USB Connector For surface installations place the unit face down and open the Connector Bay Door to manage cables connectors For wall mounted installations r...
Page 21: ...n files and then transfer them to one or more Acendo Vibe units at a later time See the File Options Open Save and Transfer section on page 25 for details Exiting Setup Mode To exit Setup mode press and hold the Audio Source Select and Mute Microphone buttons for 3 seconds USB Connected Window When the Acendo Vibe connects to the PC via USB the USB Connected window is invoked Select a file transfe...
Page 22: ...page 29 Send firmware update to Acendo Vibe See the Sending Firmware Update to Acendo Vibe section on page 29 Bluetooth Configuration Options Select Bluetooth from the side menu to access the Bluetooth configuration options FIG 34 These options enable disable Bluetooth functionality as well as rename the connected Acendo Vibe unit FIG 33 Transfer Options window What would you like to do FIG 34 Ace...
Page 23: ...nge Occupancy Detected The ACV 5100 features an internal sound sensor that provides occupancy sensing functionality Note that this internal sound sensor is separate and unrelated to any external sensor that may be connected to the Acendo Vibe via the 3 pin MOTION connector By default the HDMI display device does not turn on or off based on occupancy detected by the Acendo Vibe s internal sound sen...
Page 24: ...Aux Out connector FIG 36 Acendo Vibe Configuration Tool Audio Configuration Options Audio Options Aux Out Gain From the drop down menu select Variable default setting or Fixed When Variable is enabled the aux out gain will follow the speaker volume When Fixed is selected the value field is enabled enter a value for gain on the Aux out port 0 100 Default Volume Enter a value for the default output ...
Page 25: ... Saved Acendo Vibe Configuration Files json can be opened to view and or modify the settings as desired or to be transfered to the Acendo Vibe in order to quickly configure the unit 1 In the Side menu click File Open FIG 41 2 This selection invokes the Open Settings dialog FIG 39 3 Locate and select the desired Acendo Vibe Configuration File and click Open to invoke the File Open options window to...
Page 26: ...e the Viewing Modifying an Acendo Vibe Configuration File section on page 27 for details Saving Settings as an Acendo Vibe Configuration File Once the Acendo Vibe settings have been configured these settings can be saved as an Acendo Vibe Configuration File with the extension json 1 In the Side menu click File Save FIG 41 2 This selection invokes the Save settings dialog FIG 42 3 Select a target f...
Page 27: ...iles In this case refer to the Troubleshooting section on page 39 If a device name changes the system indicates that a restart of the Acendo Vibe unit is required FIG 45 4 Close the File Open window Viewing Modifying an Acendo Vibe Configuration File 1 In the File Open window click View Modify settings in the application see FIG 40 2 The selected Acendo Vibe Configuration File is opened in the Ace...
Page 28: ...ration file in the Acendo Vibe Configuration Tool See the Getting Current Settings From Acendo Vibe section on page 29 for details Click Send firmware update to Acendo Vibe to view and or modify the settings defined in the selected Acendo Vibe Configuration file in the Acendo Vibe Configuration Tool See the Sending Firmware Update to Acendo Vibe section on page 29 for details 3 In the Transfer Opt...
Page 29: ...ers of both firmware files are indicated in the lower right corner of the main application window FIG 50 NOTE the Acendo Vibe Configuration Tool requires firmware files to be in a ZIPPED format ZIP MAC systems that are set to automatically unzip ZIP files must be reconfigured to leave these file ZIPPED To send a firmware file to update the Acendo Vibe 1 In the USB Connected or Transfer window sele...
Page 30: ...ndo Vibe Conferencing Soundbars User Guide NOTE The system will indicate if there was an error transferring the files In this case refer to the Troubleshooting section on page 39 5 Close the Transfer dialog FIG 52 Transfer Transferring files to Acendo Vibe ...
Page 31: ...e embedded spaces Case Sensitivity Case insensitive commands replies paths names message forwarding info Case sensitive parameters NOTE The protocol is not case sensitive but it can be case preservative in that when replying to messages you could use the same case as in the original command However this is not a hard requirement Path Syntax A crucial concept is that of a path name The path name is...
Page 32: ...ancy action delay vacancy action delay usbup status video cec status Execute command exec path arguments The response is exec path arguments Get value Get path The response is Get path value Set value Can be a request to set a particular value or if preceded by it is the response to the SetValue Responses are necessary for throttling or for error message returns Parameter not found for example Set...
Page 33: ...issioning tool However they may also be entered on any of the command interfaces Serial Commands ACV 2100 ACV 5100 The first table includes commands that apply to both the ACV 2100 and ACV 5100 ACV 5100 specific commands begin on page 35 Serial Commands ACV 2100 ACV 5100 Command Description get audio autoswitch Get the state of automatic switching for audio source Returns get audio autoswitch stat...
Page 34: ... level Where level 0 100 set audio volume Set the volume for the speaker audio Syntax set audio volume level Where level or 0 100 and increase and decrease respectively the volume in the same way as pressing the buttons on the control panel get audmic state Get the state of the microphone input Returns get audmic state state Where state normal or muted set audmic state Set the state of the microph...
Page 35: ...racters set system name Sets the device name to be used by the Bluetooth radio Syntax set system name name Where name device name string maximum 30 characters exec system reboot Execute a reboot on the MCU Syntax exec system reboot get system version Get the system firmware versions as an ASCII string Returns get system firmware fw_versions Where fw_versions a string showing all of the firmware ve...
Page 36: ...dmiconn delay Configure delay time for the HDMI connect trigger event Syntax set trigger hdmiconn delay delay Where delay 0 300 seconds get trigger hdmidis action Get display action for the HDMI disconnect trigger event Returns get trigger hdmidis action display action Where display action none or off set trigger hdmidis action Configure display action for the HDMI disconnect trigger event Syntax ...
Page 37: ...vent Syntax set trigger vacancy action display action Where display action none or off get trigger vacancy delay Get delay time for the vacancy detect trigger event Returns get trigger vacancy delay delay Where delay 0 300 seconds set trigger vacancy delay Configure delay time for the vacancy detect trigger event Syntax set trigger vacancy delay delay Where delay 0 300 seconds get video cec Get th...
Page 38: ...lete bt_conn Bluetooth connected bt_dis Bluetooth disconnected bt_remote_conn Remote control connected bt_ remote_dis Remote control disconnected bt_inactive Bluetooth audio inactive for 30 minutes bt_oor Bluetooth out of range for 5 minutes hdmi_conn Connection on external HDMI input hdmi_dis Disconnection on external HDMI input mic_mute Microphone muted mic_unmute Microphone unmuted occupancy_de...
Page 39: ...lt microphone device a In the Recording tab select AMX Acendo Vibe b Click on Set Default 5 Unplug and re connect the Acendo Vibe USB connection Problem Sound from digital audio source device not coming out of speakers Possible Solution The Acendo Vibe s speaker amplifier supports digital audio inputs mono or stereo of 44 1 kHz and 48 kHz sample rates at bit depths of 16 20 and 24 Digital audio fr...
Page 40: ...ng 40 Acendo Vibe Conferencing Soundbars User Guide 3 Rotate the bottom panel to the left and lift to remove 4 Replace the two AA batteries and dispose the old batteries properly 5 Replace and lock the bottom panel ...
Page 41: ...s not assume responsibility for errors or omissions AMX also reserves the right to alter specifications without prior notice at any time The AMX Warranty and Return Policy and related documents can be viewed downloaded at www amx com 3000 RESEARCH DRIVE RICHARDSON TX 75082 AMX com 800 222 0193 469 624 8000 1 469 624 7400 fax 469 624 7153 AMX UK LTD AMX by HARMAN Unit C Auster Road Clifton Moor Yor...