29
Installation and Operation Manual
To change keyboard to monitor access rights, follow the steps below:
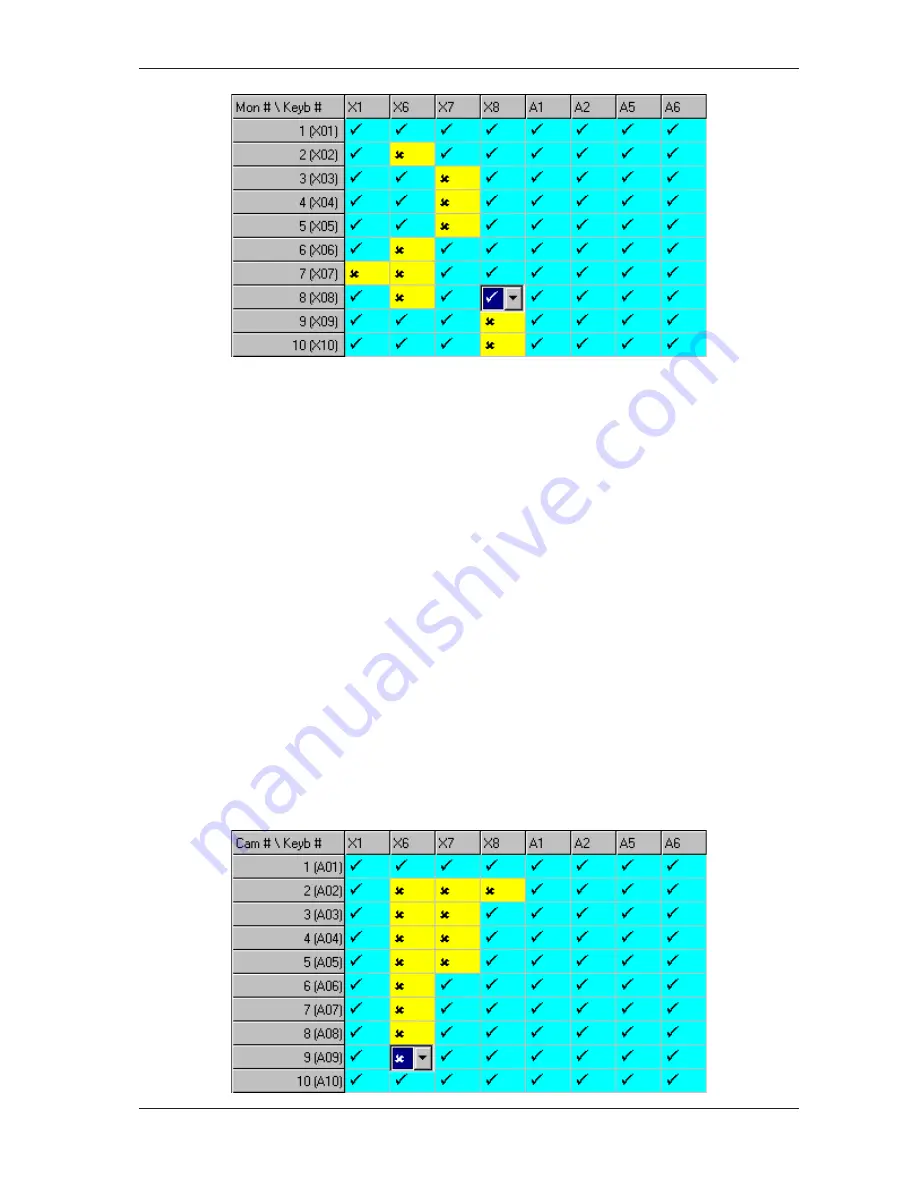
1. Double-click in the appropriate cell. A drop down list is displayed. For example in the figure above, access to monitor
8 (X08) is being granted to keyboard X08.
2. To grant the selected keyboard access to the selected monitor, use the drop down list to select the tick symbol. To
deny access, use the drop down list to select the cross symbol. By default, all keyboards have access privilege to all
monitors.
It is also possible to use the drag down method to change multiple fields in a column to the same setting. Select the
required option in the uppermost field and then click and drag the cursor over the fields below that are to be set the
same. Press the
Enter
key to copy the setting to the highlighted fields.
3. Repeat steps 1 and 2 to make additional changes.
Note
If video loss detection is enabled in the
Options
screen, the monitor with port reference X16 is used by the system to
sample video. Therefore if video loss detection is enabled, changes to the access rights of this monitor cannot be made.
Partitioning - Keyboard/Control
The
Keyboard - Control
screen is displayed by expanding the
Partitioning
node on the left-hand side of the display
area and then clicking on the
Keyboard - Control
node. Use this screen to define which individual cameras each
keyboard can control. If access is not granted, the keyboard will be prevented from controlling pan, tilt and lens functions
on the selected camera. This feature only prevents control of a camera—it does not prevent viewing of the camera.
In the
Keyboard - Control
screen, cameras are listed on the vertical axis and any keyboards that have been added to
the system are listed on the horizontal axis. Both are listed by port reference (with pseudo number also shown for
cameras). In the port reference, the first character refers to the matrix to which the equipment is connected (X = primary
unit, A-F = secondary unit) and the numeric characters that follow are the port number on that matrix. A further character
(a-d) will be added to the port reference of keyboards that have been connected via a port expander. See page 13 for
more details on connecting keyboards.


