26
Easy48
Editing Entries in a Salvo
The following parameters can be edited for every entry in a salvo. Entries must be edited one at a time—the next entry
is not enabled until the previous one has been completed. To edit a field, double-click in it and set as required.
Note
In this screen it is possible to use the drag down method to change multiple fields in a column to the same setting.
Select the required option in the uppermost field and then click and drag the cursor over the fields below that are to be
set the same. Press the
Enter
key to copy the setting to the highlighted fields.
Switching - Timers
The
Timers
screen is displayed by expanding the
Switching
node on the left-hand side of the display area and then
clicking on the
Timers
node. Using this
screen, event timers can be created. These timers can then be used to
automatically call up system tours and alarm monitor/contact tables at specific times on specific days. Each of these
callups is called an event.
The
Timers
screen is split into three sections. The top section is used to create and delete event timers, the centre
section is used is to associate alarm monitor/contact tables to specific timers and the bottom section is used to associate
system tours to specific timers.
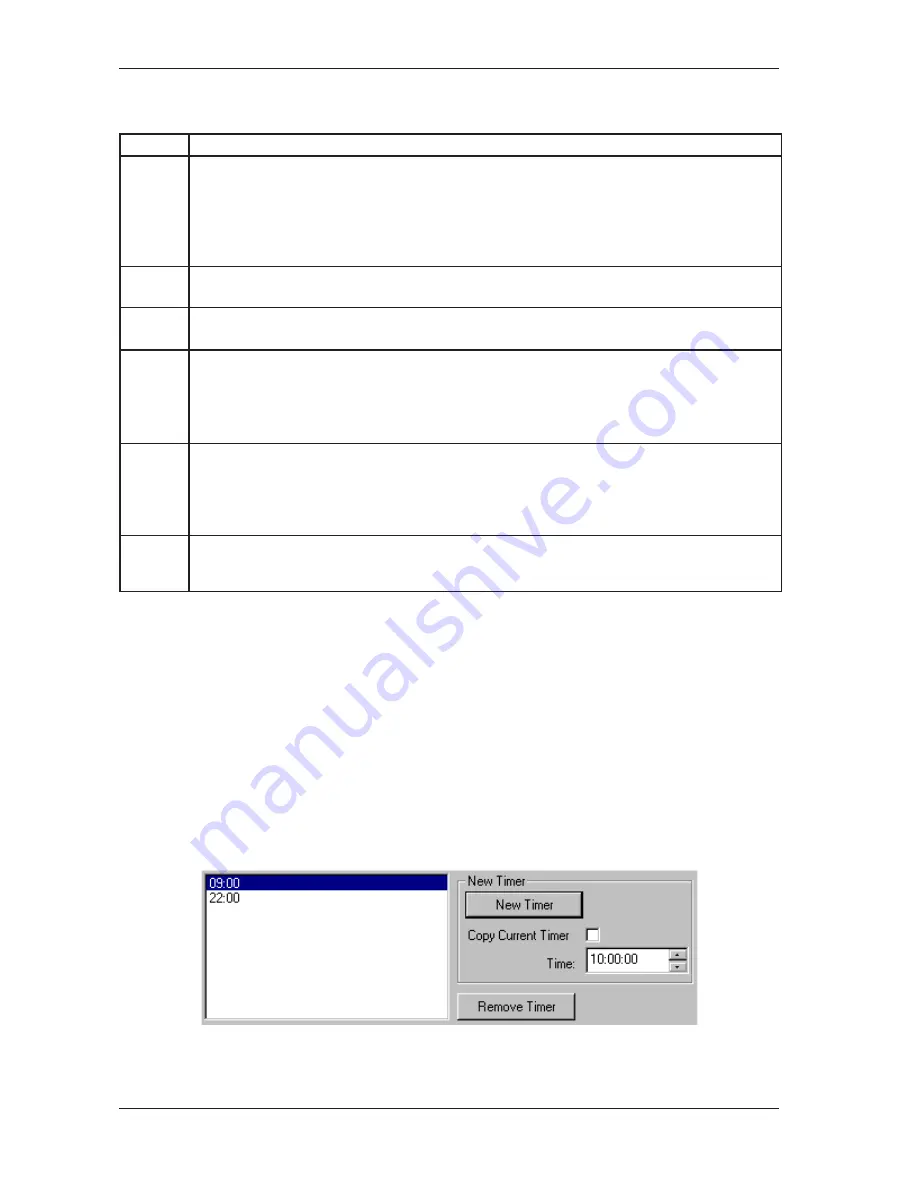
Creating and Deleting Timers
The top section of the
Timers
screen is used to create and delete timers.
To create a new timer, follow the steps below:
1. In the
Time
field, create the required time. To do this, click in the field and use the left and right arrow keys on the
keyboard to select the part of the time to be edited (hours, minutes or seconds). Use the up and down arrow keys on
the keyboard to edit the selected part of the time. Timers are always shown in 24 hour format.
Field
Description
Link
If
Yes
is selected, this entry is included in the salvo, and is called to the next contiguous monitor. A
typical salvo showing a simultaneous display of different camera views on a group of contiguous monitors
will show
Yes
in the
Link
field for each salvo entry except the last entry, which will show
No
or
Salvo
.
If
No
is selected, the salvo stops at the selected position.
If
Salvo
is selected, another pre-programmed system salvo is called. The desired salvo number is
specified in the
Salvo #
field.
Salvo
can only be selected as the last step of a system salvo.
Cam #
If the
Link
field is set to
Yes
or
No
, this field is used to specify the video input that is called for this salvo
entry. Enter the video input pseudo number. This field is disabled if the
Link
field is set to
Salvo
.
Salvo #
This field is only enabled when the
Link
field is set to
Salvo
. It is then used to specify the pre-programmed
salvo number that is to be called at this salvo entry.
Preset #
If the
Link
field is set to
Yes
or
No
, this field can be used to recall a preset on the specified camera. A
preset is a programmed camera view determined by a camera with pan/tilt and/or lens adjustment
capability. In a MegaPower 48+ system, presets can range from 1 to 96.
If no preset is to be called, set this field to
0
. A preset and a pattern cannot be called simultaneously in
one salvo entry (see below). Therefore, if the
Pattern
field is completed, the
Preset
field is disabled.
Pattern
If the
Link
field is set to
Yes
or
No
, this field can be used to recall a pattern on the specified camera. A
pattern is a series of pre-programmed camera views programmed in real time. In a MegaPower 48+
system, patterns can range from 1 to 3.
If no pattern is to be called, set this field to
None
. A pattern and a preset cannot be called simultaneously
in one salvo entry (see above). Therefore, if the
Preset
field is completed, the
Pattern
field is disabled.
Aux
If a camera that is called is equipped with auxiliary relays that control a switched device (door lock, light,
gate, etc.), then these relays can be activated using this field. If no auxiliary action is required for the
salvo entry, set this field to
Disabled
. Relays 1-4 can be set to
ON
. Relays 1-3 can be set to
OFF
.


