16
Easy48
System - Options
The
Options
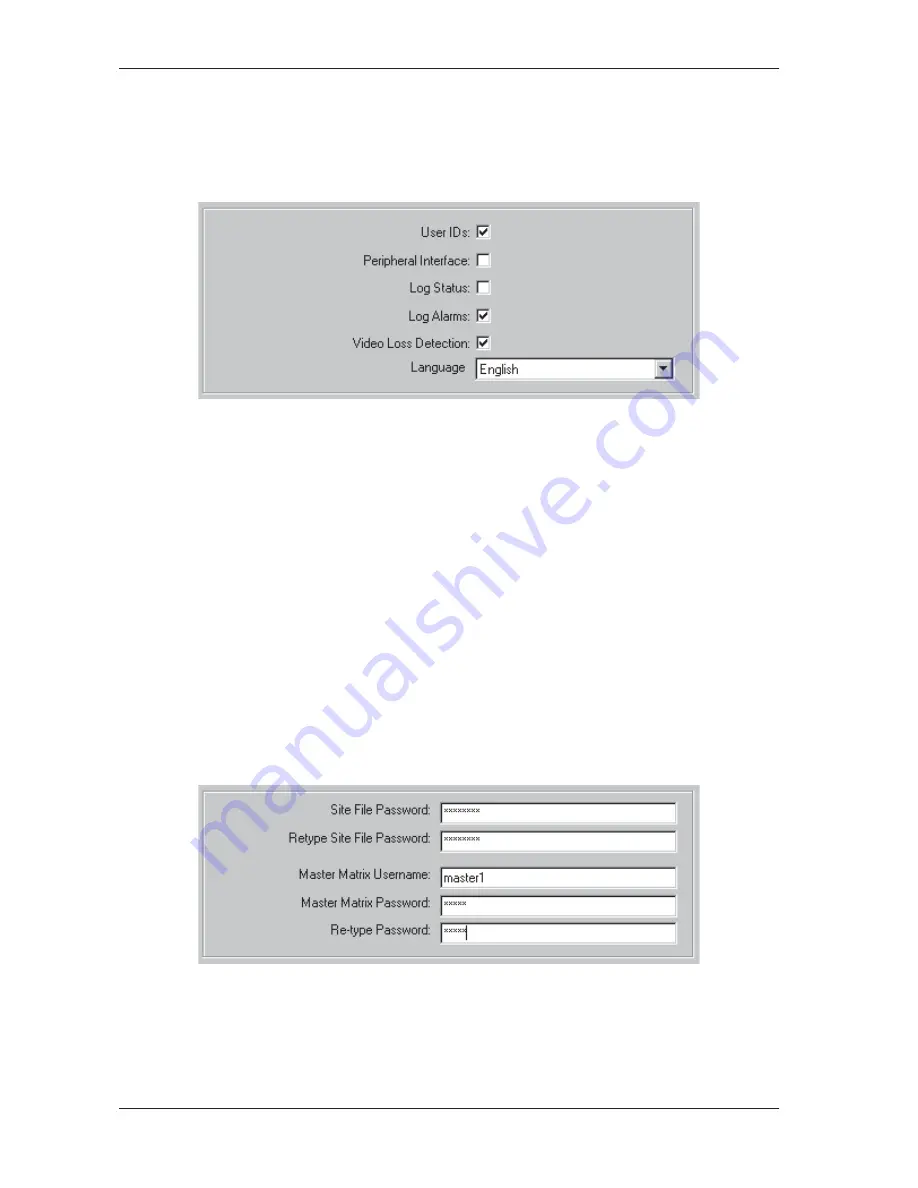
screen enables the user to specify a number of system preferences, such as language, whether the
system will log alarm and status messages or detect video loss and whether a peripheral interface port (PIP) should be
enabled for monitoring of network video recorders.
To display the
Options
screen, expand the
System
node on the left-hand side of the display area and then click the
Options
node.
The following fields should be completed as required:
•
The
User IDs
checkbox is used to enable or disable the keyboard passcode log in procedure that allows only an
authorized operator to use a system keyboard. The default setting is disabled (operator login not required).
•
The
Peripheral Interface
checkbox is used to enable or disable the Peripheral Interface Port (PIP). Note that if the
Peripheral Interface Port is enabled, PIP parameters must be programmed through the
Ports
screen (see page 13).
•
The
Log Status
checkbox is used to specify whether system status messages should be logged.
•
The
Log Alarms
checkbox is used to specify whether system alarm messages should be logged.
•
The
Video Loss Detection
checkbox is used to specify whether video loss detection should be enabled. Once
enabled, video loss detection can be enabled or disabled for video inputs individually using the
Titles/Pseudos
screen (see page 17). Note that video loss detection is automatically enabled in operation modes 2 and 3 (see page
12).
•
Use the
Language
drop down box to select the language in which Easy48 should be displayed. The available
options are
English
,
French
,
German
,
Spanish
,
Portuguese
and
Italian
.
System - Passwords
The
Passwords
screen enables the user to specify user names and passwords. The user can specify a password that
must be entered in order to enter this site file. They can also specify a user name and password that must be entered
to make changes to the master matrix in the MegaPower 48+ system.
To display the
Passwords
screen, expand the
System
node on the left-hand side of the display area and then click the
Passwords
node.
To create a site file password, enter the password in the
Site File Password
field and re-enter the password in the
Retype Site File Password
field. The entries in the two fields must match in order for the password to be accepted.
If the site file is to be unprotected by a password, leave both fields blank.
To create a master matrix username, enter the required username in the
Master Matrix Username
field. To create a
master matrix password, enter the password in the
Master Matrix Password
field and re-enter the password in the
Re-type Password
field to confirm it. The entries in the two fields must match in order for the password to be
accepted.


