


77
Below is an explanation of the fields on the FTP settings tab:
Enable
: This checkbox allows the user to enable FTP uploading for the camera’s recorded media.
Server Address
: This field allows the user to designate a DDNS address for the FTP server.
Connection
: This field allows the user to designate the port number for the FTP server.
Username
: This field allows the user to input the username used to login to the FTP server.
Password
: This field allows the user to input the password used to login to the FTP server.
Remote Directory
: This field allows the user to specify a remote directory on the FTP to send the recorded media
to.
Emergency
(Store on SD Card)
: This checkbox allows the camera to store recorded media on the SD card in case
the FTP server is unavailable.
Test:
Click the
Test
button to test the FTP connection.
To reset to default settings, click the
Reset Defaults
button. To refresh the page, click the
Refresh
button. To save
the settings, click the
Save
button.
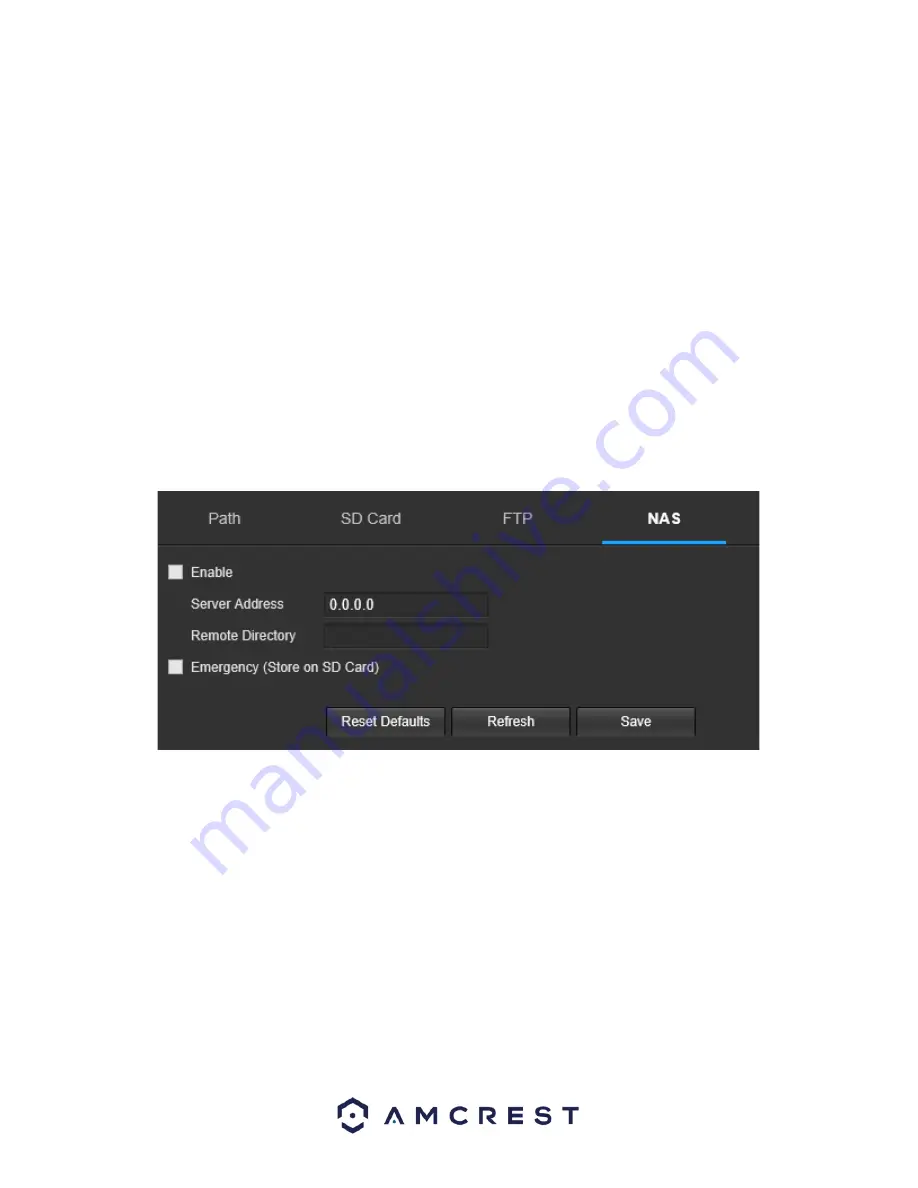
NAS
This tab is where the user can change NAS settings. Below is a screenshot of the NAS tab:
Below is an explanation of the fields on the NAS settings tab:
Enable
: This checkbox allows the user to enable NAS uploading for the camera’s recorded media.
Server Address
: This field allows the user to designate a DDNS address for the NAS server/device.
Remote Directory
: This field allows the user to specify a remote directory on the NAS to send the recorded media
to.
Emergency
(Store on SD Card)
: This checkbox allows the camera to store recorded media on the SD card in case
the NAS server is unavailable.
To reset to default settings, click the
Reset Defaults
button. To refresh the page, click the
Refresh
button. To save
the settings, click the
Save
button.
Record Control
This menu is where general recording settings are configured. Below is a screenshot of the record control menu:


