NITID N26_N36_N46
Oct 2017
17
Amate Audio
4.3.
PRESETS Menu
When the word PRESETS is displayed, press
OK. The current preset will be displayed.
Press MENU to browse the available presets.
Each time a Preset is displayed, it will be
loaded to the DSP. When the desired Preset is
on screen, press OK to leave the menu.
4.4.
AUDIO Menu
When the word AUDIO is displayed, press OK. The Gain screen will show up. At this
point, use the MENU key to browse all the audio options: Gain, Parametric EQ,
Limiter and Delay.
Press OK or slide your finger on the Circular key to start editing.
At this point, the Circular Key will be highlighted (blue ring in its center) to show that
is active. To use the Circular Key, slide your finger over the white surface: clockwise
to increment the value of the displayed parameter and counter-clockwise to reduce
the value.
Slide finger clockwise to increment the value
Circular key:
Center blue ring is illuminated when they key is active
Counter clockwise to decrement the value
An asterisk (*) beneath the preset name means that the preset has been
modified using the audio settings. When a new preset is loaded, all the
changes made in the AUDIO Menu will be reverted.
4.4.1. Gain Menu
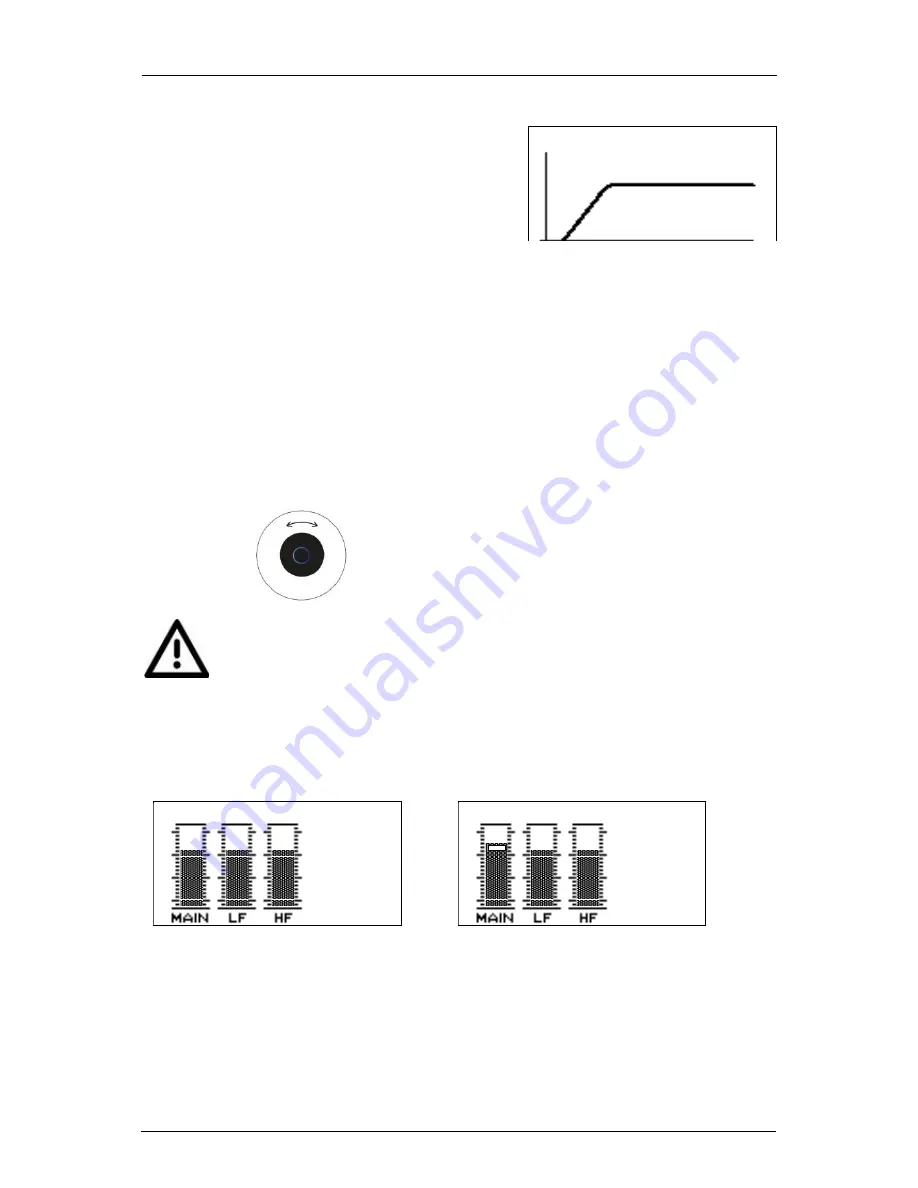
Inside the Gain menu, the Main, HF and LF input gains may be modified. Press OK
to start editing the Main Gain (left bar). The cursor will blink to show that the value is
being edited. Use the Circular key to modify the value.
At this point use the MENU key to change between the available gain settings: Main,
LF and HF. Press OK to finish editing:
Gain Main: changes the overall gain of the system.
Gain LF: change the level of the Low Frequency way (woofer)
Gain HF: change the level of the High Frequency way (driver)
FLAT
M:0.00
L:0.00
H:0.00
Gain
M:1.00
L:0.00
H:0.00
Gain Main
Fig. 17.
Preset selection
Fig. 18.
Gain display (left) and Gain Main while editing (right)


