Installation & User’s Manual
AP-150 RGBW Par LED Luminaire
s
12
Menu System
IMPORTANT!
Note the number of slots that the luminaire is using in order to avoid a DMX address
overrun or DMX overlap with other luminaires in the chain.
Step 4. Once desired address is set, press the Enter button to confirm.
Note, the numbers will change
color from Blue to White confirming the setting.
Note:
While in the home screen pressing any of the arrow keys will display each channels output for quick
reference.
Main Menu
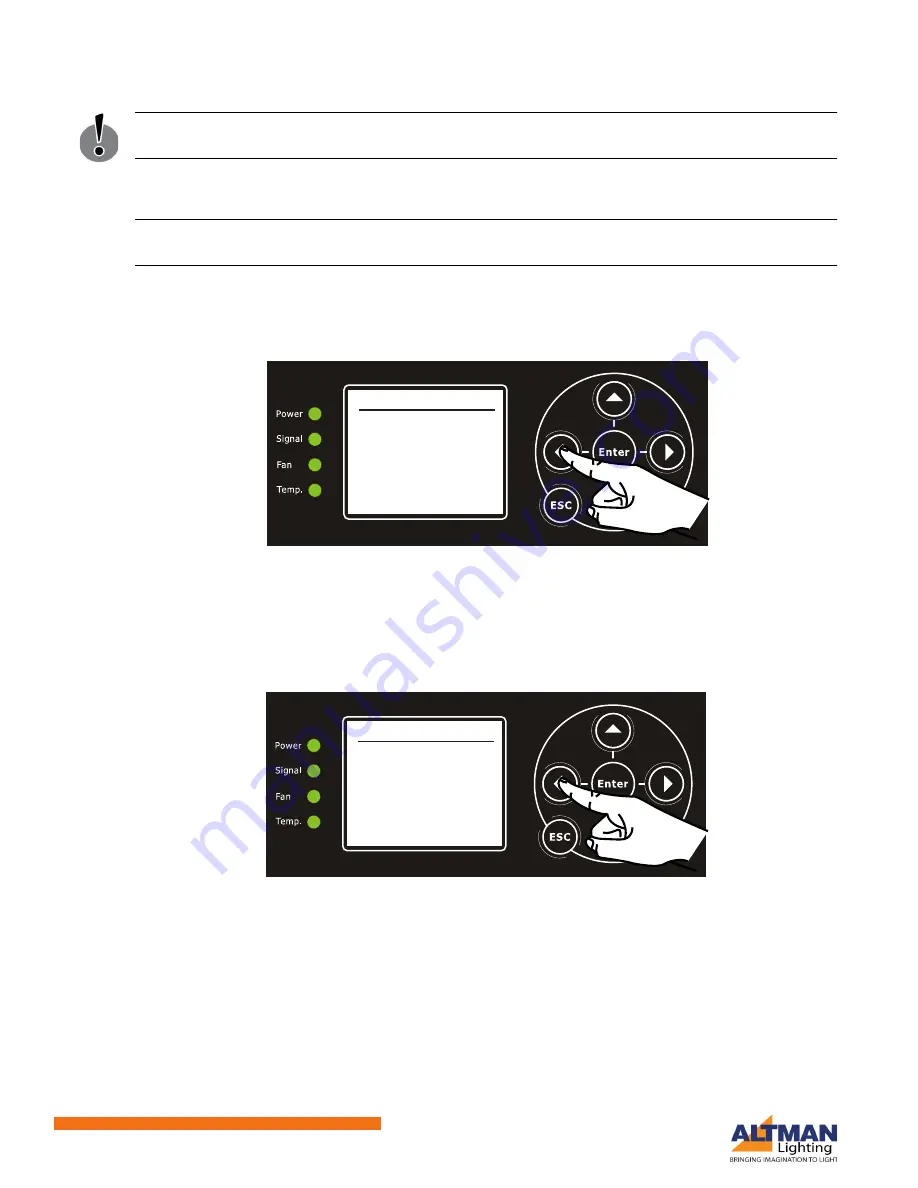
Figure 9
shows the Main menu screen. From this screen, you have access to all menus for setting
luminaire options or viewing settings/status.
Figure 9: Main Menu Screen
DMX Menu
Using the Menu buttons (see
Figure 7 on page 11
), you can move the pointer [>] on the screen to the
desired setting and press the ENTER button to select that setting. The following describes the settings in
the DMX Menu screen as shown in
Figure 10
.
Figure 10: DMX/RDM Menu Options
DMX Enable / Disable
• DMX Enable: DMX Enable allows for the unit to be controlled via DMX. The Signal LED indicator will be
a constant Green when a viable DMX signal is present.
• DMX Disable: When this setting is set to DMX Disable, the Signal LED indicator will turn Red. Although
the unit is set to DMX Disable, the fixture will pass the DMX to the next connected fixture in line. When
DMX is set to Disable, RDM functionality will continue to operate the luminaire if RDM signals/
commands are present.
MAIN MENU
> DMX
• STATUS
• MANUAL
• ZOOM CONTROL
• FAN CONTROL
• GENERAL SETTINGS
DMX
> DMX Enable
: Enable
• Address
: 001
• Mapping:
• When no DMX
• Dimming Curve


