3.
Upgrading Your ATA’s Firmware
Keeping your ATA up-to-date is very important, especially when we release new features and
modify existing ones.
To upgrade your Firmware, login to your ATA Web Panel using the steps described in point
(2) above, and then use the steps below:
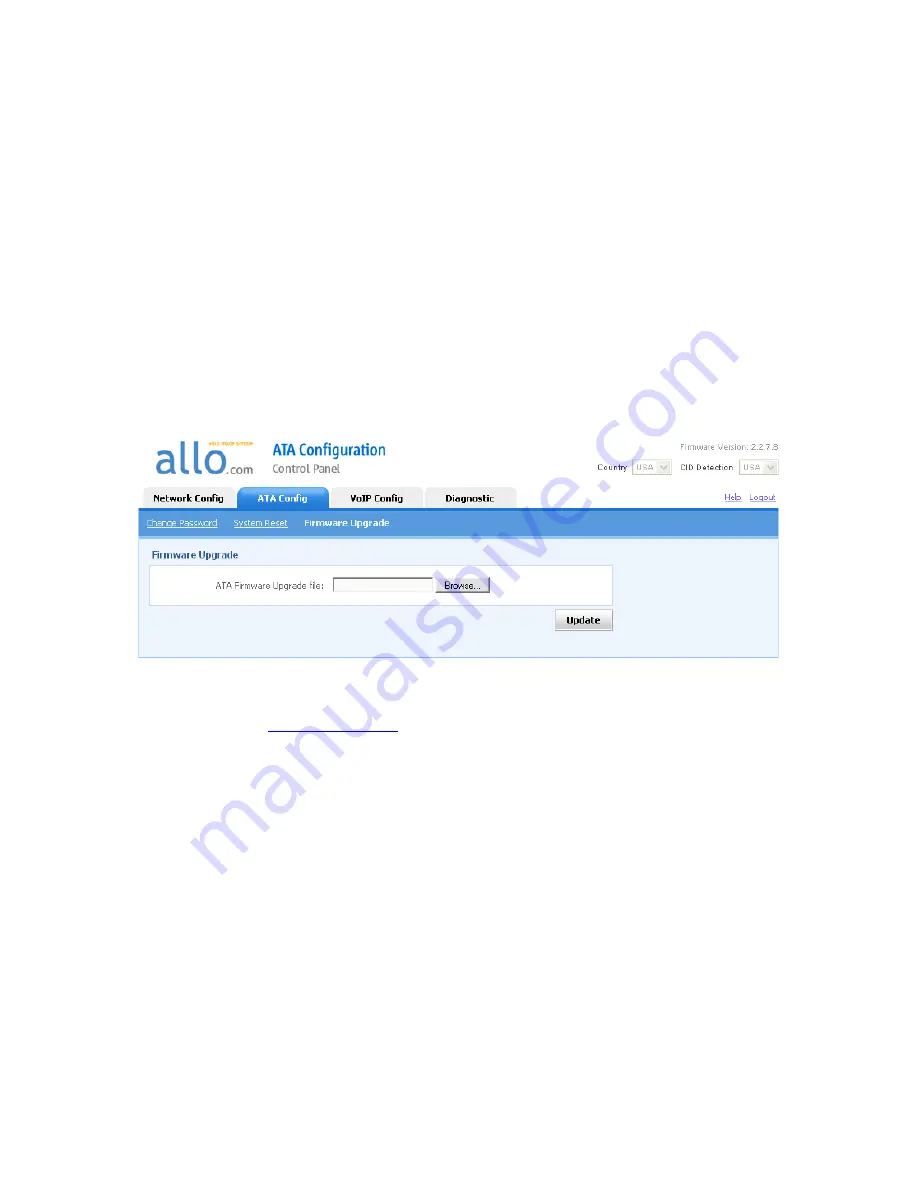
3.1.1.
While logged into your ATA Web Panel, click the “ATA Config” tab in the top
navigation
3.1.2. Be sure to take note of the current Firmware Version you are running. It will be
displayed in the top right-hand corner
3.1.3. C
lick “Firmware Upgrade” in the sub navigation
3.1.4. You will come to a screen that looks like the following:
3.1.5. Go to the following link to download the latest Firmware from Allo.com:
http://www.allo.com
(select ATA and check the Firmware section)
3.1.6. If anything newer is available to download, save the file to your local PC (for
example, on your Desktop
– so it’s easy to remember where you saved it!)
3.1.7.
Go back to your ATA Web Panel, and click the “Browse” button
3.1.8. Locate the Firmware file you just saved, and select it
3.1.9.
Press the “Update” button
3.1.10. Your ATA will display a Progress Screen and will prompt you when your ATA is
about to reboot
3.1.11. Let
your ATA reboot, and wait for the green and red LED’s to come back on
3.1.12. If after 2-
3 minutes the red LED’s do not appear, you will have to manually reboot
your ATA. Simply unplug the power cord from the back of the unit, wait 30
seconds, and plug it back in. It will take a few minutes to load back up
3.1.13. Your ATA should now be fully updated and ready to go! You can log back into
your ATA Web Panel to check the Firmware Version to ensure everything is fine
3.1.14. If you have problems getting your ATA to work again after you have updated the
firmware, please call Technical Support at 1-877-339-ALLO for assistance.
Summary of Contents for CRA 210
Page 1: ......