


AT-2874SX Gigabit Ethernet Fiber ExpressCard Installation and User’s Guide
50
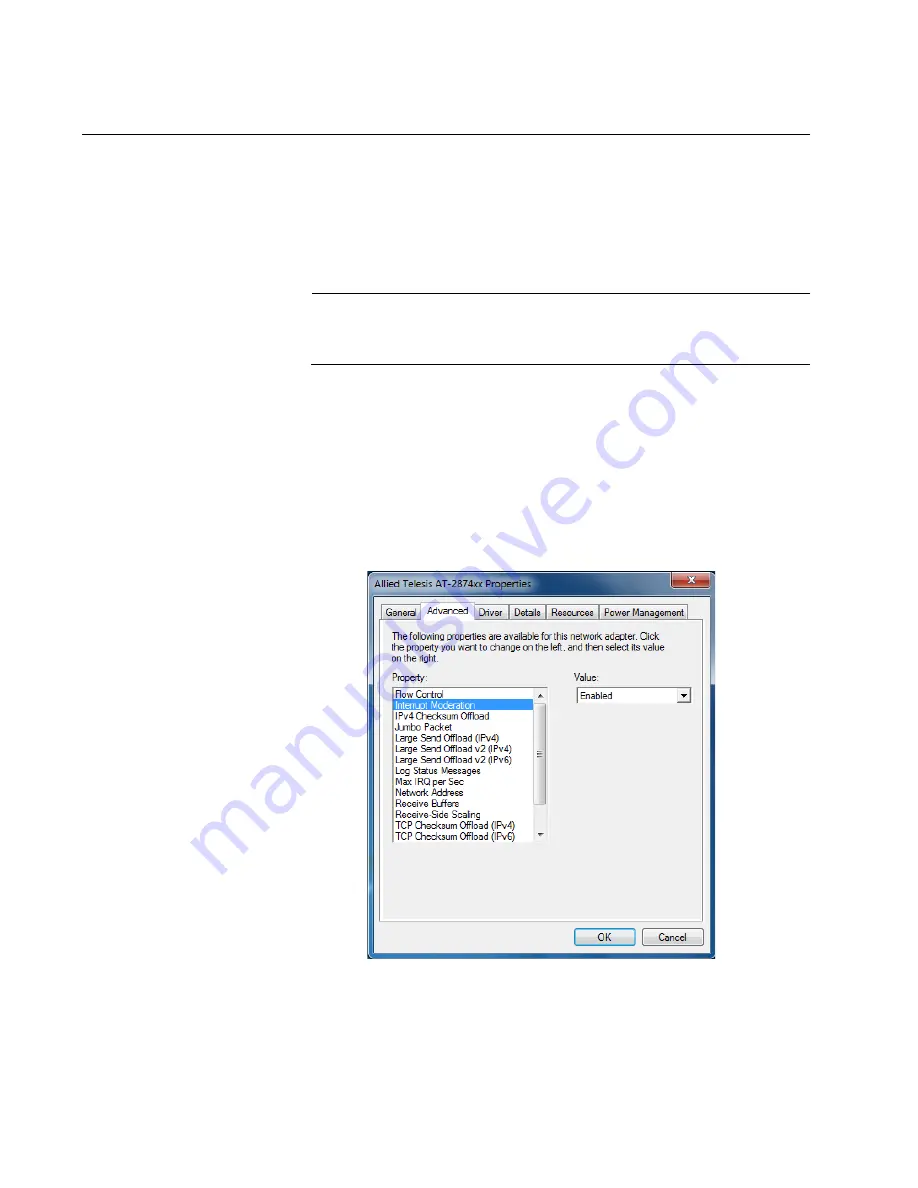
Interrupt Moderation
The Interrupt Moderation feature allows you to control the rate of interrupts
to the CPU during packet transmission and reception. When this feature is
enabled, interrupts are handled as a group so that the CPU utilization
decreases; however, the latency may increase. To specify the interrupt
rate, see“Max IRQ per Sec” on page 59.
Note
Windows 8 does not support the Max IRQ per Sec property. See
“Advanced Properties for Windows 8” on page 46.
To enable or disable the Interrupt Moderation feature, do the following:
1. Access the Advanced Properties.
See “Accessing Advanced Properties” on page 47.
2. Select
Interrupt Moderation
in the Property box.
The Interrupt Moderation page is displayed as shown in Figure 29.
Figure 29. Interrupt Moderation Page
Summary of Contents for AT-2874SC
Page 10: ...AT 2874SX Gigabit Ethernet Fiber ExpressCard Installation and User s Guide 10...
Page 18: ...AT 2874SX Gigabit Ethernet Fiber ExpressCard Installation and User s Guide 18...
Page 35: ...Chapter 3 Installing the Driver Software 35 Figure 18 Device Manager Window on Windows XP...
Page 78: ...AT 2874SX Gigabit Ethernet Fiber ExpressCard Installation and User s Guide 78...


